Amazing Vegan White Cheese Sauce
4.7
(20)
Your folders
Your folders
Prep Time: 5 minutes
Cook Time: 35 minutes
Total: 40 minutes
Servings: 7
Author : Sophia DeSantis
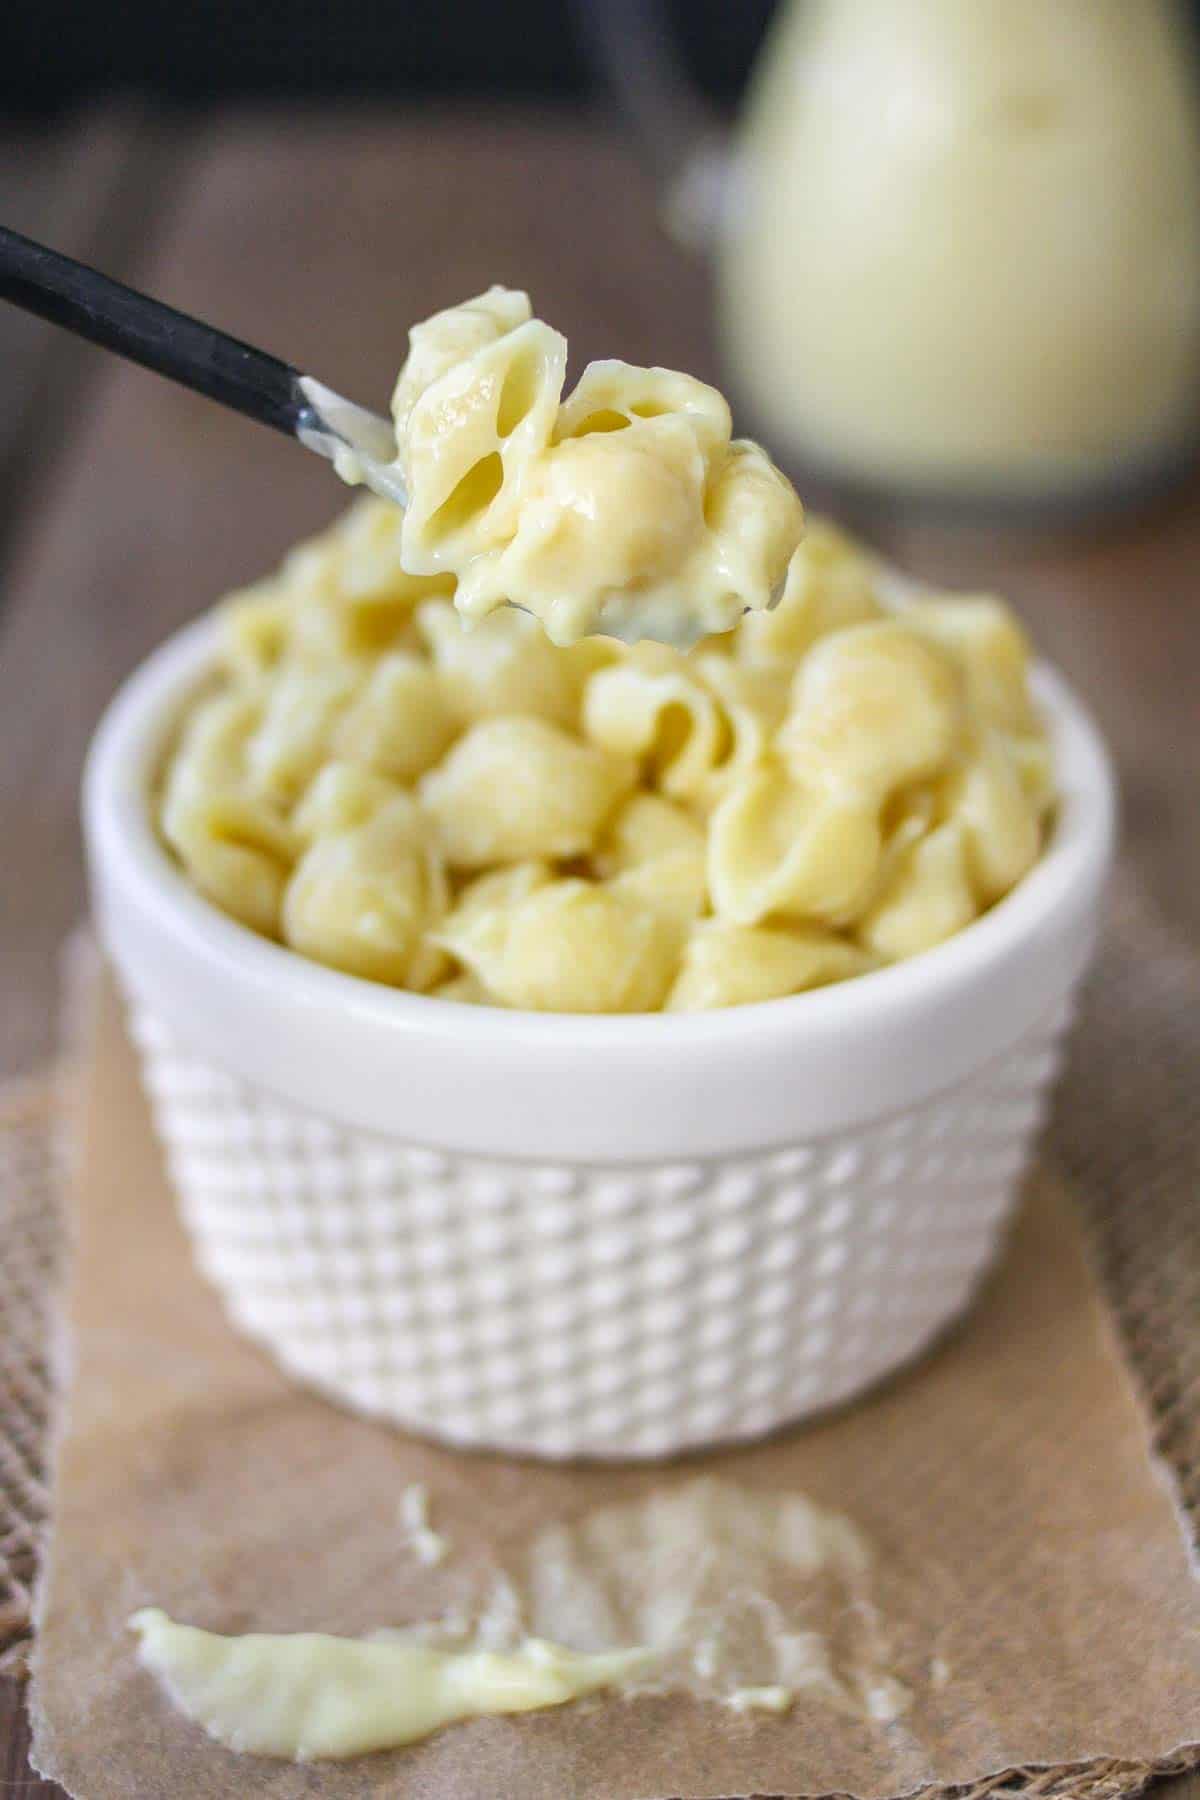
Ingredients
Export 10 ingredients for grocery delivery
Instructions
Step 1
Roast the garlic by peeling and wrapping it in tin foil with a splash of veggie broth. Roast at 400 F (205 C), in a regular or toaster oven, while you cook the veggies.
Step 2
Put potatoes (peel if you don't want specks of skin), yellow pepper, carrots, onion and cashews in a pot and cover with water. If you don't have a high speed blender and are grinding the cashews, then don't boil but grind them dry and place them in the blender.
Step 3
Cook over high heat until water boils, about 15 minutes if uncovered. Turn heat to medium and boil another 20 minutes, until potatoes are tender.
Step 4
When done, drain water (keeping some to thin out sauce if prefer a thinner sauce), separate veggies and put the cashews in the blender. I use a fork to fish out the veggies, then drain the cashews over a pasta strainer.
Step 5
Measure out the needed amount of each veggie and place each in the blender. Add the rest of the ingredients.
Step 6
Blend on high until you get a creamy gooey consistency. If you have a tamper tool use it to help mix the sauce as it blends. If you don’t have one, then you will need to stop and push down the ingredients every once in a while.
Step 7
Taste and adjust ground mustard seed for a sharper flavor if desired.
Step 8
If you want to thin it out, add some of the reserved cooking water, 1 tablespoon at a time until you get the desired consistency. Use it while it's nice and hot!
Step 9
Cook your pasta according to package directions.
Step 10
Drain pasta reserving about 1 cup pasta water in case you want your mac and cheese a little thinner.
Step 11
Add the pasta back into the pot and add desired amount of cheese sauce. Mix well. Try and add a touch more salt if needed.
Step 12
Then add pasta water 1 tablespoon at a time, mixing well in between additions, until you get the desired consistency for your Mac and Cheese. If your pasta is too starchy (as some gluten free pastas are) you can also use regular water or even non dairy milk to do this. Add salt if needed, it most likely will since the sauce is no longer as concentrated. Devour!
Top similar recipes
Curated for youYour folders

 352 views
Amazing Vegan Cheese Sauce
brandnewvegan.com
4.6
(109)
10 minutes
Your folders

 229 views
Amazing Vegan Cheese Sauce
brandnewvegan.com
4.6
(119)
10 minutes
Your folders

 240 views
Amazing Vegan Cheese Sauce
brandnewvegan.com
4.6
(118)
10 minutes
Your folders

 222 views
Amazing White Clam Sauce
allrecipes.com
4.4
(129)
1 hours
Your folders
 676 views
Amazing Vegan Mac And Cheese
cookieandkate.com
4.6
(247)
25 minutes
Your folders

 215 views
Amazing Vegan Mac and Cheese
cookieandkate.com
4.6
(309)
25 minutes
Your folders
 165 views
White Cheese Sauce
tipbuzz.com
10 minutes
Your folders
 289 views
Vegan White Sauce
theyummybowl.com
5.0
(1)
20 minutes
Your folders
 193 views
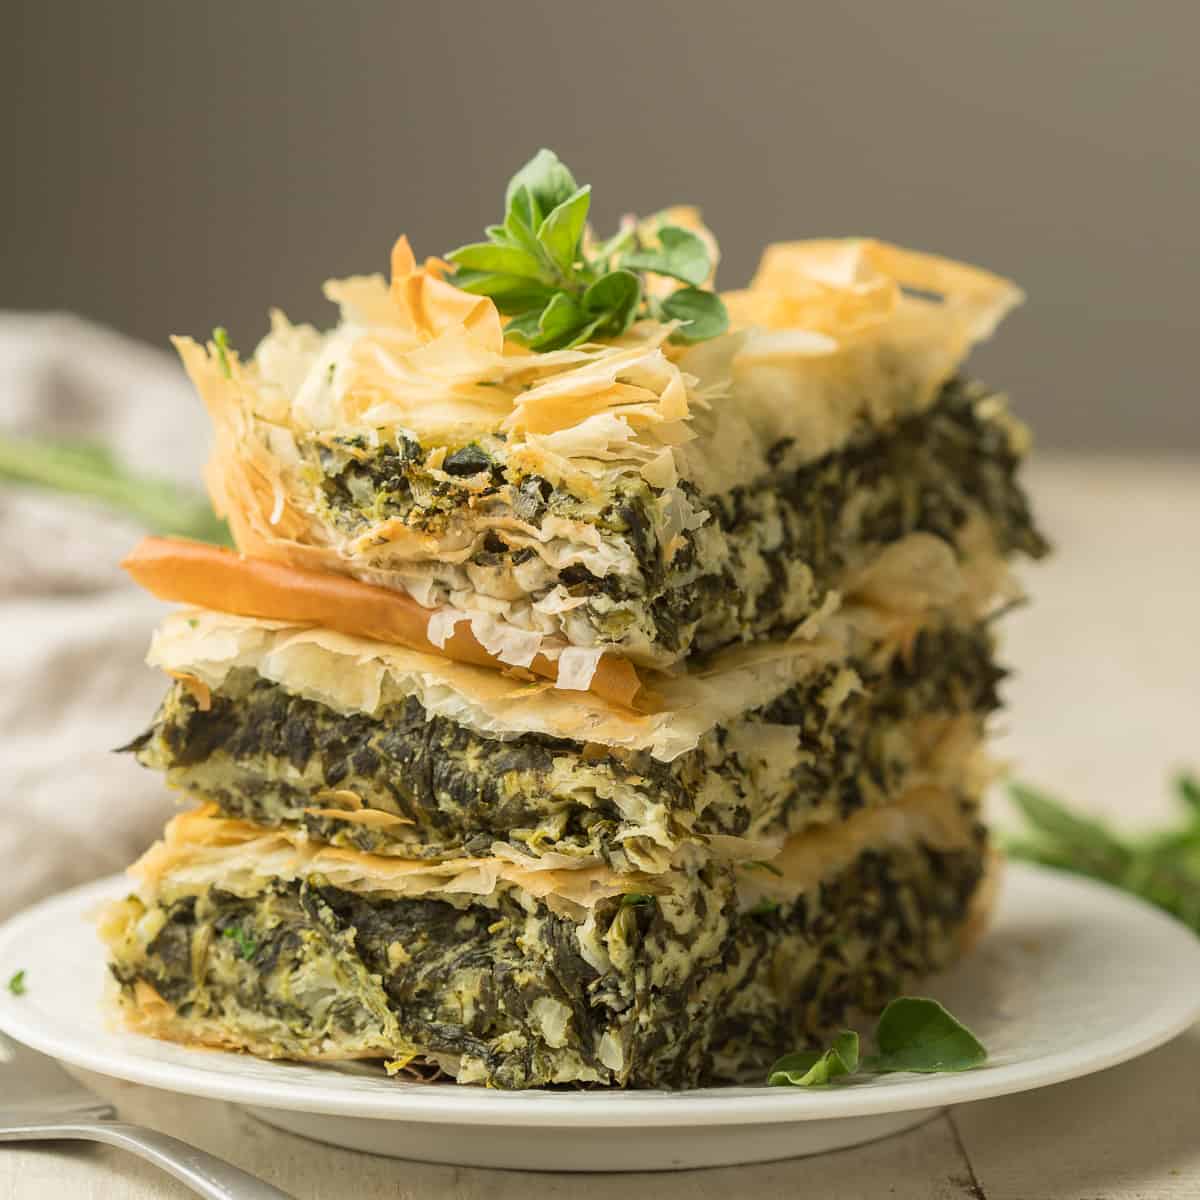
Amazing Vegan Spanakopita
connoisseurusveg.com
4.9
(9)
25 minutes
Your folders

 169 views
Amazing Avo Sauce
thestonesoup.com
Your folders

 385 views
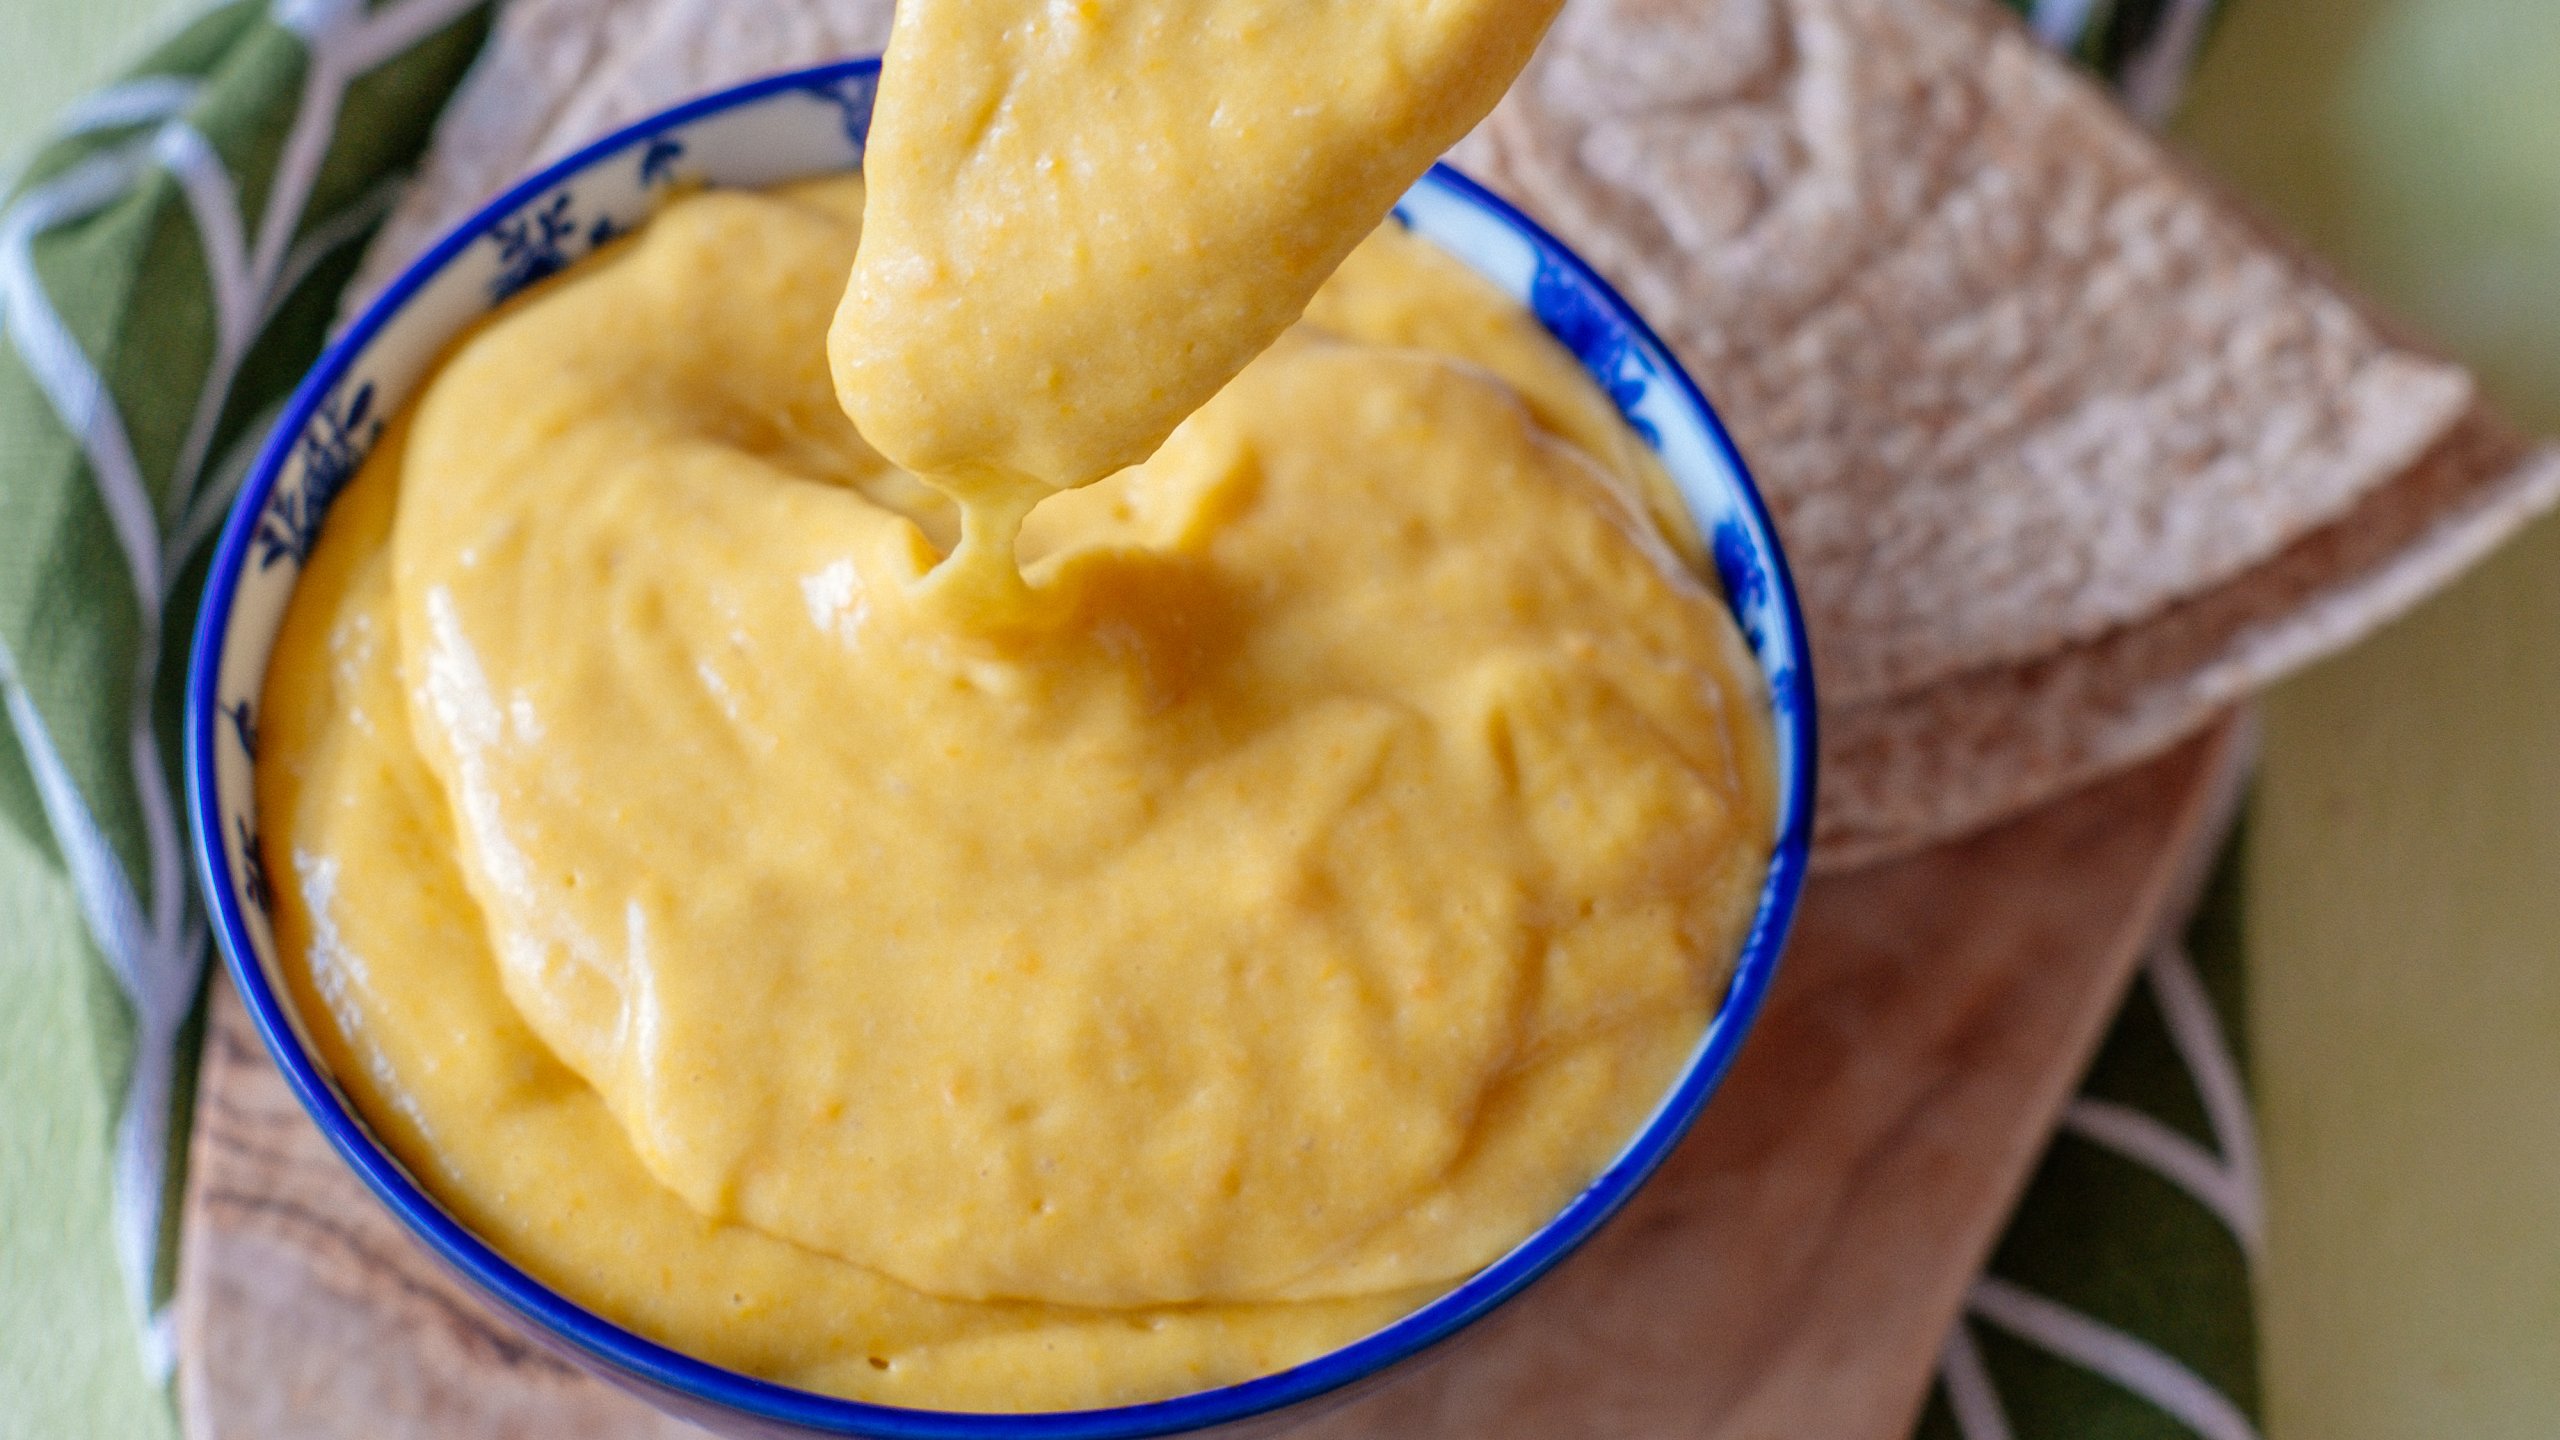
Vegan Cheese Sauce
yummymummykitchen.com
4.3
(24)
5 minutes
Your folders

 212 views
Vegan Cheese Sauce
allrecipes.com
4.7
(7)
10 minutes
Your folders
 193 views
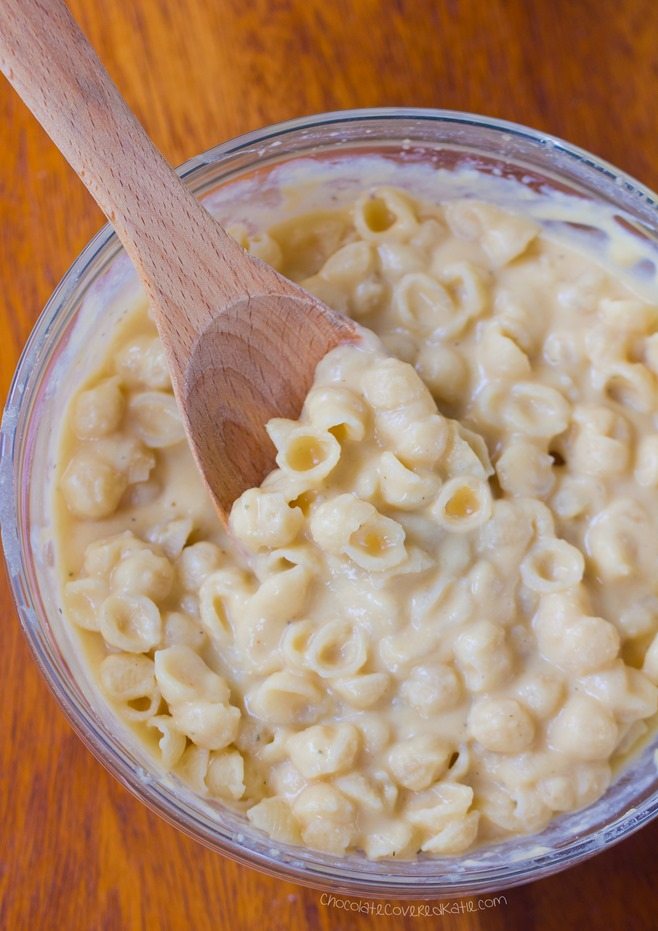
Vegan cheese sauce
yuzubakes.com
5.0
(1)
Your folders
 244 views
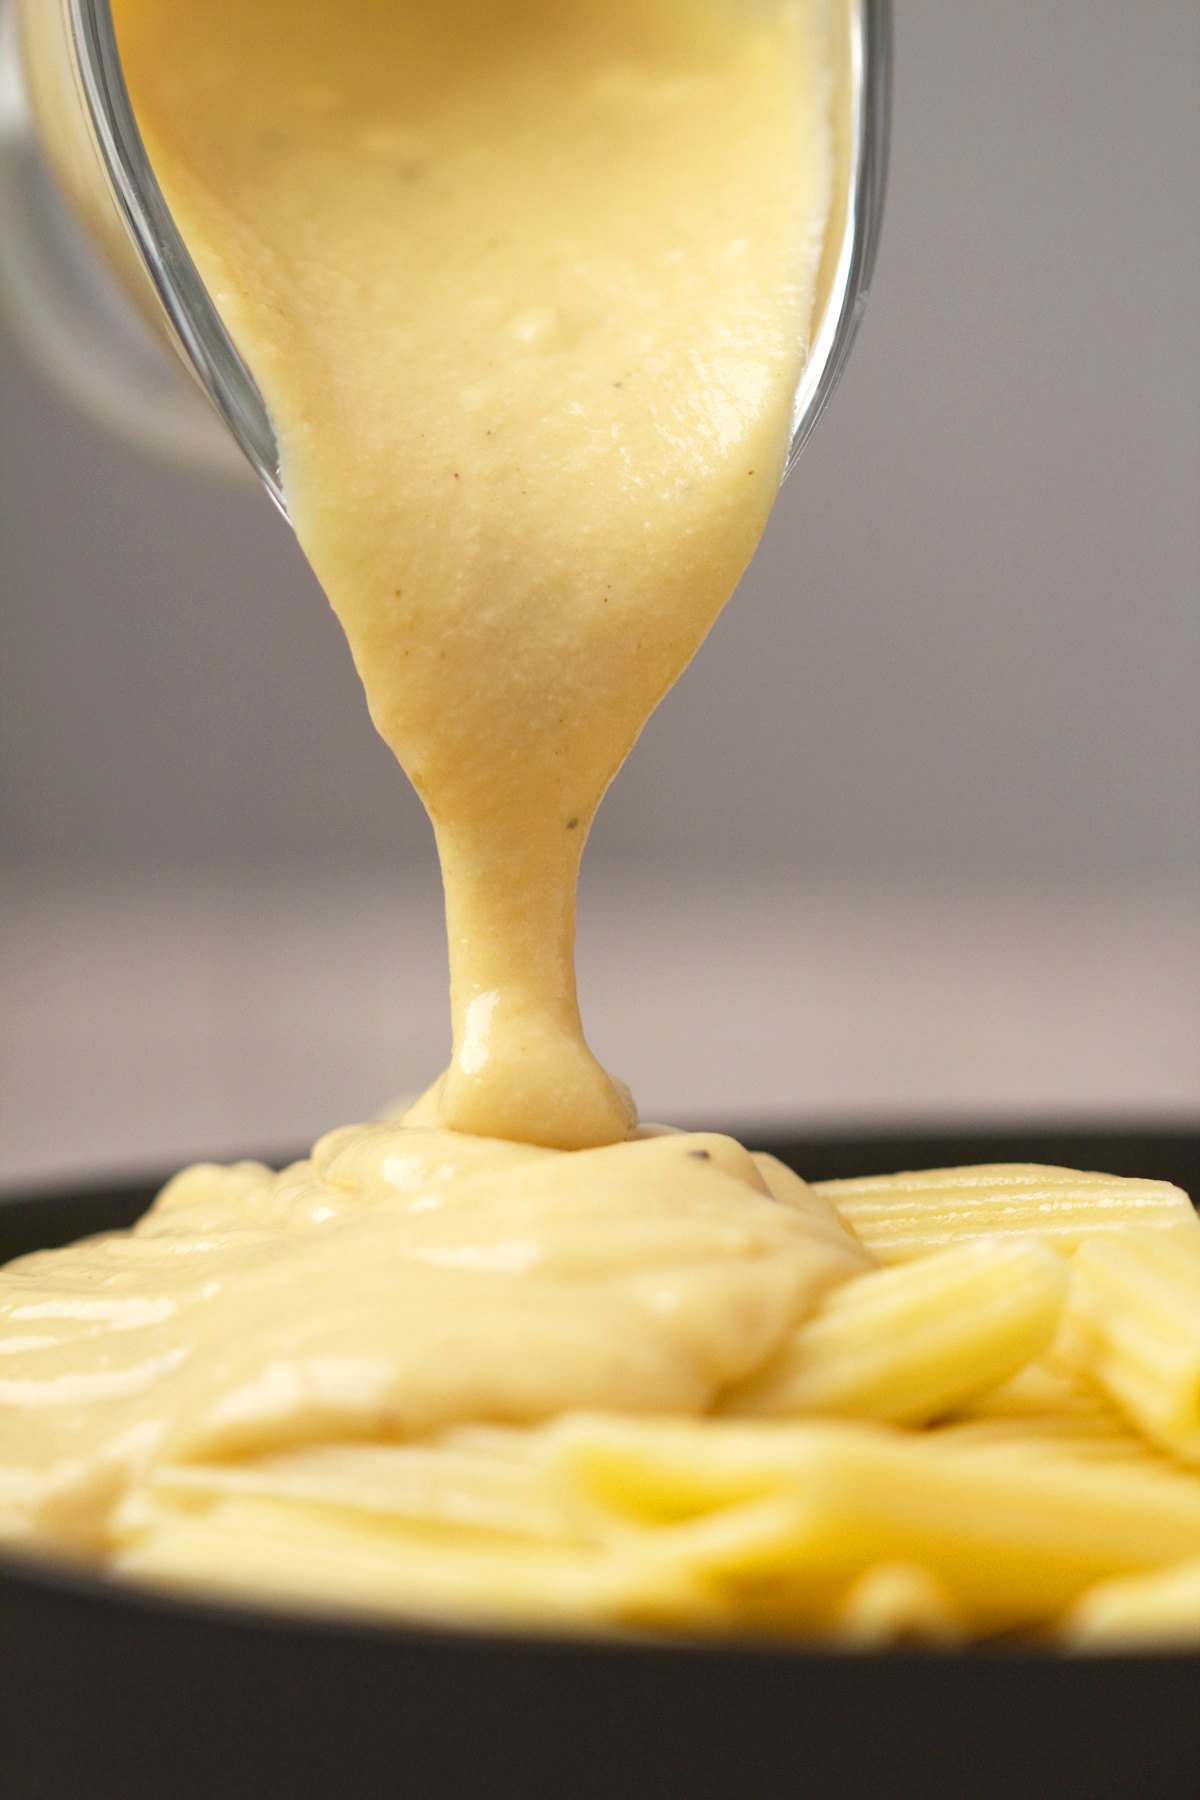
Vegan Cheese Sauce
chocolatecoveredkatie.com
5.0
(206)
5 minutes
Your folders
 216 views
Vegan Cheese Sauce
lovingitvegan.com
4.9
(60)
15 minutes
Your folders
 601 views
Vegan White Sauce (Bechamel)
lovingitvegan.com
4.8
(46)
15 minutes
Your folders
 428 views
Vegan Garlic White Sauce
thecuriouschickpea.com
4.7
(70)
10 minutes
Your folders
 199 views
Vegan White Sauce Lasagna
kathysvegankitchen.com
4.8
(24)
30 minutes
Your folders

 191 views
Vegan White Pizza Sauce
veganinthefreezer.com
4.6
(56)