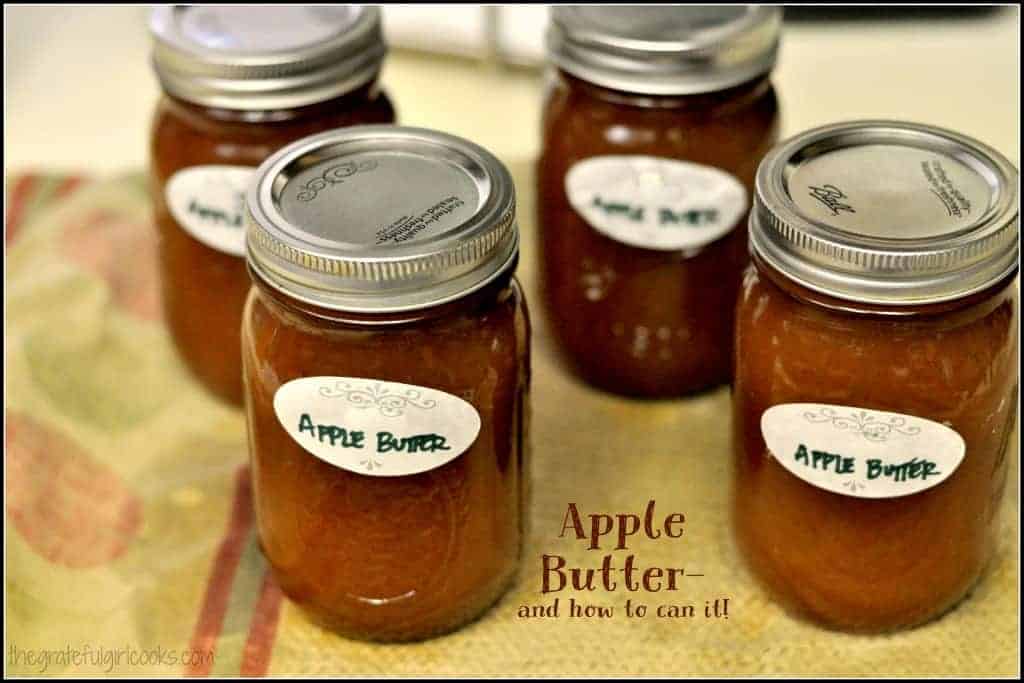
Apple Butter - and how to can it!
Your folders
Your folders
Prep Time: 65 minutes
Cook Time: 10 minutes
Total: 75 minutes
Servings: 128
Author : JB @ The Grateful Girl Cooks!
Ingredients
Export 3 ingredients for grocery delivery
Instructions
Step 1
Combine the apples and water in a large saucepan. Bring this to a boil over medium-high heat. Once it reaches boiling, reduce the heat to low and boil mixture gently, for about 30 minutes, until the apples soften. Stir mixture occasionally.
Step 2
Puree the apple mixture using an immersion blender OR transfer the apple mixture to a food processor or blender. Process until smooth, but do not liquefy.
Step 3
Measure out 12 cups of apple puree into a clean large saucepan. Add sugar, cinnamon and cloves. Stir this mixture up until all the sugar has dissolved. Once dissolved, bring the mixture to a boil (again over medium-high heat). Once it reaches a boil, reduce heat to low and continue to cook. Stir this very frequently to prevent scorching. Continue cooking until the mixture thickens and can hold its shape on a spoon. To test to see if it is ready, spoon a spoonful of the apple mixture onto a CHILLED plate. If the liquid does not separate and form a rim around the edge of the apple butter, and the mixture can hold a spreadable shape, the apple butter is ready to place into canning jars.
Step 4
While the apple butter is cooking, prepare your canner, jars, and lids, according to manufacturer and USDA canning guidelines.
Step 5
Once apple butter is done, ladle the hot apple butter into your hot canning jars. Leave 1/4 inch headspace. Make sure to remove air bubbles, then re-adjust the headspace, if needed. Wipe rim well, to ensure it is clean. Place the flat lid on jar, then screw on the band until it is fingertip tight.
Step 6
Place jars onto rack in prepared canner. Make sure they are completely covered with water (water should be at least an inch over the top of jars). Place lid on canner. Bring water to a full rolling boil, then process jars for 10 minutes. Take off the canner lid; let jars sit in water for 5 more minutes, then remove jars to a dish towel on kitchen counter (do not place hot jars directly on kitchen counter as they could crack due to temperature variations). Let jars sit on counter undisturbed for 24 hours. After testing each jar to make sure they have sealed properly, the jars are safe to store in pantry.