Apple Pie Recipe
4.8
(436)
Your folders
Your folders
Prep Time: 20 minutes
Cook Time: 80 minutes
Total: 340 minutes
Servings: 10
Ingredients
Export 11 ingredients for grocery delivery
Instructions
Step 1
Choose your apples. You need 5 pounds of apples for this recipe, which is about 11 large apples. I like to use a mix of apples for the best flavor. For this pie I used Granny Smith, Gala, and Golden Delicious.
Step 2
Make the filling:Use a microplane grater to zest 1/4 teaspoon lemon peel into a 12 inch high sided skillet.
Step 3
Add the juice from half the lemon to the skillet, about 2 tablespoons.
Step 4
Use a potato peeler or this handy apple peeler to peel the apples. Slice the apples into 1/8 inch pieces. Check out the photos above to see my method for slicing apples. I like to peel and slice one apple at a time so that they don't get brown; I peel one apple, then stop and slice it, add it to the lemon juice, and then move on to peeling the next apple. Stir the apples in the pan occasionally to coat everything with lemon juice.
Step 5
Once you have all the apples peeled and sliced in the pan, set it over medium heat on the stove.
Step 6
Add 3/4 cup packed brown sugar, 3/4 cup granulated sugar, 5 tablespoons flour, 1/4 teaspoon salt, 1 and 1/2 teaspoons cinnamon, 3/4 teaspoon nutmeg, and 1/2 teaspoon cardamom. Stir it together gently so you don't break all the apples.
Step 7
Once the mixture is all moistened and you don't see patches of flour or cinnamon, set a timer for 20 minutes. Cover the mixture with a lid but don't walk away. Stick around and stir the mixture every 3 minutes or so, Replacing the lid each time. Cook for 20 minutes, until the apples are fork tender but still hold their shape. The apples will not soften more while baking in the oven. So have a taste and see if you want to cook a longer or shorter time. Only you can know your apple al dente perfection level.If your apples start to stick to the pan, add 1 tablespoon water as needed; use sparingly.
Step 8
Remove the pan from heat and stir in 1 teaspoon vanilla.*
Step 9
Transfer the apple pie filling (including the brown caramel gooeyness) to a half sheet pan, or any pan with a lip. Spread the apples all the way to the edges. Cool the apple pie filling completely by placing it in the fridge or the freezer, it only takes 30 minutes or so. (If you have plenty of time, you can just leave the apples in the pan to cool down; it will take a couple hours.)
Step 10
Roll out your pie dough and place in a deep 9 inch pie dish, with the excess hanging over the edges. See my pie crust post for lots of photos and details.
Step 11
Use a rubber spatula to scrape all the chilled apple pie filling into the pie dish. Don't forget to scrape in every last bit of the gooey filling.
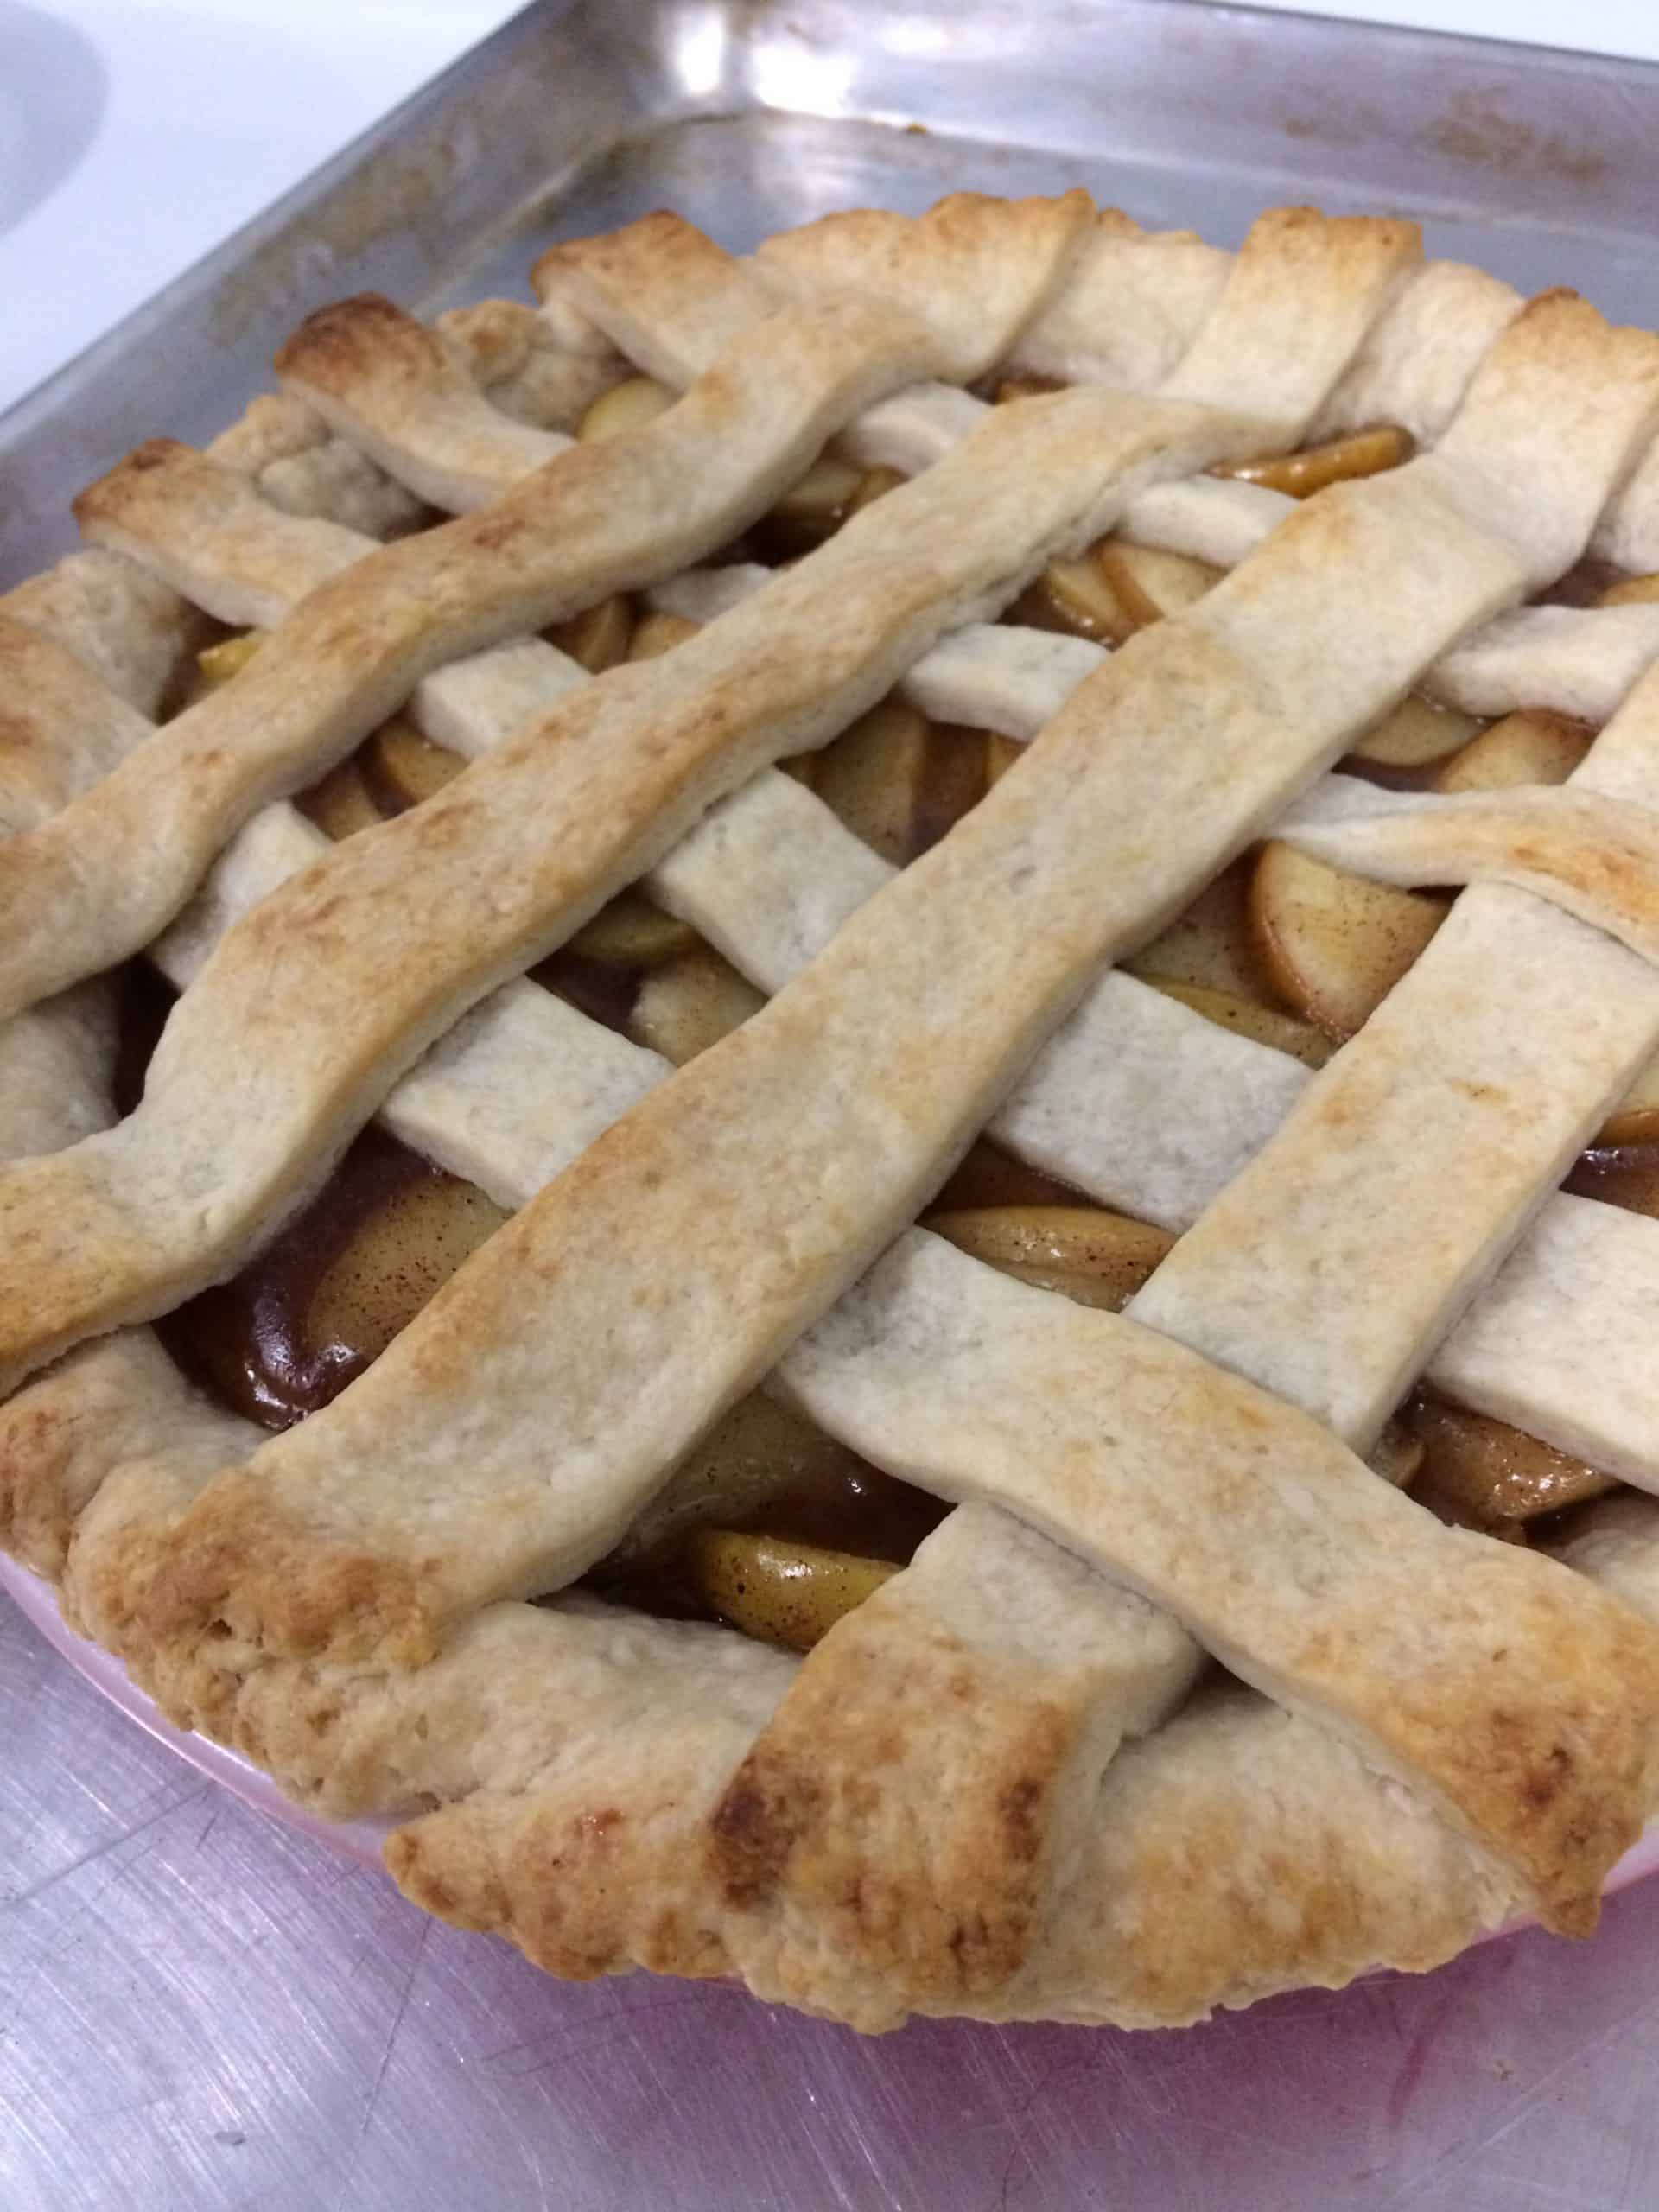
Step 12
Top your pie with the other pie crust. Follow this recipe for How to Make a Lattice Pie Crust, if you like. It's so pretty and not as hard as you think. You can also just toss the crust on whole. It's going to taste delicious either way! See my pie crust recipe for details on topping with a whole crust.
Step 13
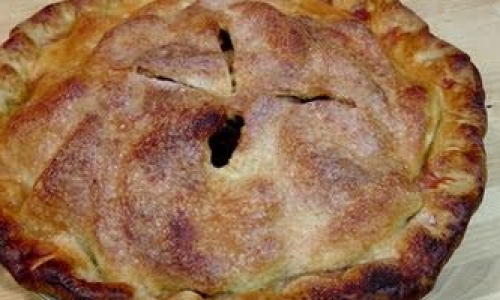
Fold the edges in and crimp however you like. If you didn't do a lattice, make sure to vent your pie by poking the top a few times with a sharp knife.
Step 14
Place the whole pie in the fridge or freezer for about 20-30 minutes, for a really flaky crust.
Step 15
Place a baking sheet in the center rack of your oven and preheat to 425 degrees F. Let it heat up for at least 20-25 minutes to make sure it's really hot.
Step 16
Right before putting it in the oven, brush the crust of your pie all over with milk or egg, or both. I like to use 1 tablespoon milk beat together with 1 tablespoon beaten egg that I have leftover from making my homemade pie crust. You can just use milk if you don't have beaten egg lying around. Milk will help your pie crust brown but will stay matte; egg will add gloss and shine to your pie crust.
Step 17
Sprinkle the whole pie with raw sugar, or regular sugar is fine too.
Step 18
Place the chilled pie onto the baking sheet in the oven and let bake for 15 minutes. The crust on the edge should be turning light brown.
Step 19
Meanwhile, get a square of tin foil that is the same size as your pie. Fold it in half, then in half again. Cut out the center. Open it up again. You should have a square of foil with a circle cut out of the center. See pie crust post for photos.
Step 20
Reduce the heat to 350 degrees F. Remove the pie from the oven and place the foil on top. Loosely crimp it around the crust on the edge. This will protect it from burning.
Step 21
Don't forget to lower the oven temperature to Place the pie back on the baking sheet in the oven and bake at 350 for 40-45 more minutes.
Step 22
You will know the pie is done when the edges are brown and the center is light golden brown. If you did a lattice crust, you should see the filling bubbling away nicely.
Step 23
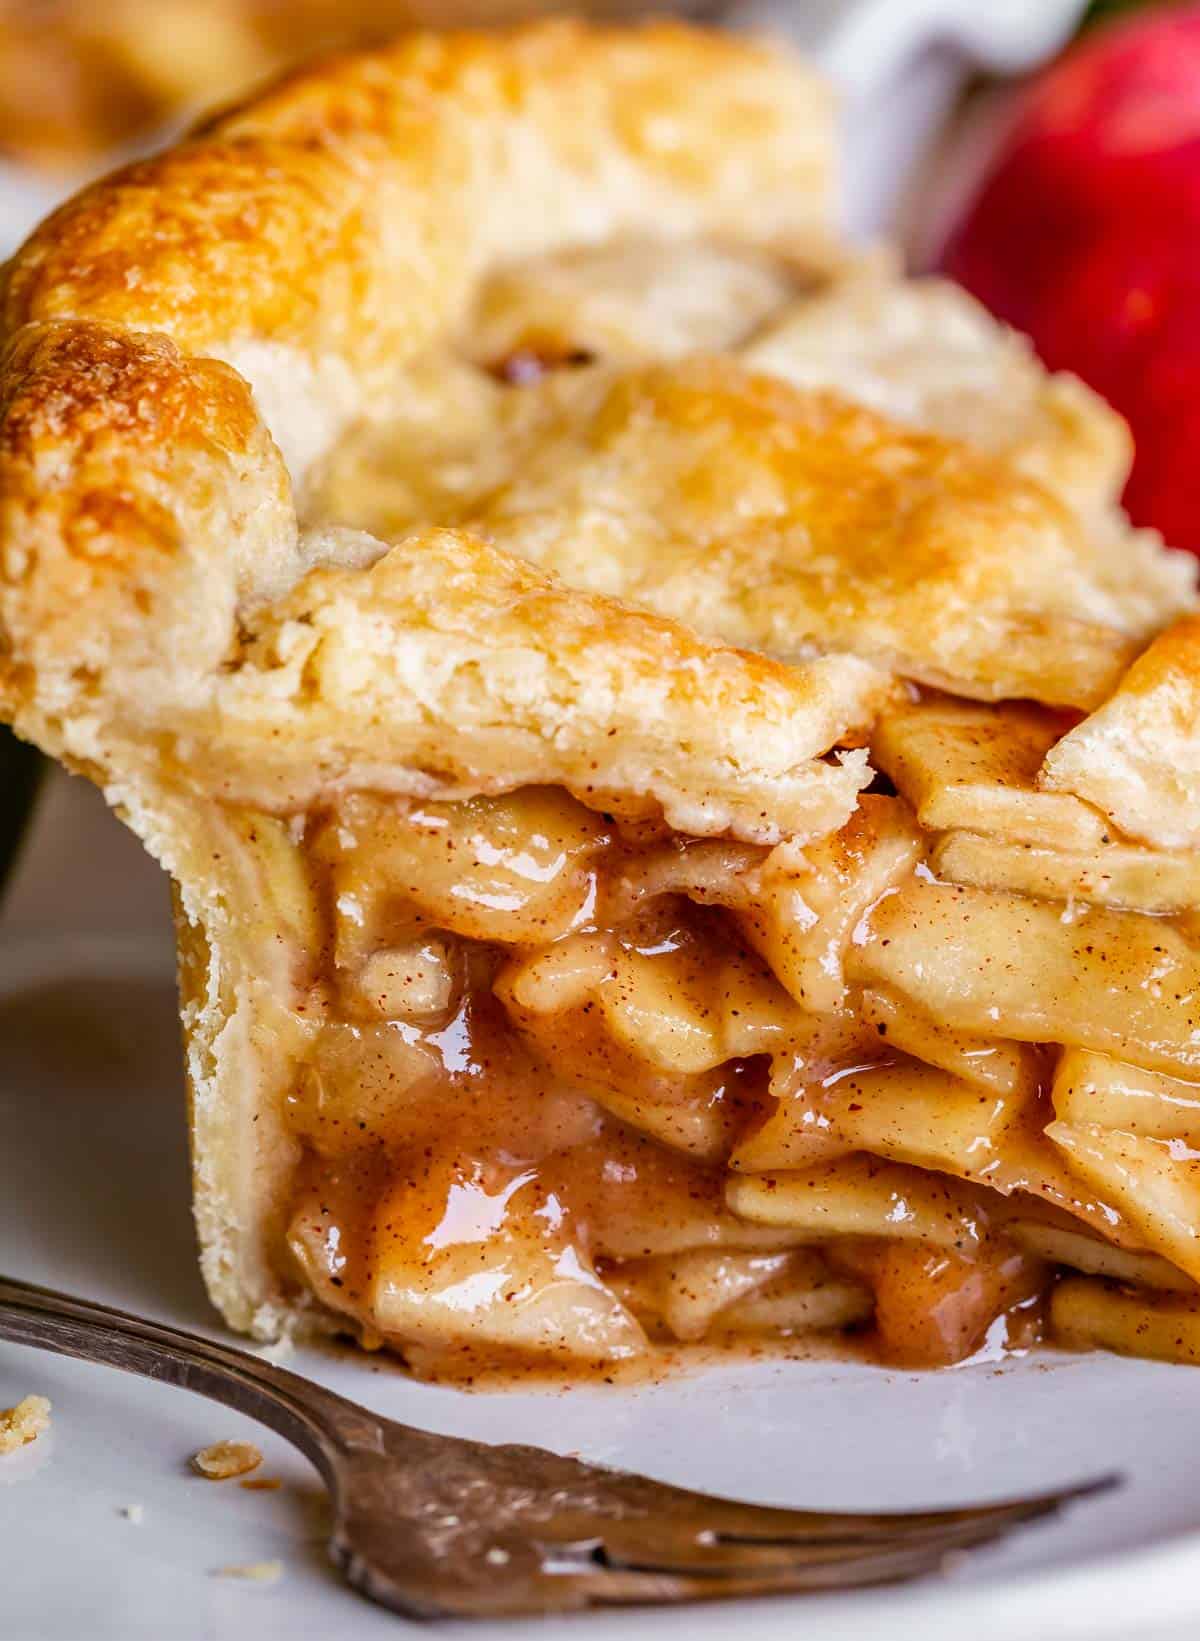
Let the pie cool on a wire rack for about 4 hours. I know, this is killer. But if you cut into it now, the juices will be lava hot and way too liquid-y. You have to wait for it to cool to room temperature to get the right texture for the filling. Pie! A lesson in patience indeed.
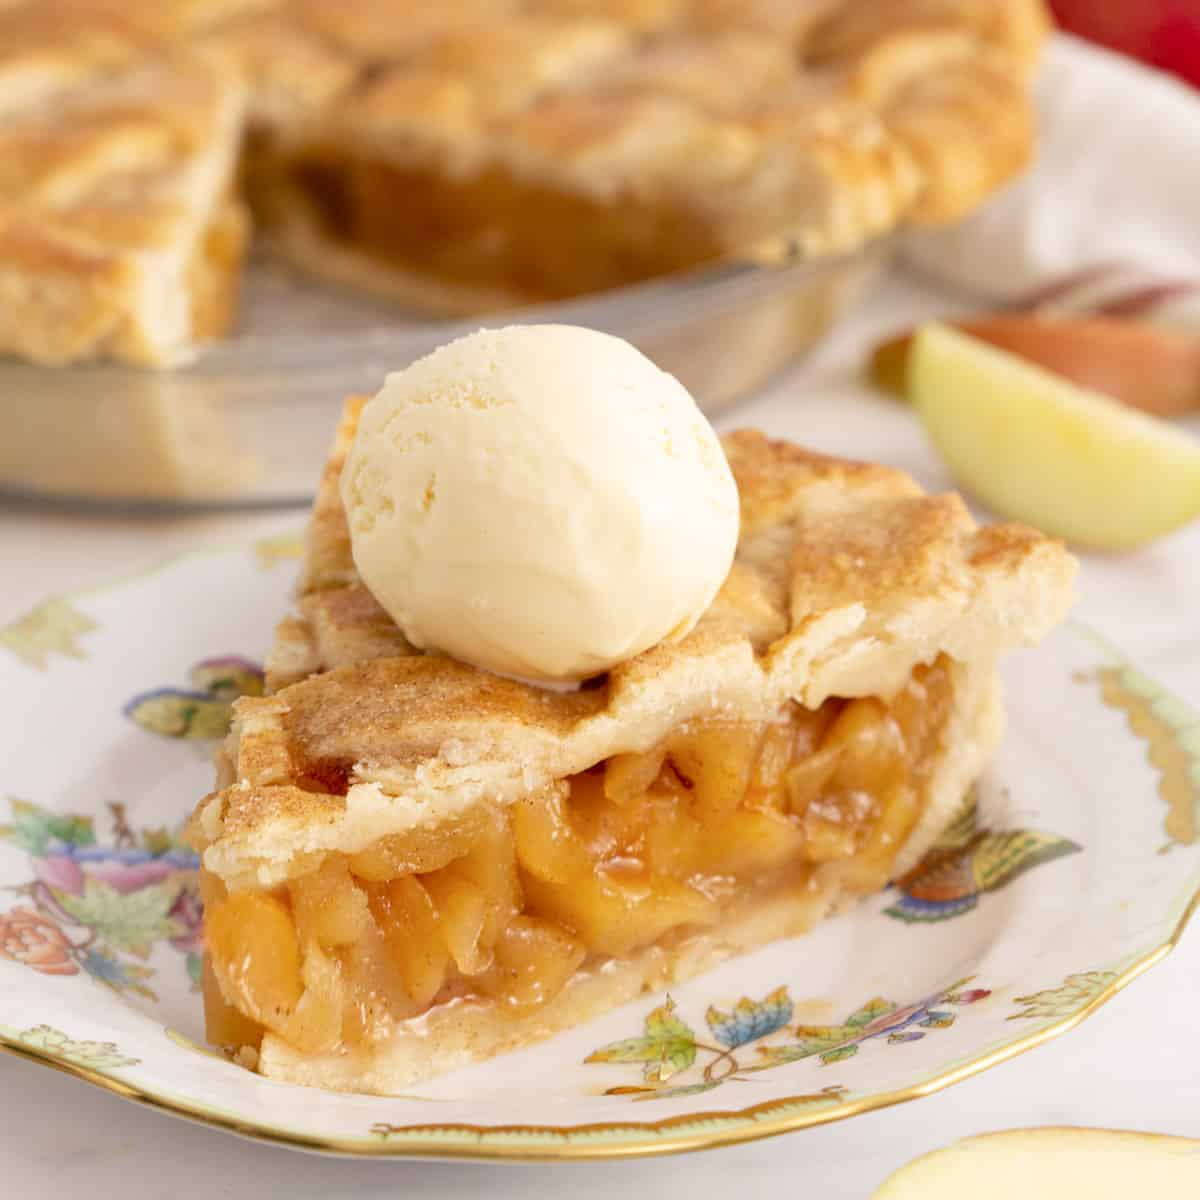
Step 24
Once the pie is completely cool, slice and serve! My husband Eric considers it a crime to serve this without vanilla ice cream, and I tend to agree. Treat yoself right. Add in some caramel sauce for a really decadent treat!
Step 25
Store the pie on the counter for up to 2 days, covered with plastic wrap. After that transfer it to the fridge.
Top similar recipes
Curated for youYour folders
 893 views
Apple Pie Recipe
preppykitchen.com
5.0
(69)
45 minutes
Your folders
 268 views
Apple Pie Recipe
laurainthekitchen.com
Your folders
149 viewsApple Pie Recipe
thekitchn.com
5.0
(2)
Your folders
 542 views
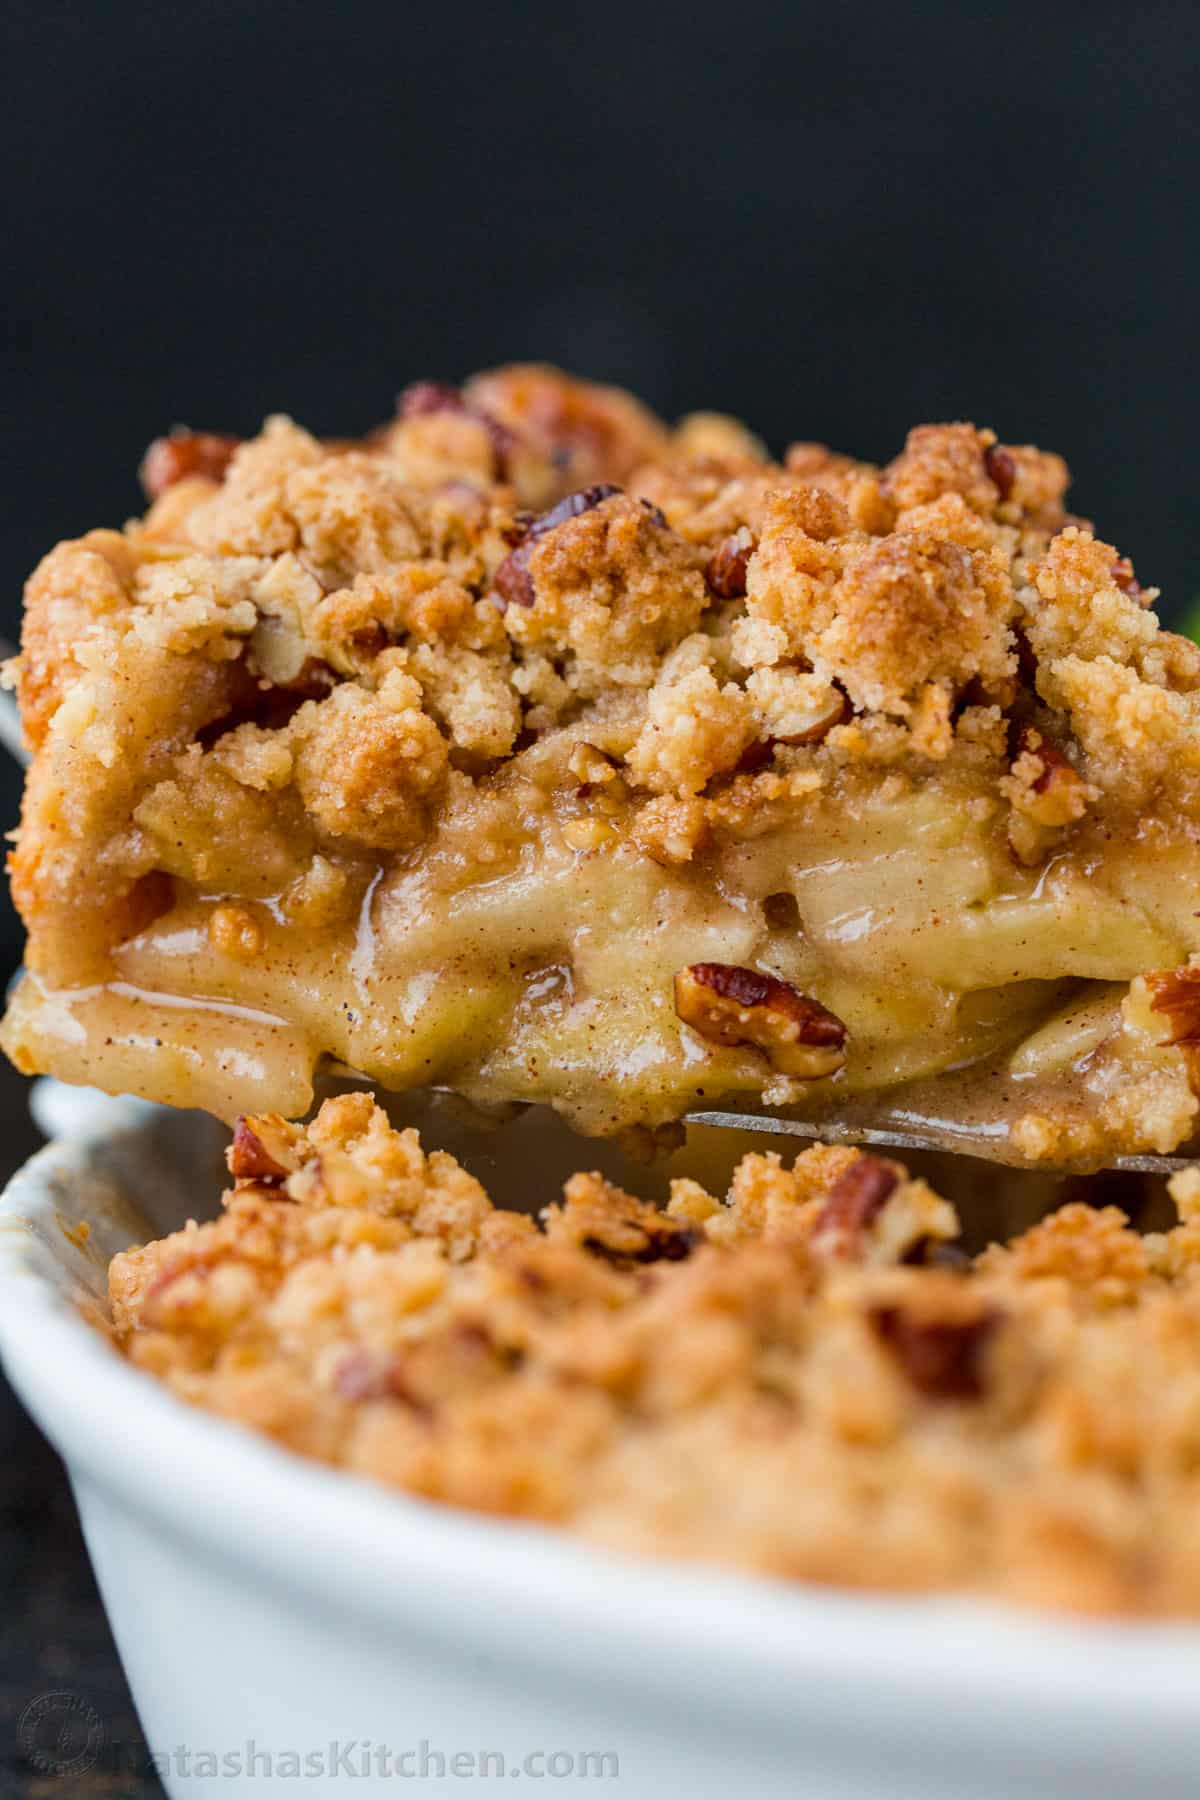
Dutch Apple Pie Recipe (Apple Crumb...
natashaskitchen.com
5.0
(71)
60 minutes
Your folders
 470 views
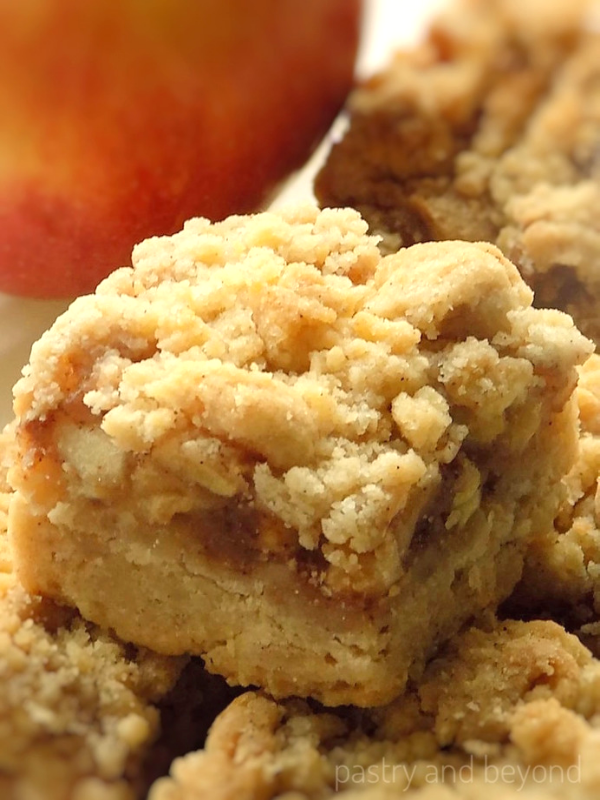
Apple Pie Bars Recipe
pastryandbeyond.com
5.0
(140)
55 minutes
Your folders
/__opt__aboutcom__coeus__resources__content_migration__serious_eats__seriouseats.com__recipes__images__2015__11__20151124-gooey-apple-pie-recipe-40-72409e25930e45aa91ba46655dd9f416.jpg) 236 views
236 viewsGooey Apple Pie Recipe
seriouseats.com
Your folders
 303 views
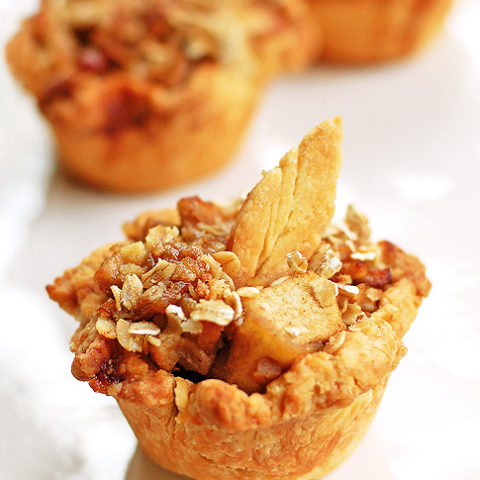
Mini Apple Pie Recipe
mccormick.com
18 minutes
Your folders
 210 views
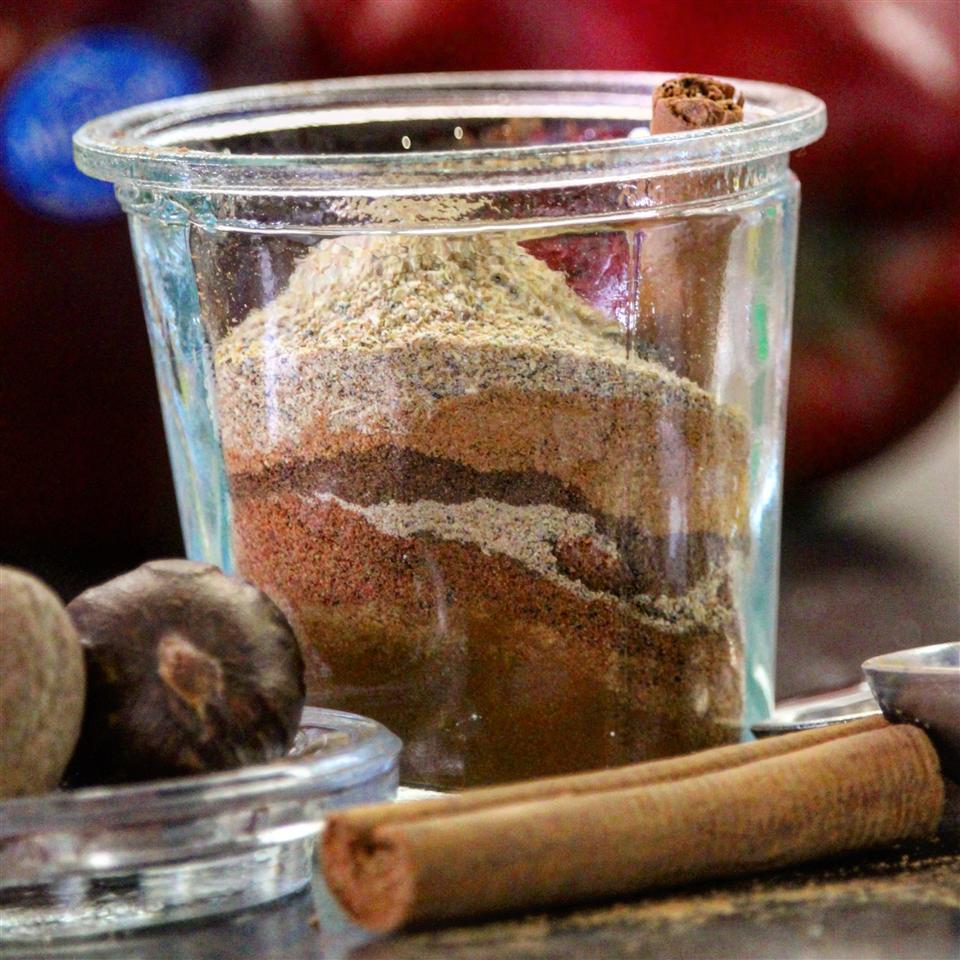
Apple Pie Spice Recipe
allrecipes.com
5.0
(4)
Your folders
 358 views
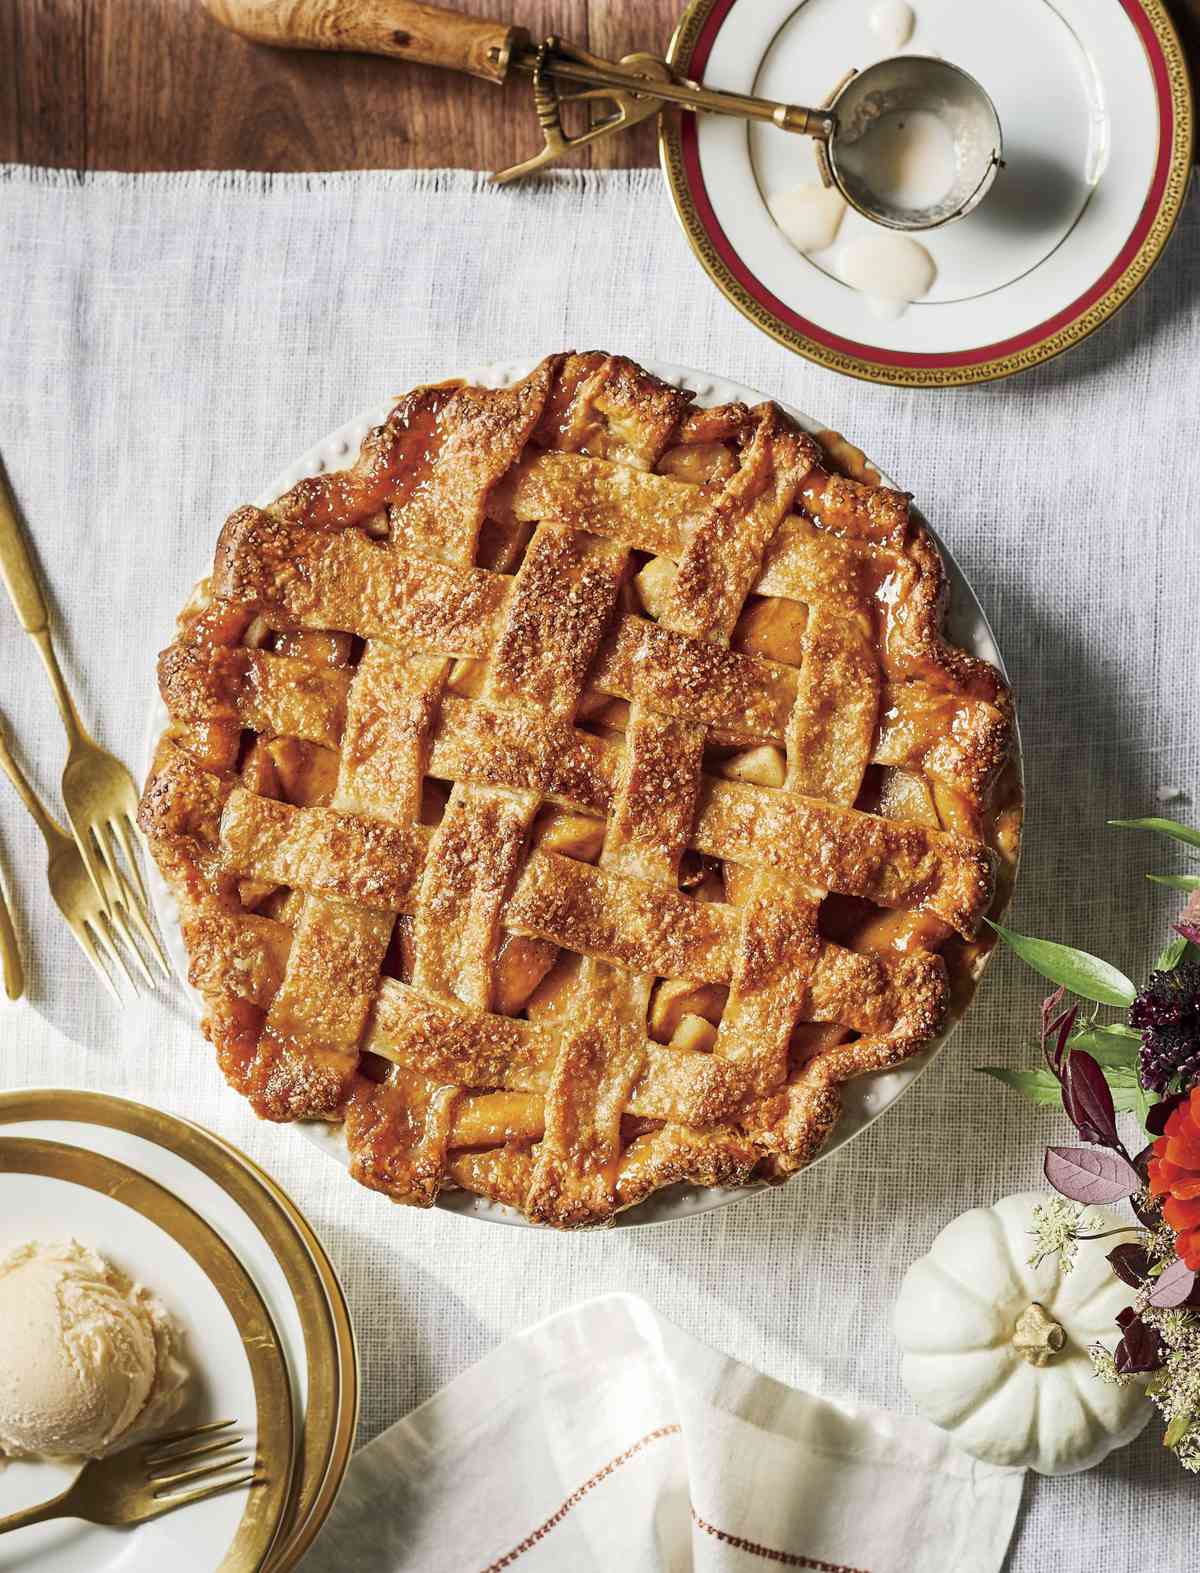
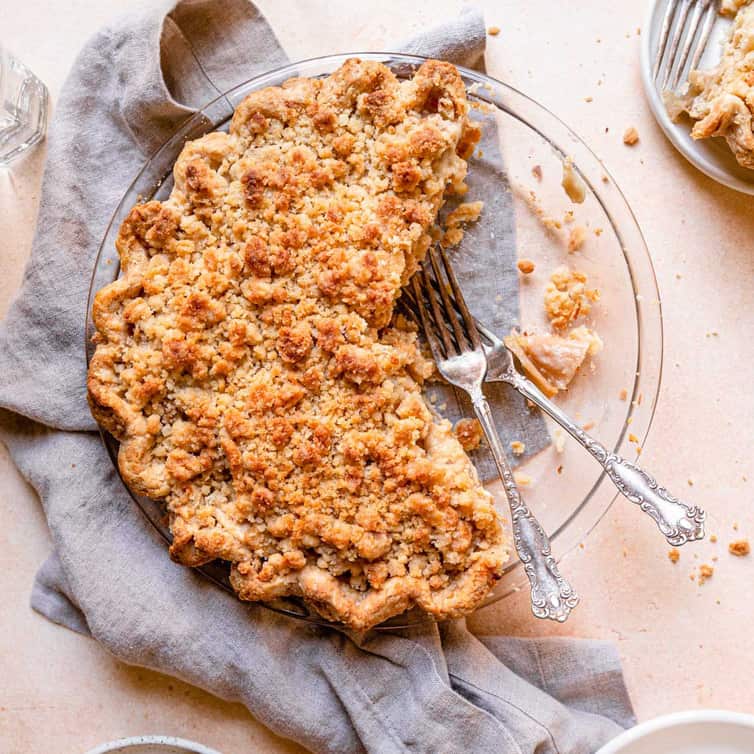
Ultimate Apple Pie Recipe
southernliving.com
Your folders
 499 views
Perfect Apple Pie Recipe
seriouseats.com
3.4
(12)
Your folders
 700 views
Gooey Apple Pie Recipe
seriouseats.com
4.6
(7)
Your folders
 449 views
Mock Apple Pie Recipe
seriouseats.com
Your folders
 214 views
Easy Apple Pie Recipe
littlehouseliving.com
60 minutes
Your folders
 129 views
Mini Apple Pie Recipe
shewearsmanyhats.com
4.0
(15)
50 minutes
Your folders
 118 views
Scrumptious Apple Pie Recipe
bestrecipes.com.au
95 minutes
Your folders
 404 views
Dutch Apple Pie Recipe
browneyedbaker.com
4.4
(74)
60 minutes
Your folders
 245 views
Classic Apple Pie Recipe
finecooking.com
4.7
(38)
Your folders
/__opt__aboutcom__coeus__resources__content_migration__serious_eats__seriouseats.com__recipes__images__2015__11__20151017-apple-pie-vicky-wasik-17-0e5316d41e9146b1aa1e6698361717f6.jpg) 332 views
332 viewsPerfect Apple Pie Recipe
seriouseats.com
Your folders
 298 views
Dutch Apple Pie Recipe
cleverlysimple.com
4.9
(9)
50 minutes