Basic Bath Bomb Recipe For Maximum Benefits & Fizz
5.0
(25)
Your folders
Your folders
Prep Time: 10 minutes
Cook Time: 10 minutes
Total: 1460 minutes
Servings: 8
Cost: $2.03 /serving
Author : Angela Wills
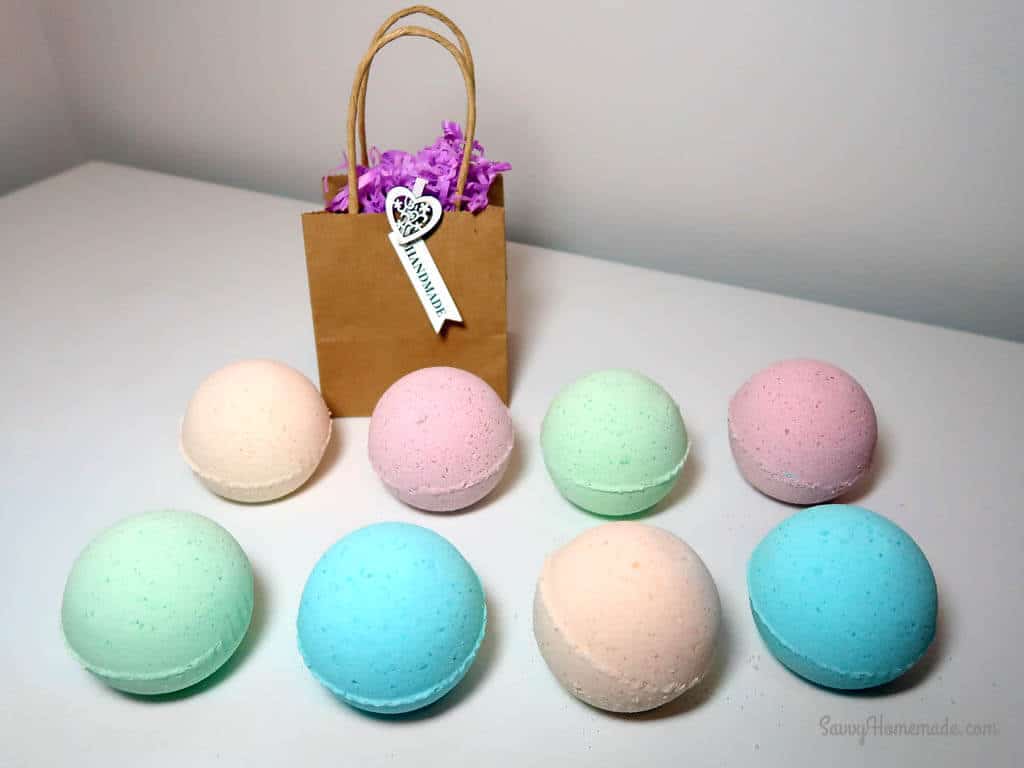
Ingredients
Export 6 ingredients for grocery delivery
Instructions
Step 1
Bring together all of your dry ingredients in a mixing bowl, (baking soda, corn starch, Epsom salts) excluding your citric acid. We want to leave the citric acid until later, as adding it now can complicate things during the liquid pour step, just trust me.
Step 2
In a seperate container, you can go ahead and mix your wet ingredients as well, including any food color or soap dye you’re planning to use.
Step 3
Working slowly so as not to disturb the baking soda too much, add your wet ingredients to the dry ingredients a bit at a time and mixing thoroughly with your hands. (Adding your dye to the Epsom salts rather than your liquids is an interesting alternative worth trying at some point. Just mix thoroughly before adding the salts to the rest of your dry ingredients).
Step 4
As you work the bath bomb ingredients, you’re looking for a texture that is similar to that of damp, but no saturated, sand. You’ll notice that the mixture will begin to stick together at this stage, a bit like wet sand does in your sandcastle bucket.
Step 5
Once all of your liquid has been added and you’ve mixed thoroughly, add your citric acid and mix once more. It’s okay to use your hands but as citric acid can cause irritation and burns, make sure you’re using gloves.
Step 6
Now to get that orb-like shape we associate with a bath bomb. Take both halves of your mold and pack them with your mixture. You want it ever so slightly heaped so that your halves stick together well.
Step 7
When you’re ready, press the two halves together tightly so that the mixture bonds into an orb. After a few seconds, you should be able to remove one half of the mold.
Step 8
Lastly, gently set the exposed half onto a silicon cupcake case. You don’t have to use a cupcake case, some people use muffin tins for this, but I find it’s the best thing to rest these on without them falling apart. Hopefully, it should just pop out of your bath bomb mold, but if it doesn’t gently tap it to try and loosen it up. If this becomes a regular issue, take a look at how much liquid you’ve used. Also try working a bit quicker and don’t leave the mixture in the mold for more than a few seconds.
Step 9
You can use plastic bath bomb molds but prefer to use metal molds, and haven’t had a problem with them. If you’ve had problems with a mold made from a particular material (say plastic) let me know how it turned out. Otherwise, stick to metal. You'll then want to leave your bath bombs to dry for at least 24 hours, but usualy a couple of days. Pop them somewhere they won't be disturbed easily, just reduce the chance of dents and imperfections.
Top similar recipes
Curated for youYour folders
 3408 views
DIY Bath Bomb Recipe
feastforafraction.com
4.5
(360)
Your folders
 221 views
DIY Bath Bomb Tutorial
abeautifulmess.com
Your folders
 295 views
Mason Jar Bath Bomb
thecountrychiccottage.net
Your folders
 247 views
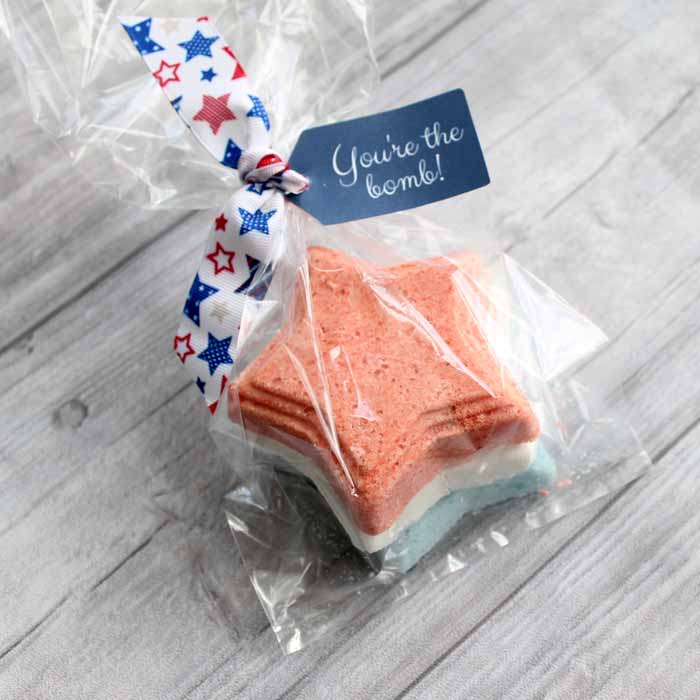
Best Bath Bomb Recipe (Star-Shaped)
thecountrychiccottage.net
Your folders

 838 views
Water Bath for Cheesecake
culinaryhill.com
5.0
(10)
110 minutes
Your folders
 257 views
Basic Brine Recipe For Injectors
amazingribs.com
4.1
(54)
Your folders

 45 views
Apple Ginger Fizz For Fall
mindfulmocktail.com
5.0
(36)
Your folders
 183 views
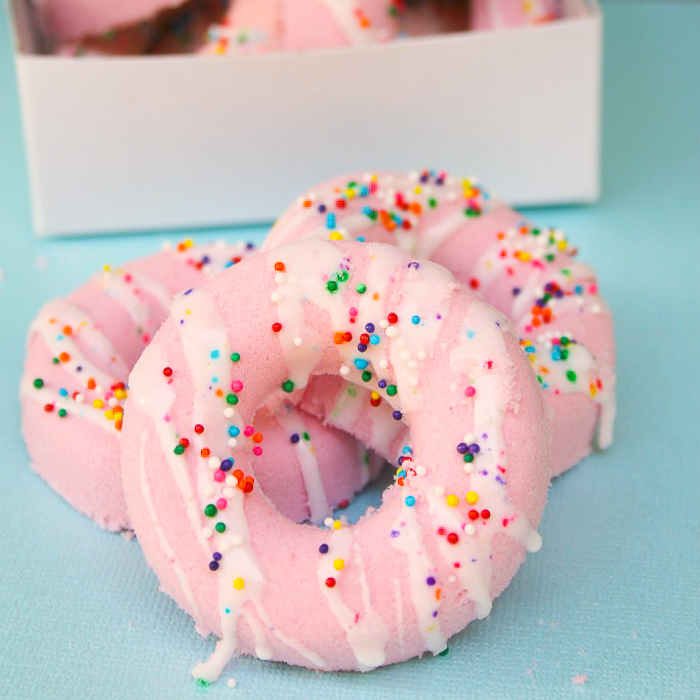
Make Your Own Bath Bomb in a Donut ...
thecountrychiccottage.net
Your folders
:max_bytes(150000):strip_icc()/__opt__aboutcom__coeus__resources__content_migration__serious_eats__seriouseats.com__recipes__images__20110118strainerprimary-0a043598148849389c89bc970140c8fe.jpg)
 70 views
Buck's Fizz Recipe
seriouseats.com
Your folders
 221 views
Immune Booster Shot Recipe (Maximum...
40aprons.com
5.0
(86)
Your folders

 194 views
#1. Basic Meatloaf for Dogs Recipe
patchpuppy.com
80 minutes
Your folders

 322 views
Best Vegas Bomb Recipe
aspicyperspective.com
Your folders
 324 views
Jager Bomb Recipe (+VIDEO)
izzycooking.com
Your folders

 307 views
Bomb Pops Popsicle Recipe
sugarandcharm.com
4.8
(10)
Your folders

 628 views
Bisi bele bath recipe
indianhealthyrecipes.com
5.0
(143)
40 minutes
Your folders

 399 views
Ginger Juice (Recipe and Benefits)
yummymummykitchen.com
5.0
(2)
Your folders
 348 views
Sloe Gin Fizz Recipe
thekitchenmagpie.com
5.0
(9)
Your folders

 148 views
Ramos Fizz cocktail recipe
makemeacocktail.com
4.7
(47)
2 minutes
Your folders
 218 views
Chicago Fizz cocktail recipe
makemeacocktail.com
4.4
(26)
2 minutes