Best Vegan Pumpkin Pie Recipe EVER!
5.0
(67)
Your folders
Your folders
Prep Time: 15 minutes
Cook Time: 65 minutes
Total: 560 minutes
Servings: 8
Author : Brandi Doming
Ingredients
Export 11 ingredients for grocery delivery
Instructions
Step 1
First, cook your sweet potato first. To make things faster, I cooked a small, whole sweet potato in the microwave for about 5 minutes until really soft. Bake if you don't want to use a microwave, as steaming/boiling will add extra water. Let it cool some before proceeding.
Step 2
Preheat your oven to 350°F degrees and grease a 9 inch pie dish REALLY well. Do not skip the spray or the crust will stick to the dish! Press your dough into the greased dish, flat and evenly across and going up the sides (if using homemade). You do not prebake the pie crust whether using my recipe OR a store-bought one. Use the crust raw because the pie bakes a really long time.
Step 3
For the filling, first add the syrup and walnuts only to a high powered blender. I used my Vitamix. If you don't have one, I don't think a regular blender will be powerful enough, so I would suggest using your food processor. Blend until fairly smooth. Scrape down the sides and add the cornstarch, cinnamon, pumpkin pie spice and salt, pumpkin and sweet potato. Blend until completely smooth. It should be like a pudding consistency.
Step 4
Pour the batter onto the crust and smooth out with the back of a spoon flat and evenly along the sides. I swirled the spoon in a circular motion for a pretty effect.
Step 5
If using my homemade pie crust, place 4 double-folded 8 inch strips of foil around just the edges of the crust, just placed flat along the edges. (see photo) Crimp them underneath the pie dish. This is crucial so the crust doesn’t burn. Make sure they are not dipping into the pie filling, otherwise that will affect how the filling bakes up. OR, use a pie crust protector (linked below) which works much easier! (linked above) If using a store-bought crust, this can vary so I wouldn’t cover the crust unless you see it is browning too much towards the end of the baking.
Step 6
Bake for 55 minutes (set your timer!), then add one large loosely placed piece of foil over the whole pie ONLY IF the top is browning too much. It should be a dark golden brown, but only place the foil if it looks like it may start to burn. I have not experienced this though. Just gently place it on top loosely, no need to even remove the pie.
Step 7
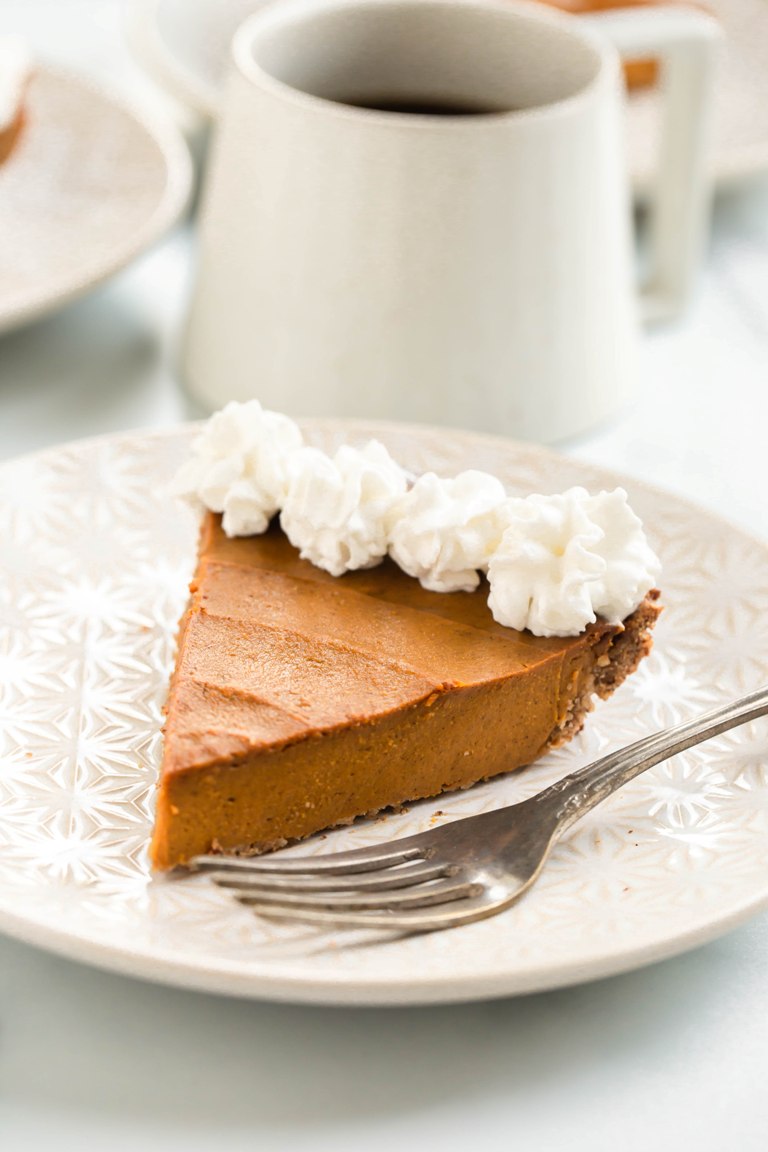
Bake 10 more minutes with the foil on top, which will be 65 minutes total or until the center is set, not jiggly and a deep golden brown (as pictured). A toothpick will not come out clean. I removed mine at exactly 65 minutes. It will finish cooking as it cools and will firm up in the fridge a lot overnight.
Step 8
Cool to room temperature (2 hours) and then chill in the fridge overnight or 8 hours. This will bring it to the complete firm, set texture. Once ready to serve, loosen the crust by gently going around the edges with a sharp knife. Keep stored in the fridge until ready to serve. I love to eat my pie cold, but if you prefer it room temperature, just set it out at room temperature a bit before serving time. This pie will last a week in the fridge.