Black Cocoa Cat-Shaped Cookies (Vegan)
5.0
(2)
Your folders
Your folders
Prep Time: 15 minutes
Cook Time: 8 minutes
Total: 68 minutes
Servings: 15
Author : Bianca Fernandez

Ingredients
Export 7 ingredients for grocery delivery
Instructions
Step 1
In a medium bowl, whisk together all of the dry ingredients: all-purpose flour, cocoa powders, baking soda, and salt.
Step 2
In a stand mixer using the paddle attachment (can alternatively use hand mixer or whisk), mix the butter and sugars on medium speed until combined. Scrape bottom of bowl. Add vanilla and mix again.
Step 3
Dump in all of the dry ingredients and mix until combined. If the dough is crumbly, slowly add 2-4 tbsp of dairy-free milk until it comes together. The finished dough should be thick.
Step 4
Preheat oven to 350°F/177°C and line two baking trays with parchment paper or silicone mats.
Step 5
Use small cookie dough scoop to gather dough (about 1 ½ tablespoon each). Shape dough into ball, then place onto lined baking tray. Flatten with palm of your hand or bottom of a cup. This will be the cat's head.For the ears, take ½ tsp of dough and shape into a triangle with your fingers Place the ear on the upper left or right side of the head and repeat for the other ear. Place cats about 3-4 inches apart. They will not spread much while baking.
Step 6
Bake for 10-13 minutes. Cookies should look slightly puffy and soft in the center with set edges. They will not brown because of their black color. Be careful to not over bake so they don't get crispy! They will continue cooking when cooling on the pan.
Step 7
Let cool on pan for about 5-10 minutes, then transfer to wire rack. Let cool completely.
Step 8
To add the faces, use pink, yellow, and black colored vegan royal icing (recipe in notes below). Place into small piping bags and cut a small tip for each one. Have a toothpick or cookie scribe on hand to help you move the icing in the direction you want as you decorate the cookies.First, start with the eyes using the yellow royal icing: outline the eyes by piping 4 dots that you can connect into a circle. After connecting the circle for each eye, move onto the next cat. This allows the yellow outlines to somewhat dry, allowing you to flood the middle with the remaining yellow icing. After piping the eye outlines for each cat, flood the circles with the yellow icing. While that dries, use the pink royal icing to add the noses and inner ears for each cat.Take black icing and pipe whiskers on the left and right sides of the cat's face. Finally, using the black icing, add the pupils to the cat's eyes within the yellow circle. Leave a small perimeter of the yellow around the pupils as pictured in my photos.
Step 9
Enjoy!
Top similar recipes
Curated for youYour folders

 221 views
Black Cat Cookies
goodhousekeeping.com
Your folders
 181 views
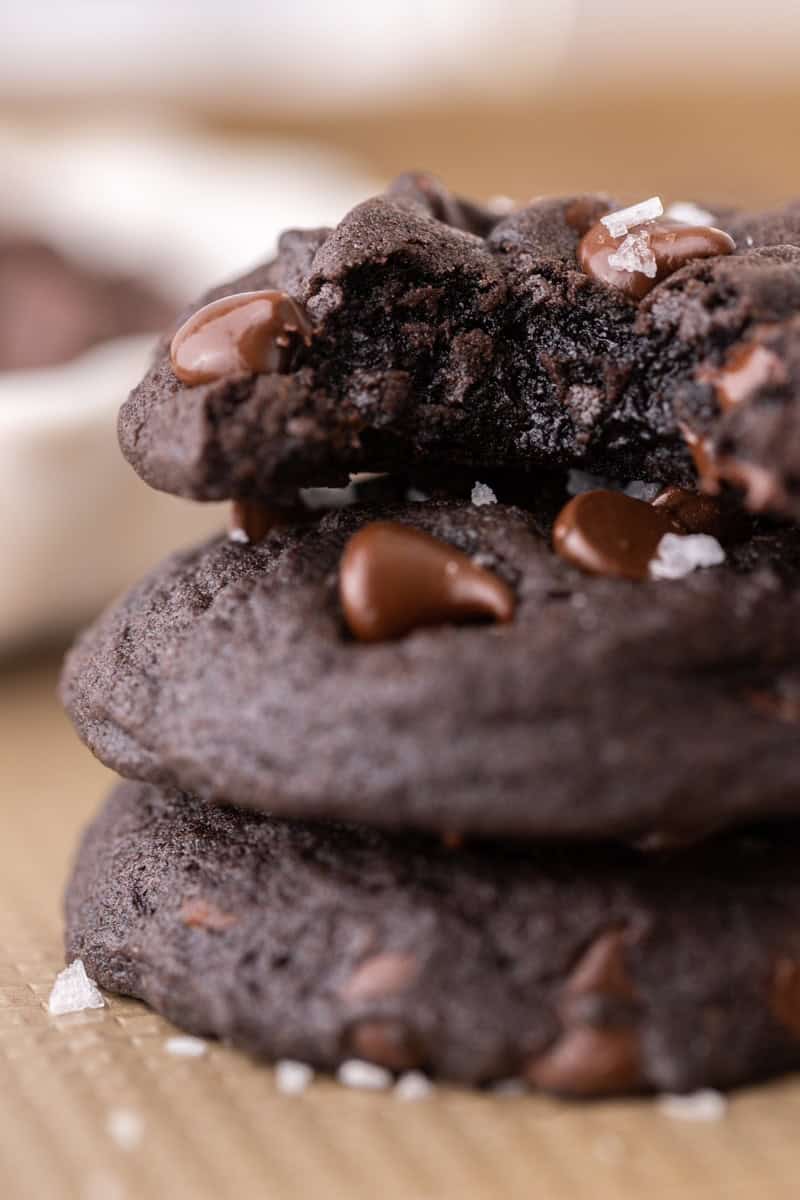
Black Cocoa Cookies
alwayseatdessert.com
5.0
(1)
10 minutes
Your folders
 815 views
Black Cocoa Shortbread Cookies
prettysweetblog.com
12 minutes
Your folders
132 viewsBlack Cocoa Crinkle Cookies
foodnetwork.com
5.0
(2)
40 minutes
Your folders
 172 views
Black Cocoa Brownie Cookies
freshbeanbakery.com
10 minutes
Your folders
 96 views
Black Cocoa Halloween Cookies
kingarthurbaking.com
5.0
(3)
32 minutes
Your folders
 75 views
Chocolate Chip Black Cocoa Cookies
lifestyleofafoodie.com
5.0
(3)
10 minutes
Your folders
 7 views
Chocolate Chip Black Cocoa Cookies
lifestyleofafoodie.com
Your folders
 124 views
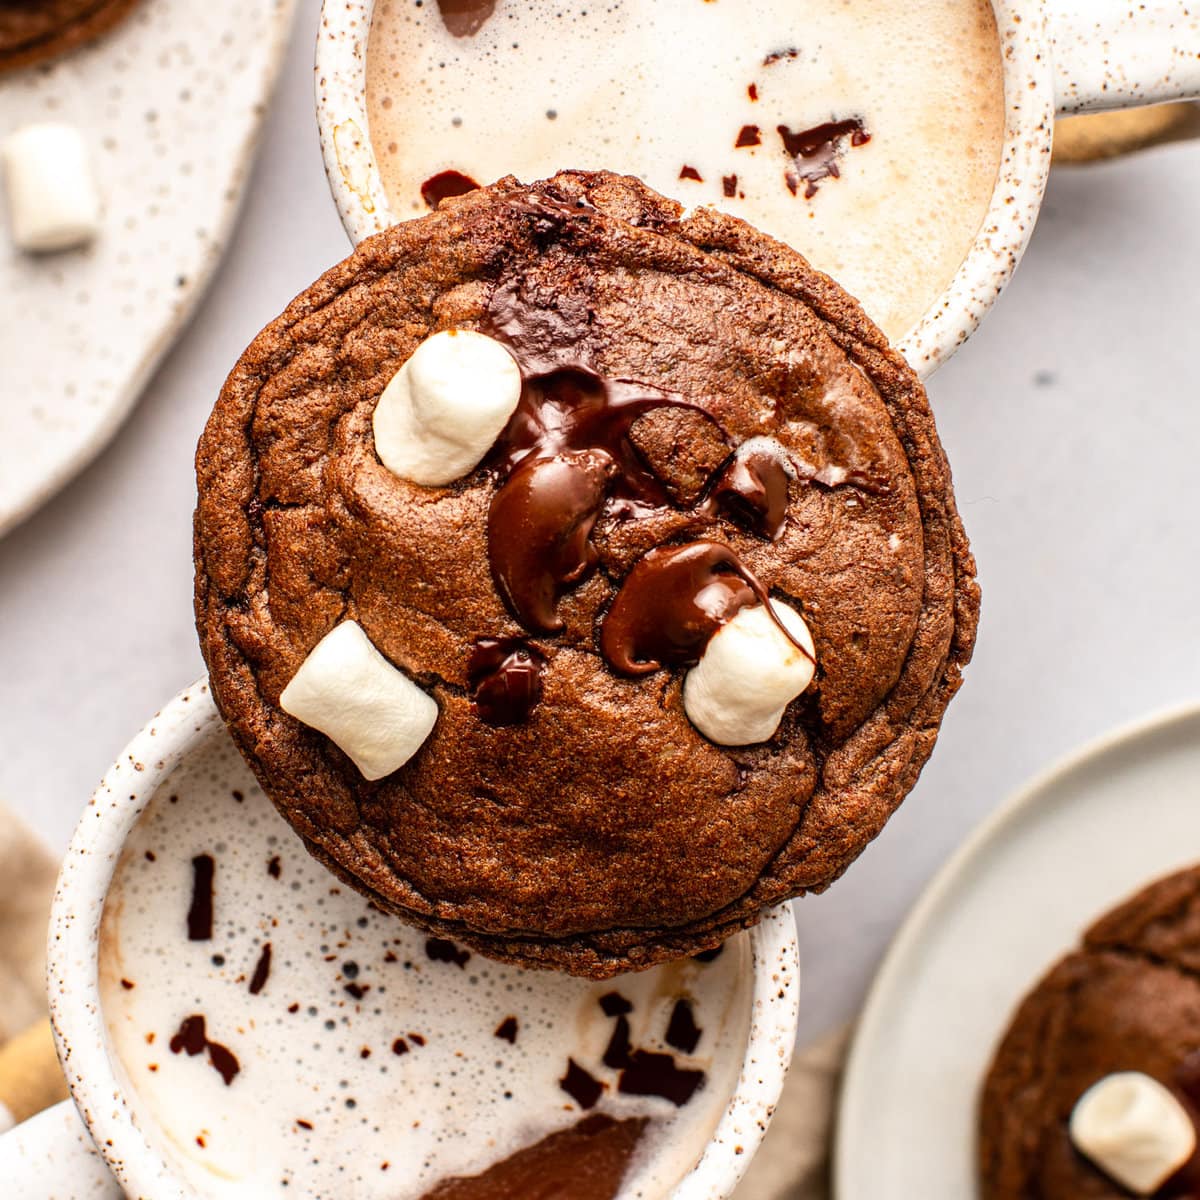
Vegan Hot Cocoa Cookies
frommybowl.com
10 minutes
Your folders
 166 views
Heart Shaped Cookies
sugargeekshow.com
5.0
(3)
15 minutes
Your folders
 84 views
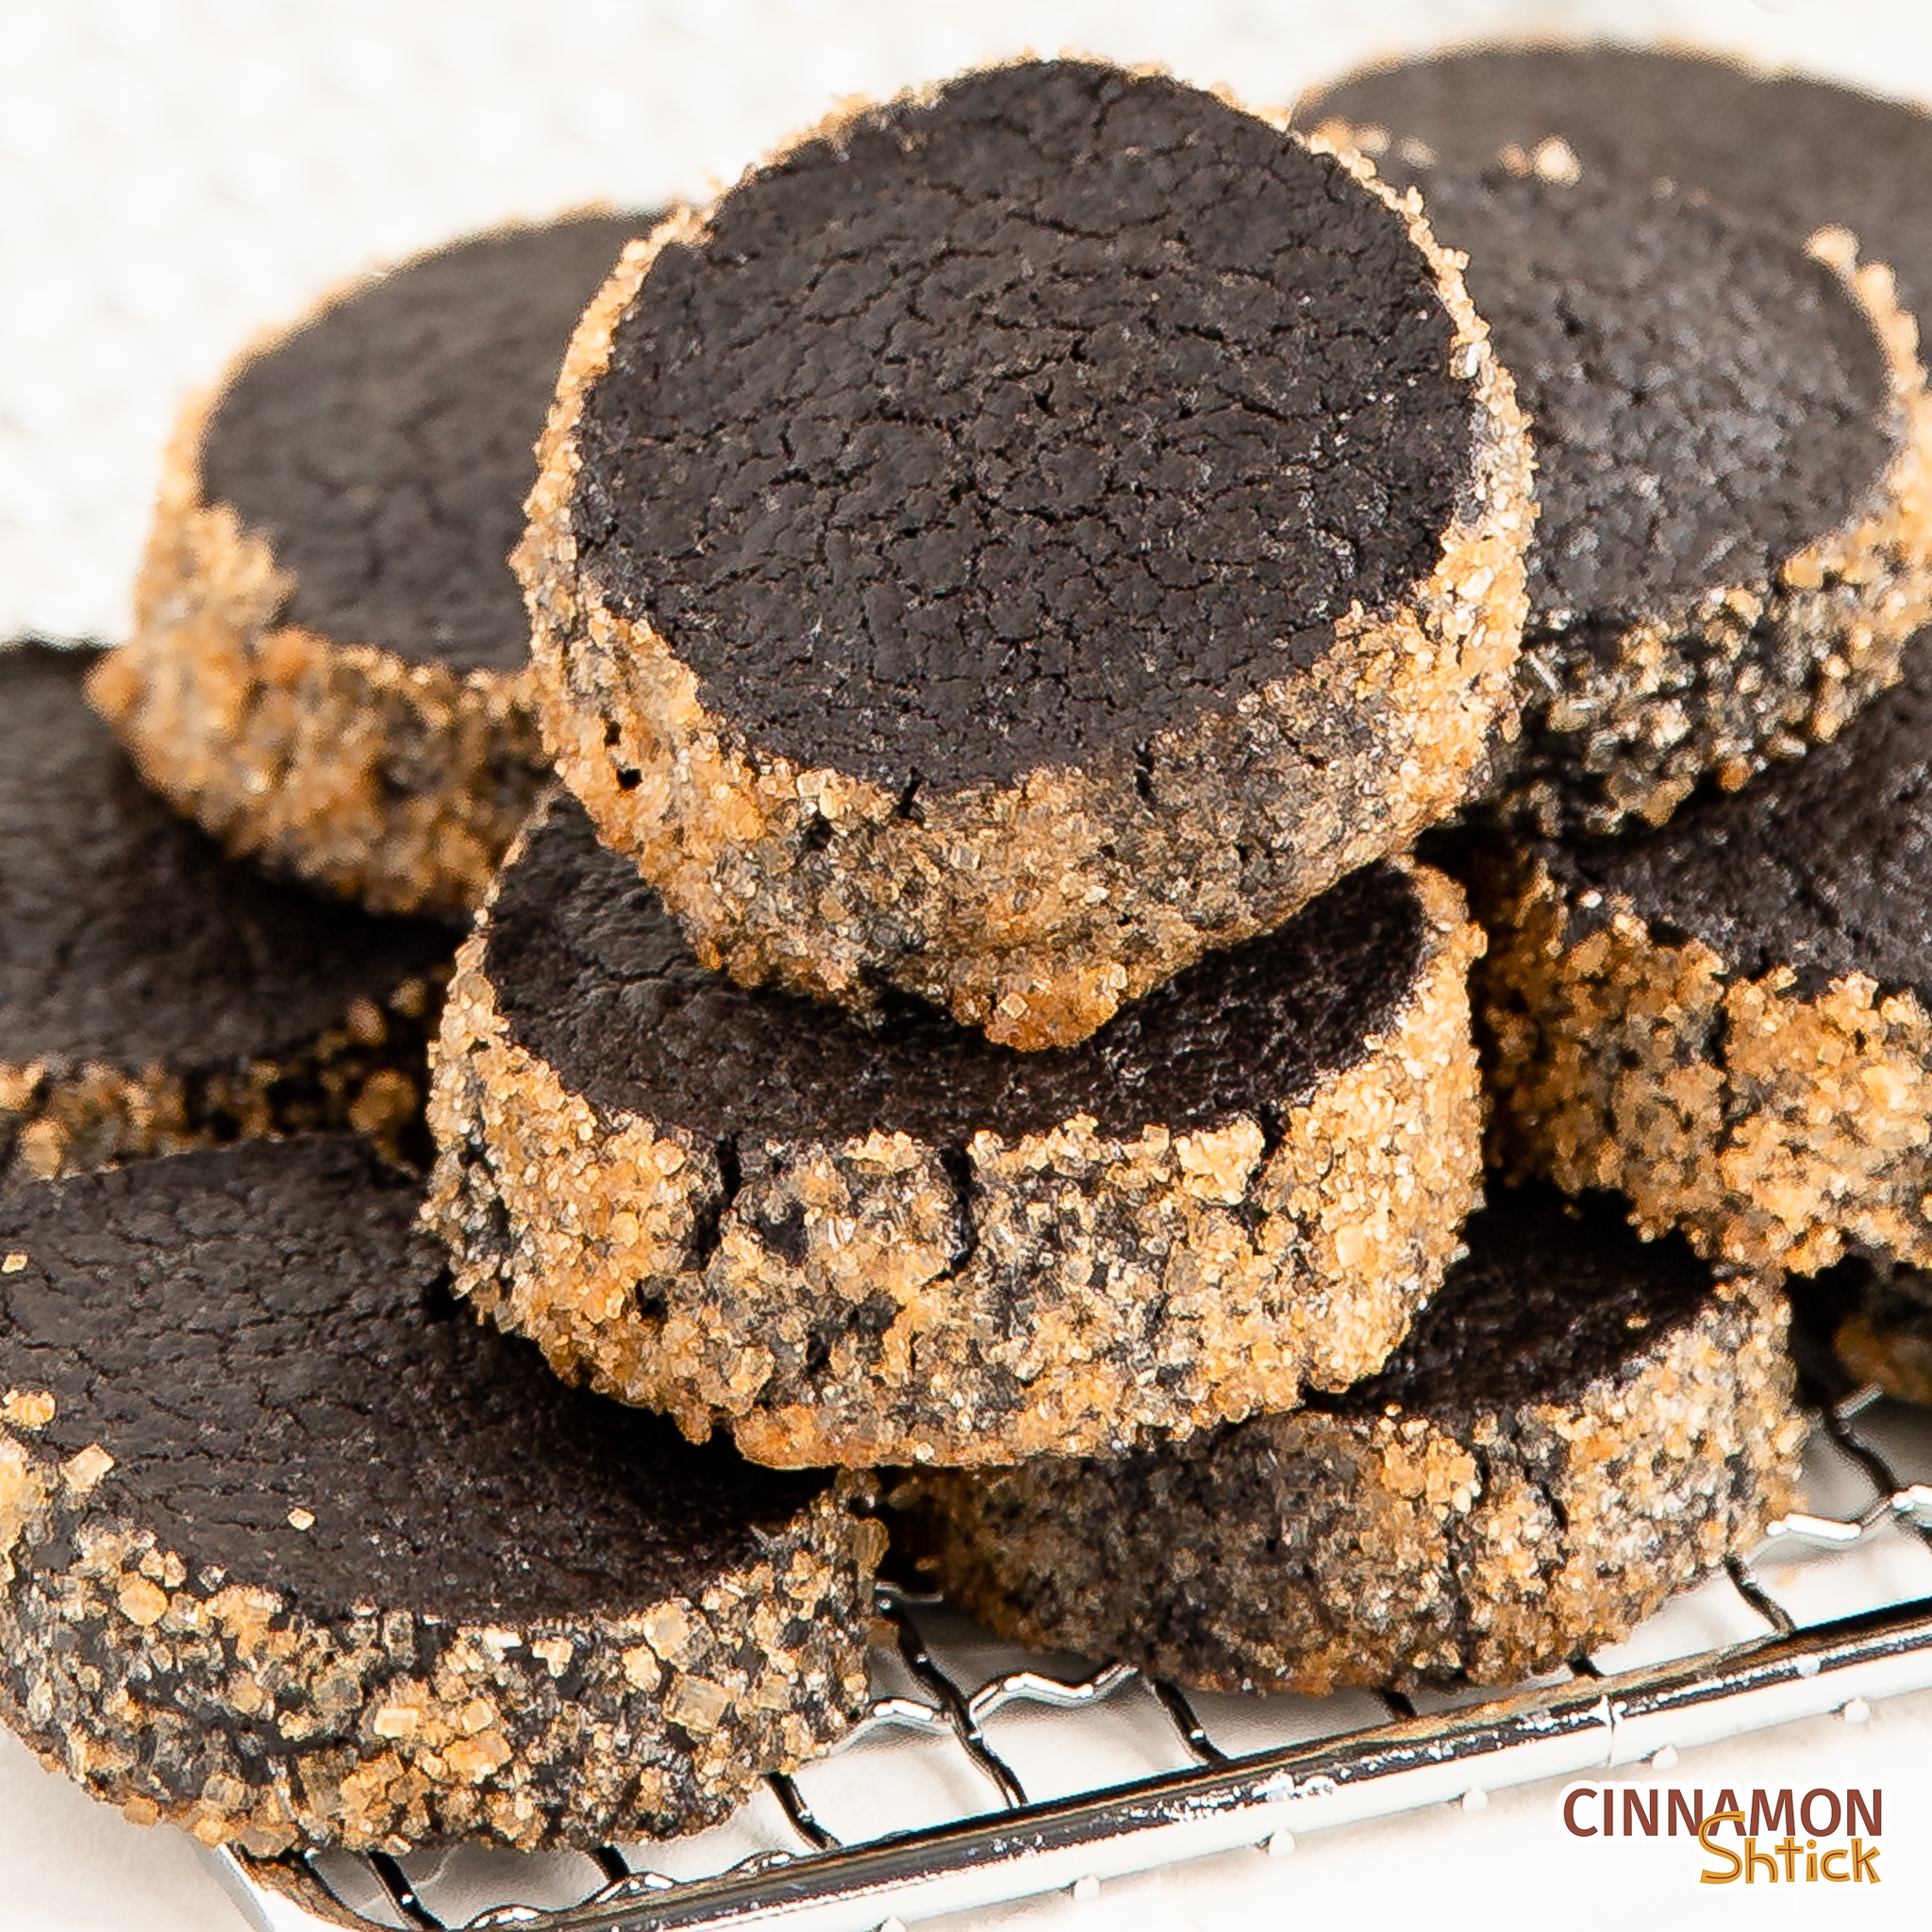
Black Cocoa Diamants
cinnamonshtick.com
5.0
(21)
20 minutes
Your folders
 195 views
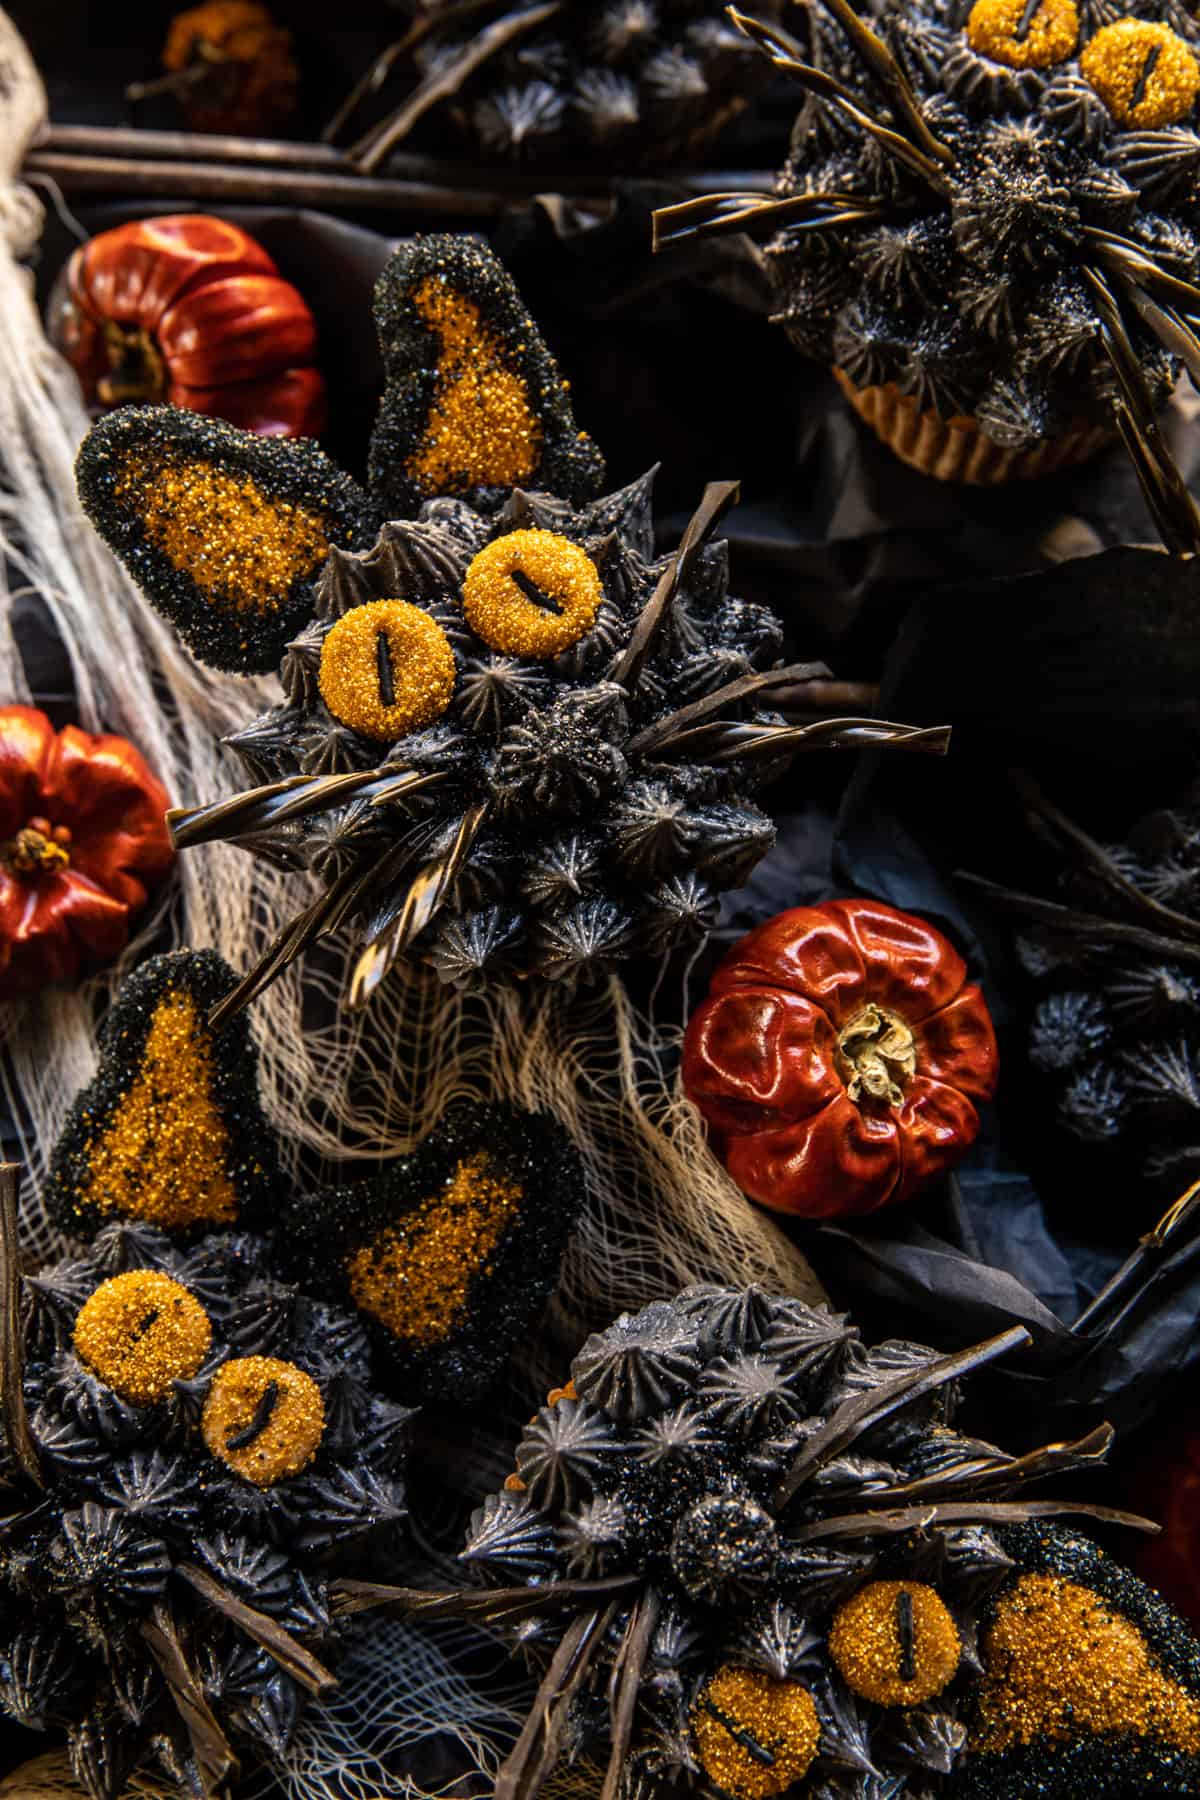
Black Cat Pumpkin Cupcakes
halfbakedharvest.com
4.6
(25)
20 minutes
Your folders
 474 views
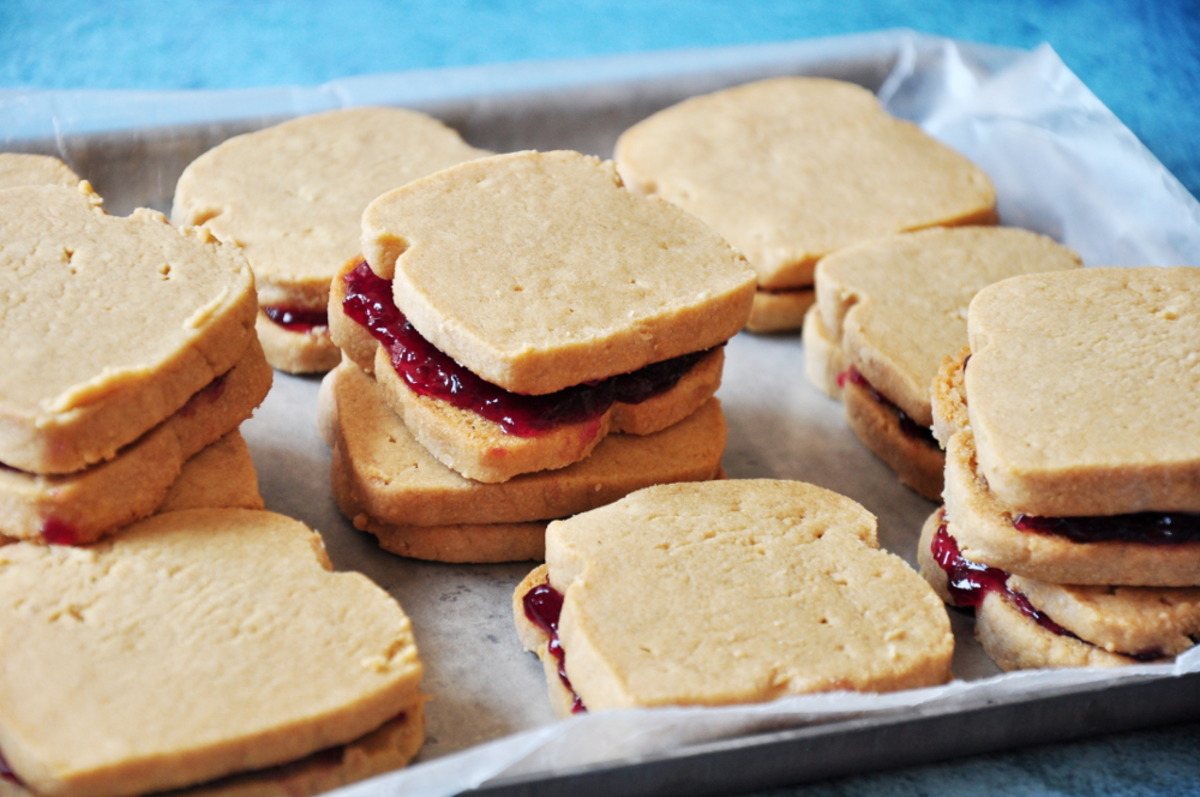
P.B.J.(sandwich-shaped ) Cookies:
food.com
5.0
(4)
10 minutes
Your folders
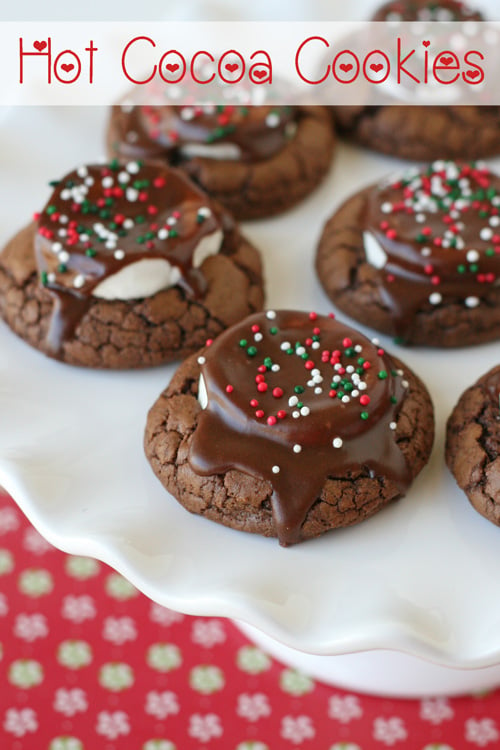
 382 views
Hot Cocoa Cookies
twopeasandtheirpod.com
4.8
(8)
10 minutes
Your folders
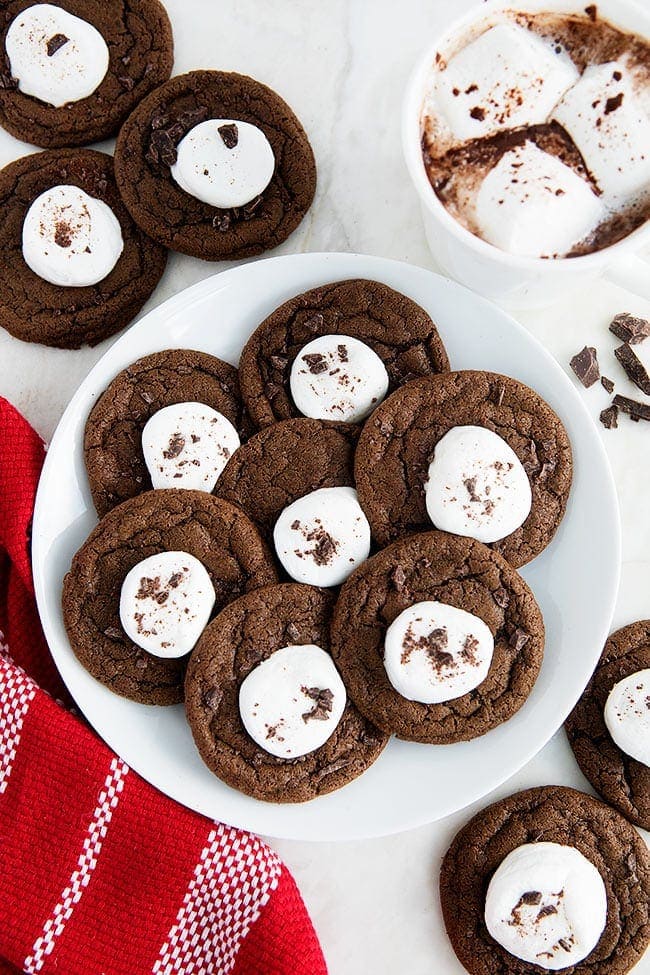
 398 views
Hot Cocoa Cookies
pipandebby.com
40 minutes
Your folders
 578 views
Flourless Cocoa Cookies
cooking.nytimes.com
4.0
(1.7k)
Your folders
135 viewsHot Cocoa Cookies
foodnetwork.com
3.7
(15)
15 minutes
Your folders
 283 views
Hot Cocoa Cookies
glorioustreats.com
5.0
(6)
15 minutes
Your folders
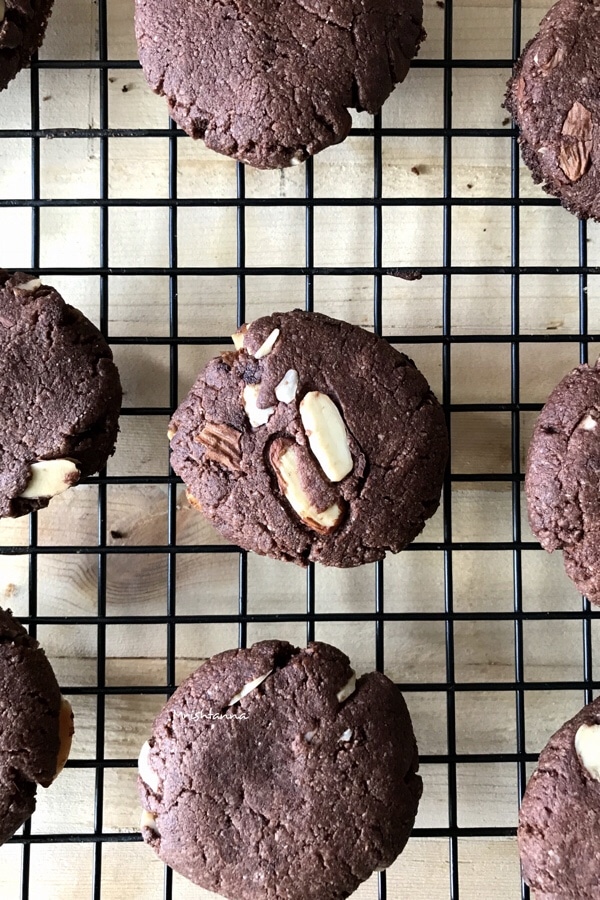 157 views
Cocoa Almond Cookies
mrishtanna.com
5.0
(6)
7 minutes