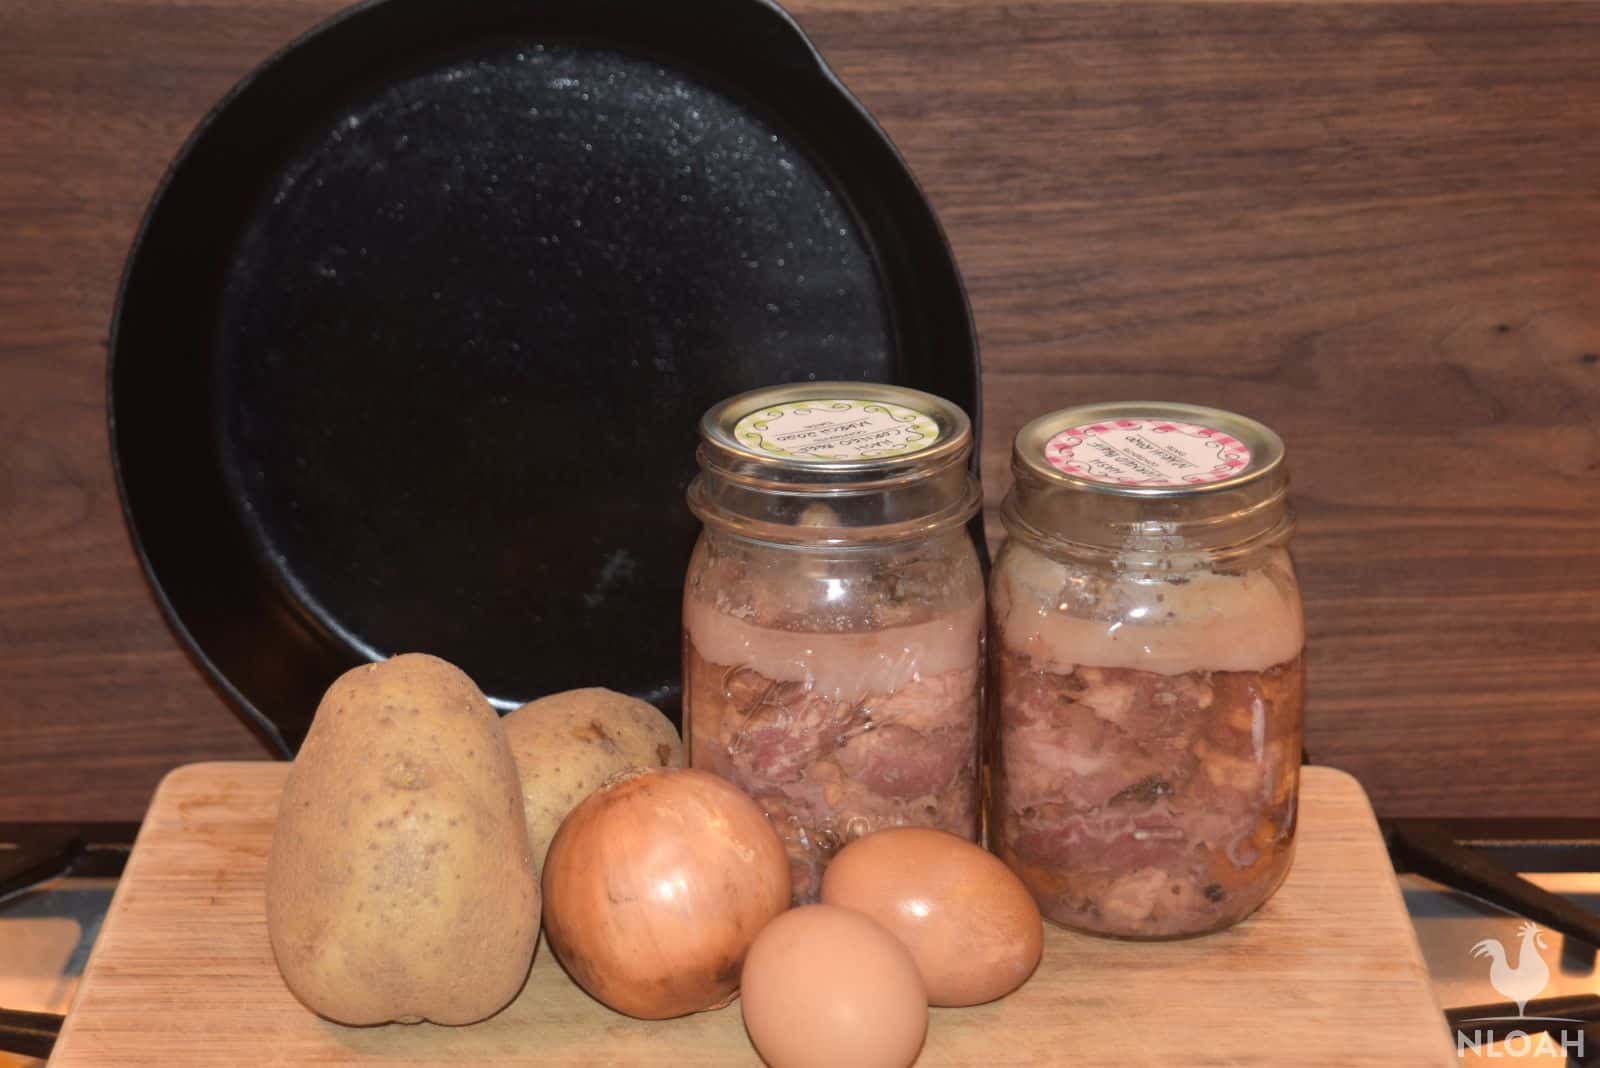
Canned Corned Beef Recipe
Your folders
Your folders
Servings: 17
Cost: $0.56 /serving
Author : M. I. Grey

Ingredients
Export 2 ingredients for grocery delivery
Instructions
Step 1
Add rings and lids to a pot, cover with water and bring to a boil.
Step 2
Add cool water to your canner according to the directions.
Step 3
Wash and rinse the corned beef cuts.
Step 4
Cut each slab into ¾” cubes, mix well to distribute the fattier pieces.
Step 5
Pack each jar with approximately 1 pound of cubed corned beef. Don’t worry about any air gaps, these will fill in with broth as the beef cooks. Leave 1” of headspace - this is the space between the top of the corned beef and the top of the jar.
Step 6
Divide the reserved spices among the jars.
Step 7
Clean off the rim with a paper towel dampened with vinegar.
Step 8
Add lids and rings. Center the lids on the jars. Finger tighten the rings - don’t crank down on them.
Step 9
Add jars to the canner.
Step 10
Place the lid on the canner and tighten according to the instructions.
Step 11
Turn the heat on high.
Step 12
Allow the canner to heat.
Step 13
(All American canner specific – this varies by canner) Once the steam comes out of the vent allow the canner to vent 10 minutes. Add the weight to the vent. Once the weight jiggles, adjust the heat until it jiggles 4-10 times per minute.
Step 14
The temperature should come up to 240-245 degrees F (115 – 118 degrees C).
Step 15
Allow the canner to process for 75 minutes for pint jars.
Step 16
After processing, turn off the heat.
Step 17
Allow the canner temperature to come back to 200 degrees F (93 degrees C).
Step 18
Remove the weight and let the canner vent for 10 minutes.
Step 19
Remove the lid and then remove the jars.
Step 20
Allow the jars to cool and come to room temperature. Listen for the “ping” of the lids sealing.
Step 21
Test the lids to make sure they have dimpled, and no longer flex.
Step 22
Once cooled, remove the rings, and give the jars a quick rinse.
Step 23
Label and date each jar.