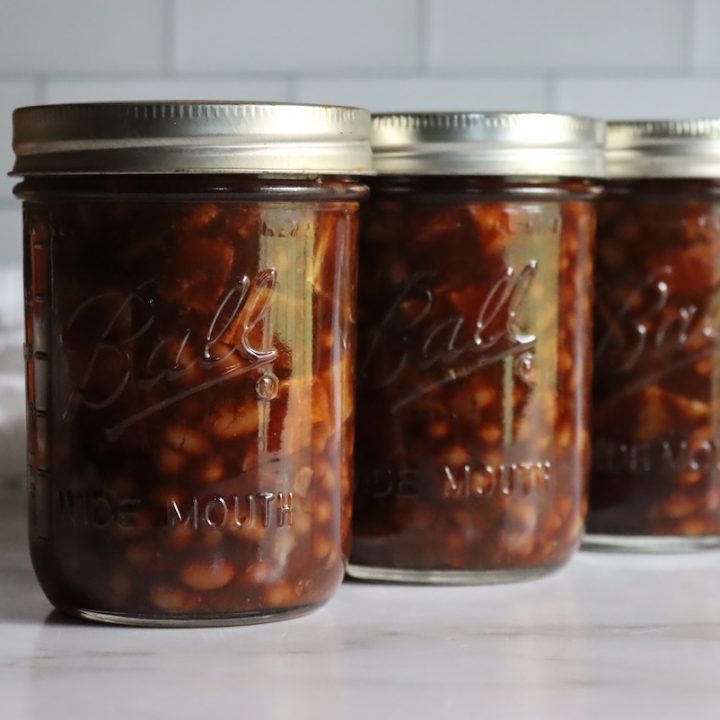
Canning Boston Baked Beans
4.4
(18)
Your folders
Your folders
Prep Time: 1 hours
Cook Time: 4 hours
Total: 6 hours, 20 minutes
Servings: 6
Author : Ashley Adamant
Ingredients
Export 4 ingredients for grocery delivery
Instructions
Step 1
Soak the beans overnight in plenty of cool water. (Alternately, you can use the "quick soak" method which involves bringing them to a boil on the stove with plenty of water, cooking for 2 minutes, then turning off the heat and leaving them to quick soak for an hour. Drain the water and proceed as you would with overnight soaked beans.)
Step 2
Place the soaked beans in a pot of water and bring to a boil on the stove. Reduce heat to a simmer, and cook until the beans start to split. The exact time will depend on your beans and how long they've been stored, but it's usually around 45 minutes or so. They should be tender enough to eat, with some of their skins just starting to split, but not falling apart.
Step 3
Once cooked, turn off the heat and drain the beans completely before proceeding.
Step 4
Next, prepare a sauce by mixing all the other ingredients together. Stir until well mixed and the sugar is dissolved. It should be soupy, with chunks of bacon and onion.
Step 5
Pour the sauce over the top of the beans and stir to completely coat all the beans.
Step 6
Place the beans in a 4-quart dutch oven with a tight-fitting lid. Bake at 300 F for about 4 hours. Add water as necessary to keep the mixture soupy and the water level just covering the top layer of beans. (Usually, around 4 to 6 cups of water is necessary but more if you don't have a good sealing dutch oven.)
Step 7
Prepare your pressure canner for canning based on the manufacturer's instructions. For most canner models, that means putting in the bottom rack and adding a few inches of water. Pre-heat it on the stove to just simmering, around 180 degrees F.
Step 8
Bring a kettle of water to a boil on the stove (to fill any jars if you don't have quite enough liquid in the bean pot).
Step 9
Prepare 6 pint jars (or 3 quart jars) per batch. Divide the beans evenly across all the jars using a slotted spoon, leaving 1-inch headspace. Top the jars with the canning sauce from the bean pot, still maintaining 1-inch headspace.
Step 10
If you're short on liquid, pour in a bit of water from the pre-heated kettle. The beans should be under the liquid line in the jars, but there should still be a 1-inch headspace at the top of each jar.
Step 11
Wipe rims, apply canning lids and seal to finger tight with canning rings.
Step 12
Load the jars into your pressure canner.
Step 13
Put the lid on the canner and bring it up to temperature, but don't seal it yet. Allow the steam to vent for 10 minutes before sealing up the canner and bringing it up to pressure. (See notes for pressures based on altitude.)
Step 14
Once at pressure, process the jars for 80 minutes for pints and 95 minutes for quarts.
Step 15
After the canning time is complete, turn off the heat and allow the canner to cool completely before unloading the jars.
Step 16
Once the jars are unloaded, check seals and store any unsealed jars in the refrigerator for immediate use (within 1 to 2 weeks). Properly canned and sealed jars will maintain their quality on the pantry shelf for 12-18 months.
Step 17
Refrigerate after opening.