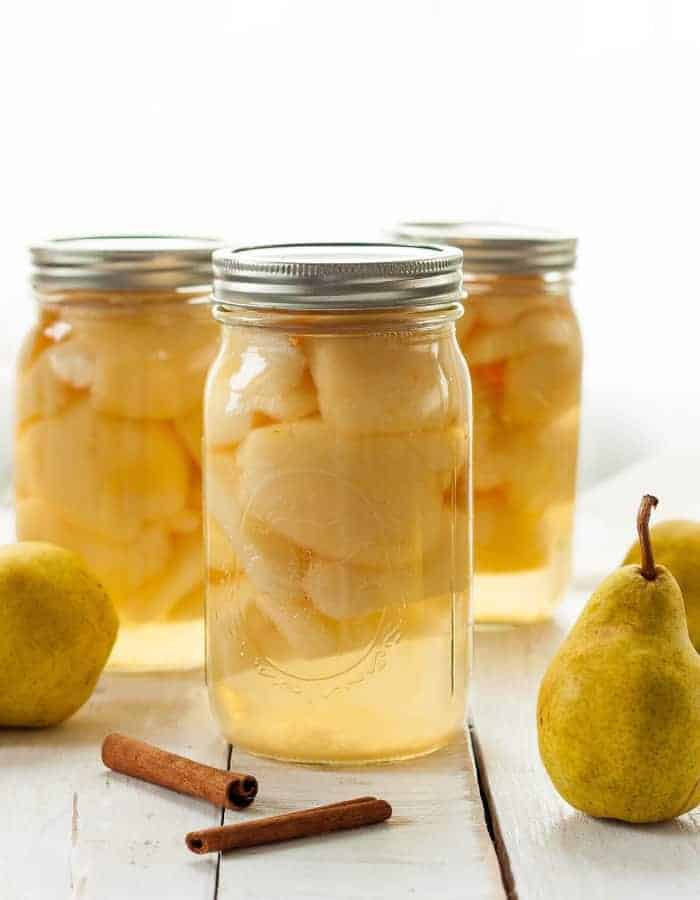
Canning Pears {Preserved Pears}
5.0
(29)
Your folders
Your folders
Prep Time: 60 minutes
Cook Time: 25 minutes
Total: 85 minutes
Servings: 7
Ingredients
Export 2 ingredients for grocery delivery
Instructions
Step 1
Prepare your water bath canner by filling it with water. You just need to have enough water to cover the jars by 1 inch once the water is boiling.
Step 2
Set the canner on the stove. Turn the burner to high. Once it reaches a boil, reduce it to simmer. You want to keep the water hot so that everything is ready when the pears are.
Step 3
Wash and sanitize your jars. You’ll want to keep them warm to avoid having them crack when placed in the canner. You can fill them with hot water, or place them on a tray in the oven at 170˚F.
Step 4
Wash your lids with hot soapy water and place them in a clean bowl for now.
Step 5
Fill a large bowl halfway with water and mix in 1/3 cup of bottled lemon juice.
Step 6
Cut the tops and bottoms off of the fruit.
Step 7
Using a vegetable peeler, peel off all the pear skins.
Step 8
After that, cut the pear in half from the top to the bottom.
Step 9
Take the paring knife and make a cut from the stem to the bottom on one side. Repeat on the other side, then jiggle the core out. Discard the core, and put the pear in the water with the lemon juice.
Step 10
When the bowl is getting full of skinned/cored pears, start the syrup. In a large pot, mix 1 cup of sugar per 6 cups of water and heat over medium.
Step 11
(Hot pack option) Once the syrup is boiling, add the pears one layer at a time (a canning term that means don’t totally fill the pot) and heat for 5 minutes.
Step 12
(Hot pack option) Using a fork, grab the now softened pears one at a time, and put them cavity side down in the canning jar.
Step 13
(Raw pack option) use a fork and place pears cavity side down in the canning jar.
Step 14
Return the burner under the canner back to high to get the water back to a rolling boil.
Step 15
Using a canning funnel and a ladle, slowly pour the hot syrup into the jars until the pears are completely covered. Leave 1/2 inch of headspace. Headspace is defined as the space between the top of the food and the top of the jar.
Step 16
Remove the bubbles from the jar (I use a plastic chopstick).
Step 17
Use a wet clean rag and wipe the rim of the jars to make sure it is free of any food or syrup.
Step 18
Place a clean lid and ring on the jar and tighten the ring to fingertip tight.
Step 19
Using canning tongs, gently place your jars in the canner. Put the lid on, and set your timer. Pro tip: the water must return to a boil in the canner before you can start the timer.
Step 20
Once your jars are completely covered with the boiling water, put the lid on and boil for 20 minutes (pints) or 25 minutes (quarts).
Step 21
Process HOT PACK pints and quarts based on the elevation guide below:*0-1,000 ft – Pints =20 min Quarts =25 min*1,001-3,000 ft – Pints =25 min Quarts =30 min*3,001-6,000 ft – Pints =30 min Quarts =35 min*6,000 ft+ – Pints =35 min Quarts =40 min
Step 22
Process RAW PACK pints and quarts based on the elevation guide below:*0-1,000 ft – Pints =25 min Quarts =30 min*1,001-3,000 ft – Pints =30 min Quarts =35 min*3,001-6,000 ft – Pints =35 min Quarts =40 min*6,000 ft+ – Pints =40 min Quarts =45 min
Step 23
Once your jars are starting to process, fill up your next 6-7 jars with hot pears, syrup, etc.
Step 24
Once the pears have processed for the appropriate amount of time, remove the canner from the burner, and carefully remove the lid of the canner (Pro tip: use oven mitts to take the lid off because the steam is super hot).
Step 25
Remove the jars using canning tongs and place them on towels on the counter undisturbed for 12-24 hours.
Step 26
After everything has cooled, check the seal by pushing down on the middle of the lid. If it doesn't give way, it's sealed. If the lid bows a little bit, put that in the fridge and use it within 3 weeks.
Step 27
Label the sealed jars, and store in a cool dark place for up to a year.