CDS Basics uploading images
Your folders
Your folders
Total: 15
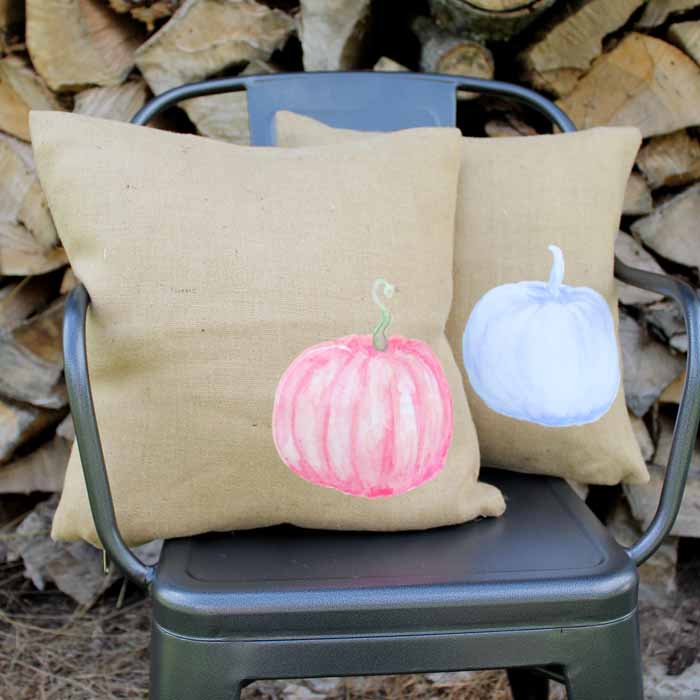
Ingredients
Export 5 ingredients for grocery delivery
Instructions
Step 1
Download the pumpkin files that you would like to use to your computer as a jpg file. Use the upload button in design space to import. For the blue pumpkin especially, be sure to choose the complex image type. The other two imported fine with the moderately complex setting.
Step 2
Now you can select and erase any area that you do not want. This definitely includes the background but also say the inside of a curly pumpkin stem.
Step 3
Once selected those unwanted areas will turn into blue checks as shown below. You want to make sure that the entire pumpkin looks complete.
Step 4
Once you click continue, you will be given two options for saving the file. One for a print then cut and one for only a cut. We are going to need that print then cut option.
Step 5
You will now see it on your recently uploaded images area. You can then pick it from here to add it to your canvas.
Step 6
Once you add to the canvas, you can see that it is a print then cut by the layers menu on the right hand side.
Step 7
Resize to whatever size that you need for your pumpkin pillow. You will need to remember the size of your heat transfer. The Cricut will also print a border around the image in order to see it on the machine. It will prompt you however if the image is too large to fit with the border.
Step 8
Click make it and the software will prompt you to print then cut your file. Make sure that the material size is correct for your brand of heat transfer. Also, my brand does not require that you mirror the image. If yours does, be sure to pick the mirror option at this point.
Step 9
First the software will allow you to print your image. Be sure to use best quality printing no matter what brand of printer you are using.
Step 10
You will then have a paper that looks something like the below. It will print your image along with a black box all the way around.
Step 11
Now it is time to cut! With the Cricut Maker, you choose all of your materials manually. To access this screen on another Cricut model, just turn the dial to custom. Pick the heat transfer material.
Step 12
Then, on this particular brand, I found that setting the pressure to "less" worked best. You may find that this changes based on your brand.
Step 13
You then just use your cut out heat transfer and apply it to your pillow cover with an iron. Be sure to follow the instructions on your brand to get a good transfer.
Top similar recipes
Curated for youYour folders

 177 views
CDS Basics uploading images
thecountrychiccottage.net
Your folders

 100 views
GRILLING BASICS
babi.sh
Your folders

 174 views
Latte Art (The Basics!)
acouplecooks.com
Your folders

 141 views
New Basics Chicken fajitas
bigoven.com
30 minutes
Your folders
 171 views
Back-to-Basics Coffee Cake
mrfood.com
1.0
(4)
45 minutes
Your folders

 56 views
Challah from Basics with Babish
oven.anovaculinary.com
4.4
(7)
22 minutes
Your folders

 151 views
Back-to-Basics Bread Stuffing
americastestkitchen.com
4.1
(60)
Your folders

 190 views
Comment faire des chapatis: 9 étape...
fr.wikihow.com
Your folders

 307 views
Basics: How to Finely Chop Parsley
saveur.com
Your folders

 336 views
Basics: How to Dice an Onion
saveur.com
Your folders
 226 views
BASICS: EVERYDAY LENTIL SOUP — Spro...
sproutedkitchen.com
40
Your folders

 231 views
Adaptable Winter Meal Prep Guide Ba...
brewinghappiness.com
40 minutes
Your folders
 113 views
Pfannkuchen Grundrezept / Basics / ...
sallys-blog.de
5.0
(1)
Your folders
 820 views
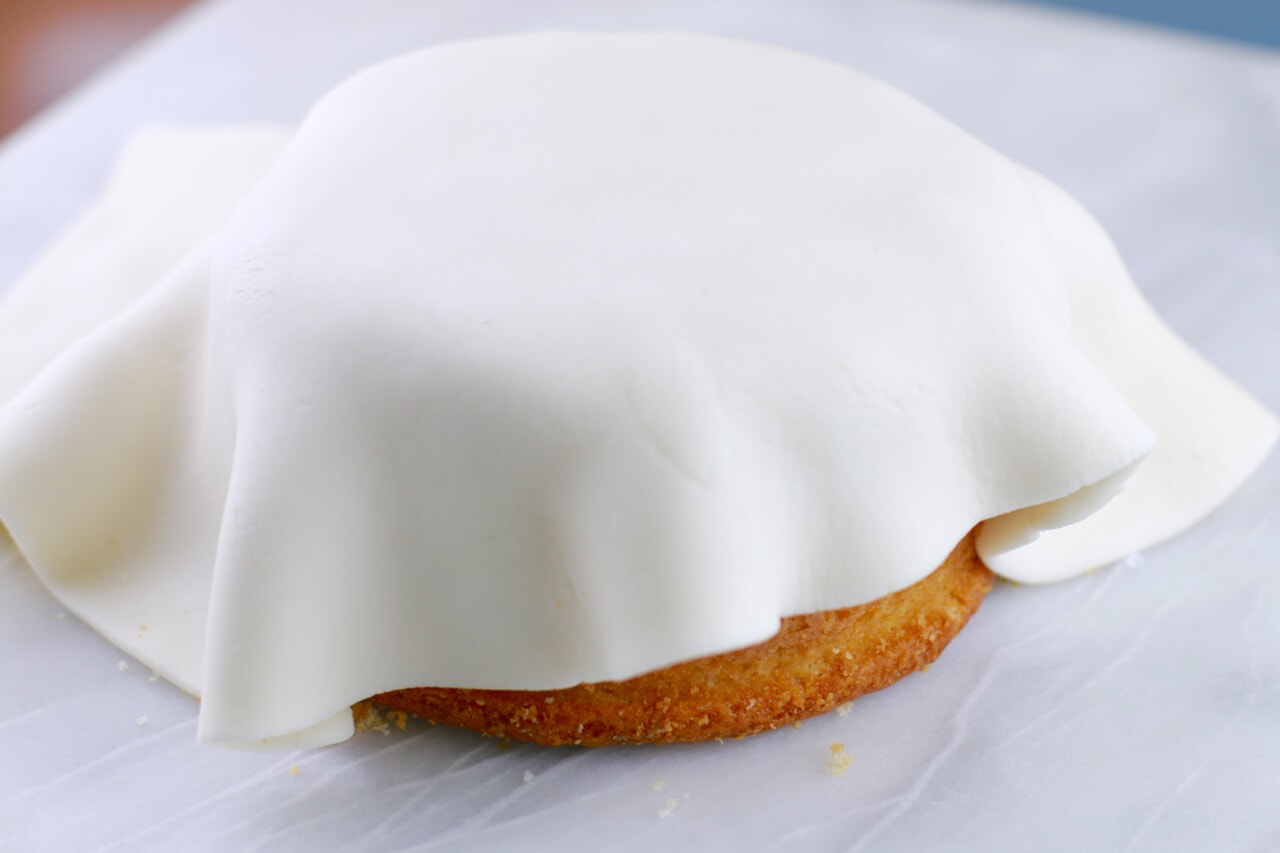
How To Make Fondant (Bold Baking Ba...
biggerbolderbaking.com
4.5
(447)
Your folders
 188 views
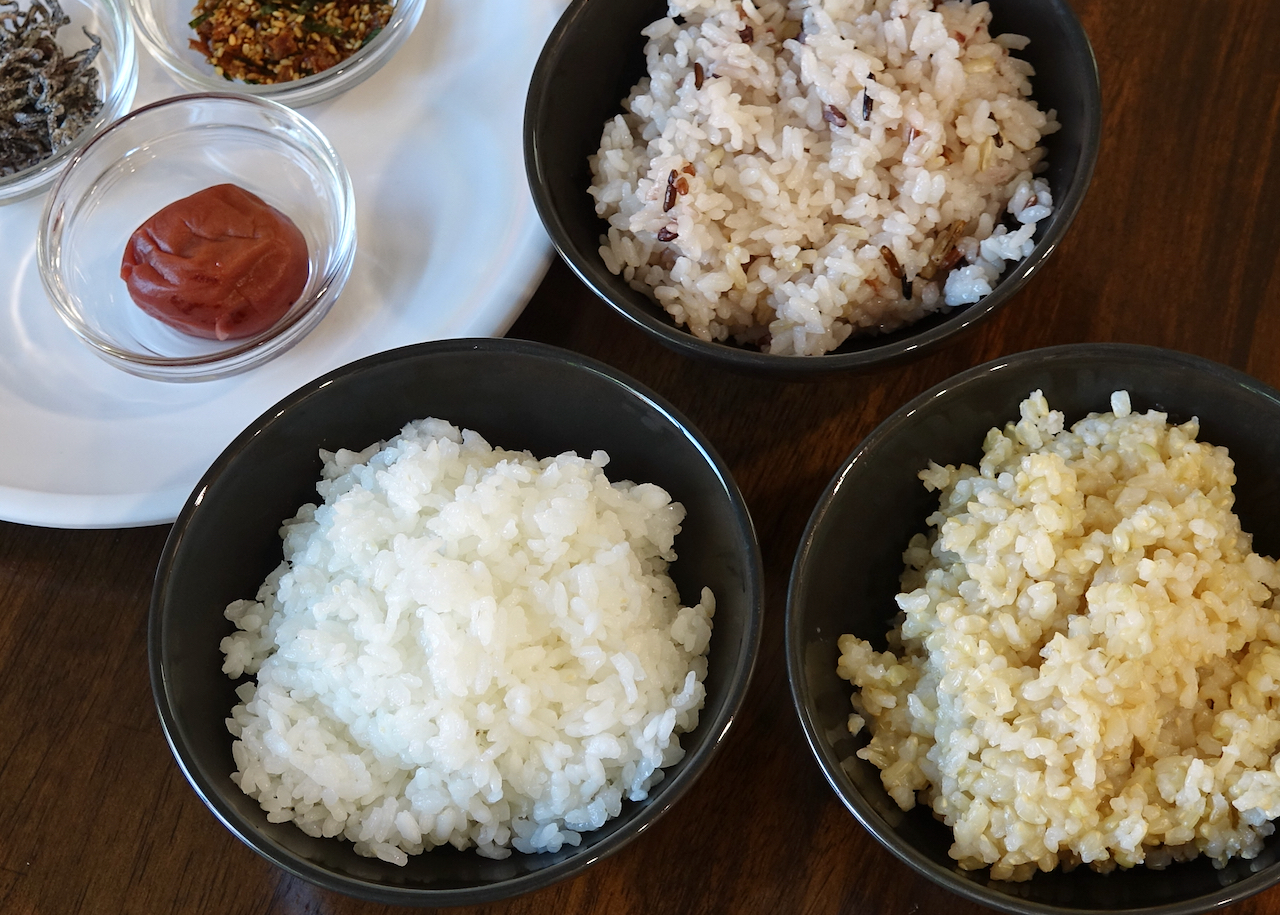
Back to Basics-How to Cook Rice
japanesecooking101.com
5.0
(1)
Your folders
 90 views
Back to Basics-How to Cook Rice
japanesecooking101.com
Your folders

 227 views
Burmese Basics: How To Make Classic...
foodrepublic.com
Your folders
 301 views
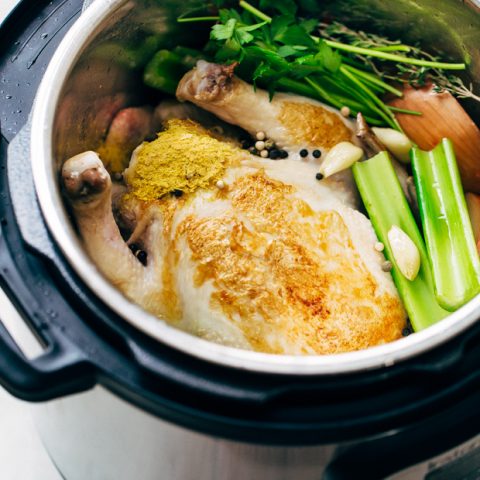
The Basics: One Hour Pressure Cooke...
littlespicejar.com
4.5
(1)
1 hours, 5 minutes
Your folders

 369 views
Vegan Baking Basics: Common Vegan E...
heartofabaker.com
5.0
(1)