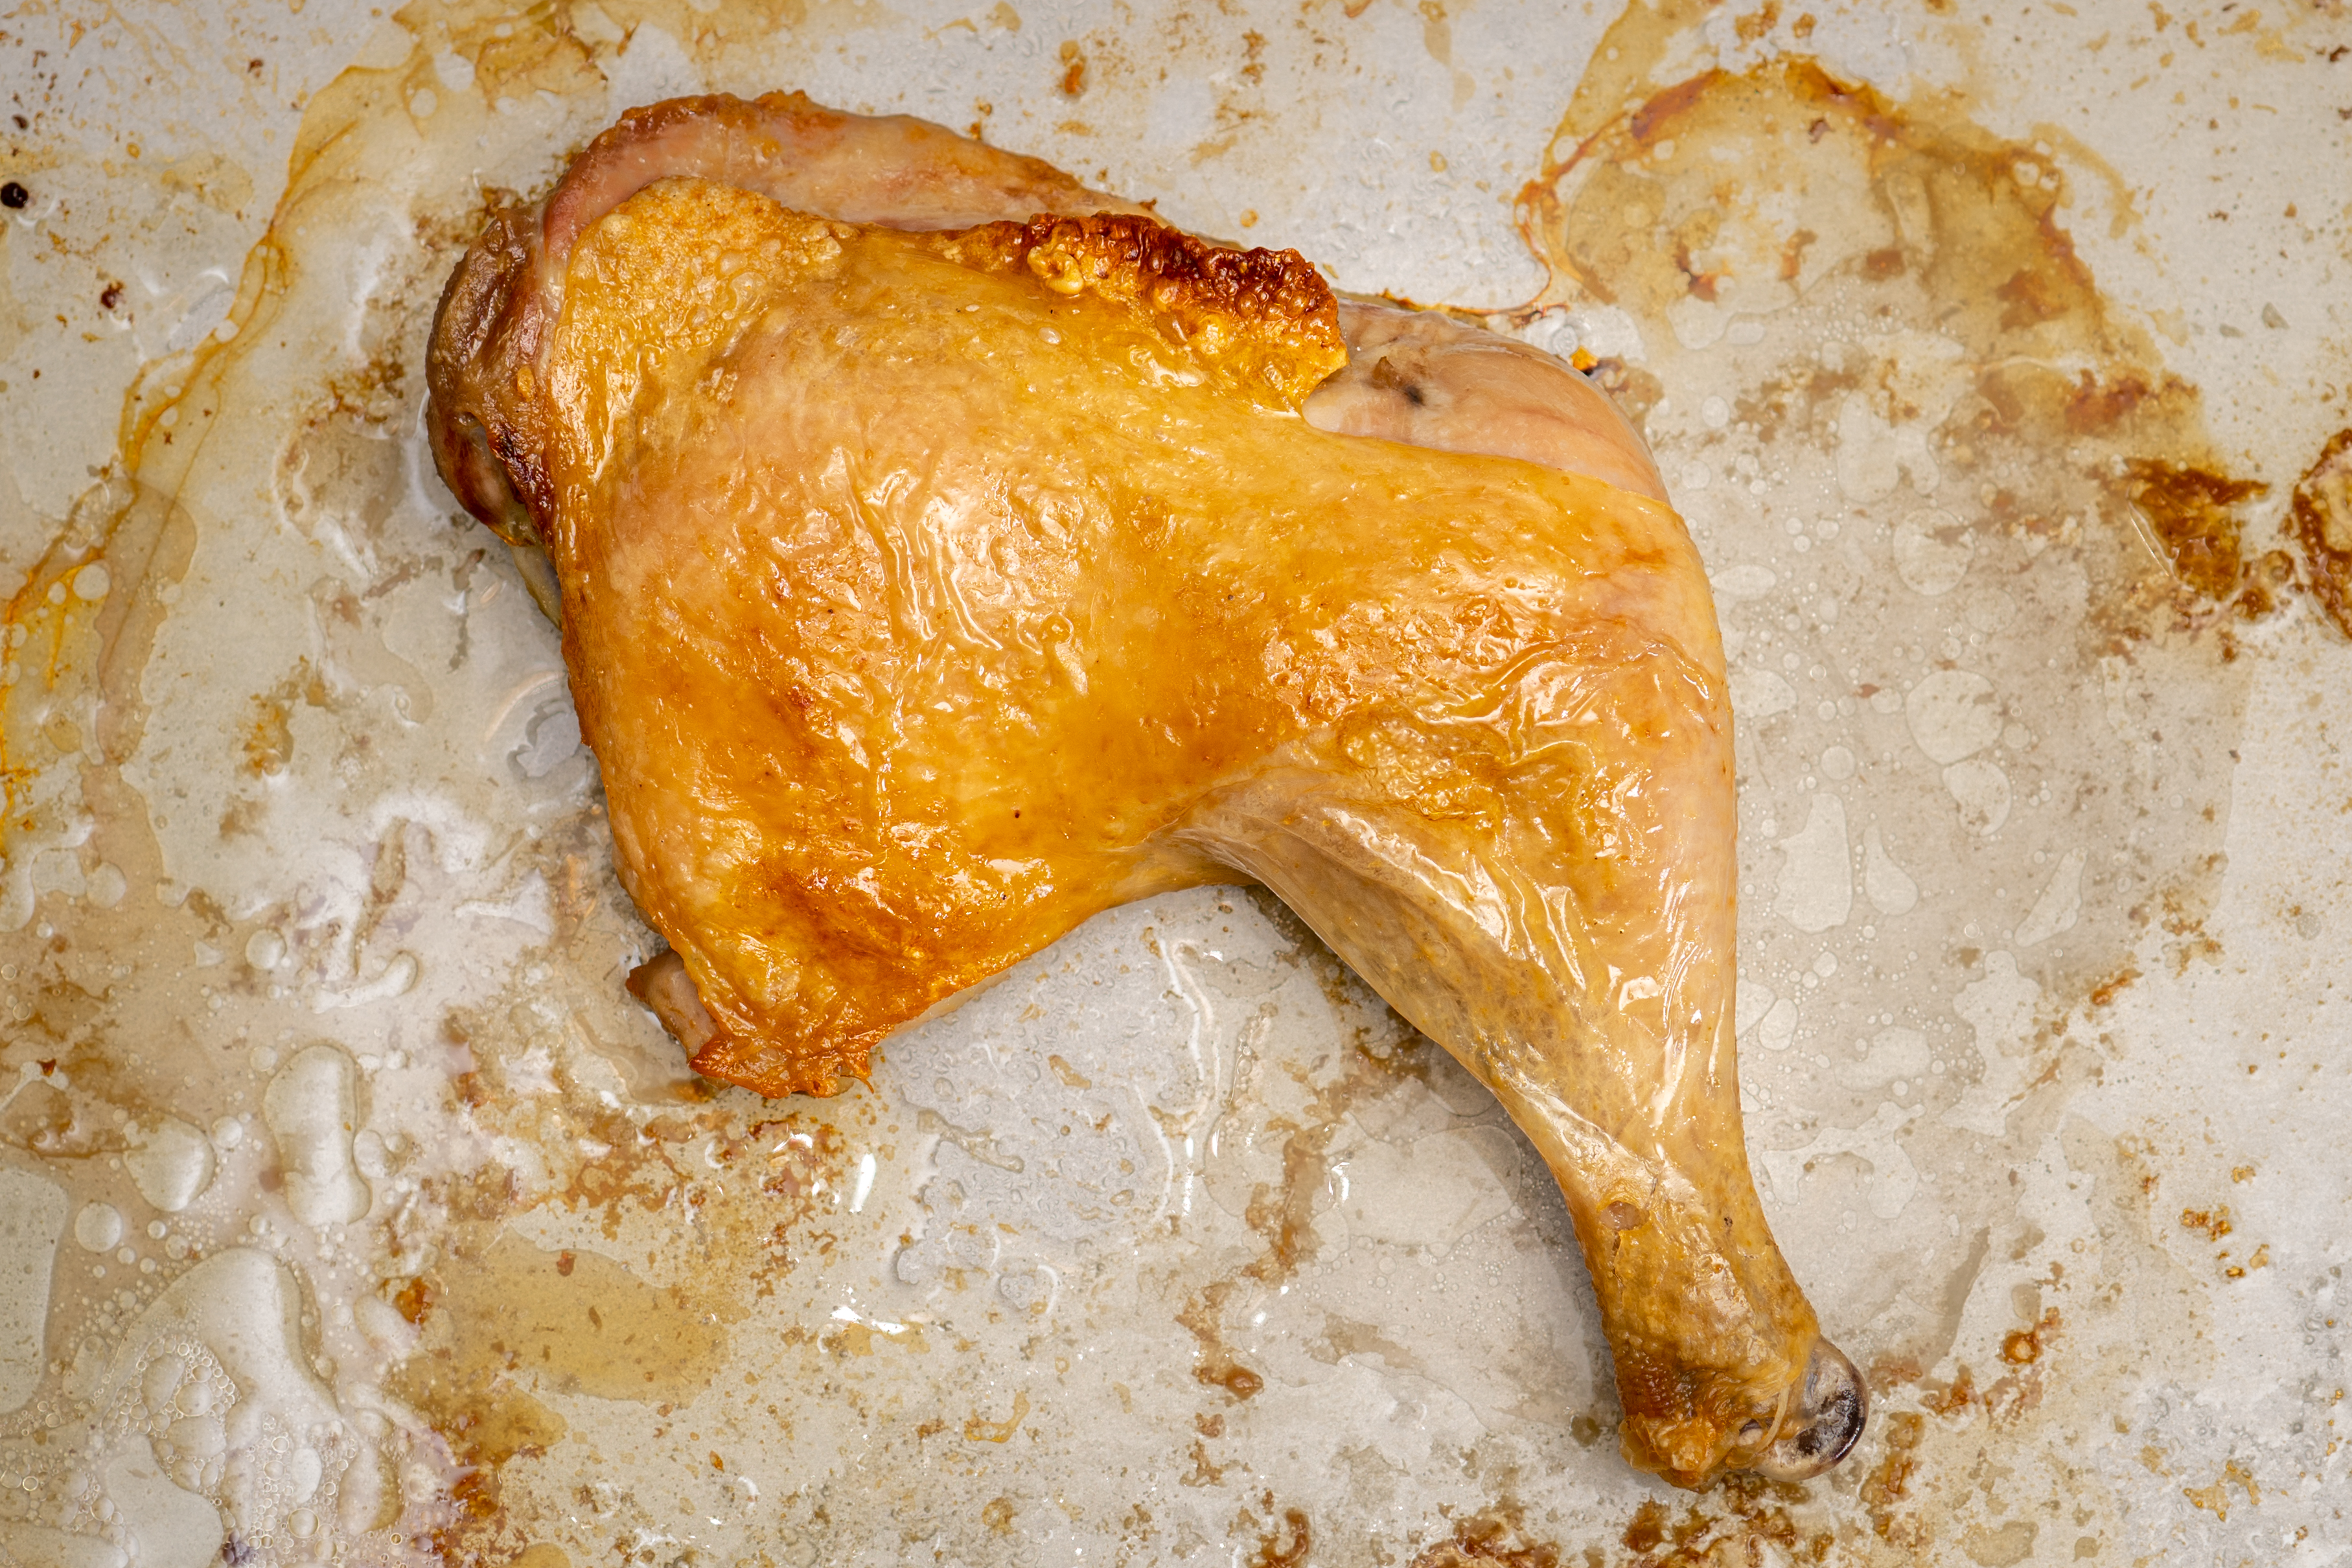
Chicken Leg 101
4.3
(3)
Your folders
Your folders
Prep Time: 60 minutes
Cook Time: 55 minutes
Total: 115 minutes
Author : Scott Heimendinger

Ingredients
Export 2 ingredients for grocery delivery
Instructions
Step 1
Use kitchen scissors or a knife to trim away any excess fat.
Step 2
Sprinkle both the underside and the skin side of the legs liberally with salt. This may seem like a lot of salt, but it will dissolve into the meat for flavor and draw water out of the skin for better crisping.
Step 3
You can skip this step if you're in a hurry, but refrigerating the legs, uncovered and skin-side-up helps dry out the skin so it crisps in the searing step. Even an hour of air chilling makes a difference, if you have time.
Step 4
Pat the skin dry with a paper towel to remove any moisture that may have accumulated.
Step 5
Insert the probe into the thickest part of the thigh. Avoid piercing the skin by inserting the probe from the side of the leg.
Step 6
Attach the probe and cook until the legs reach their target temperature. We'll cook the chicken at an oven temperature just above the target doneness we're after. This gives sous-vide-like results, where the doneness is perfect from edge to edge, but this method reduces the cooking time from 1.5 hours to about 45 minutes. It's a happy compromise between the perfection of equilibrium cooking and precise timing required by traditional cooking.We set steam to 0% here to keep the skin as dry as possible throughout cooking. This helps us achieve crackling, crispy skin in the searing step.Note that the probe temperature may overshoot the target by a degree or two from carry-over cooking. That's OK; carryover has been accounted for here.
Step 7
This holding stage will begin automatically as soon as the chicken legs have reached their target doneness. If you're not ready to eat right away, you can hold the chicken legs warm for up to 4 hours before proceeding.
Step 8
When you're ready to proceed, remove the pan from the oven and remove the probe from the chicken.
Step 9
Pour off any juices that have accumulated on the baking sheet. These juices are full of flavor! Pour them over the final dish, or to incorporate into a flavorful sauce or gravy.
Step 10
Pat the skin dry and brush with oil to promote better crisping.
Step 11
Return the chicken to the oven until the skin is cracking and golden brown, about 8 minutes.
Step 12
The chicken is already seasoned with salt and perfectly delicious as-is, but feel free to add your own spice blend or sauce to transform the dish. (Don't forget those reserved juices!) Slice through the joint to separate the drumstick from the thigh, or serve as-is.Now that you've got the basics, put your own spin on this foolproof method for dark meat chicken!