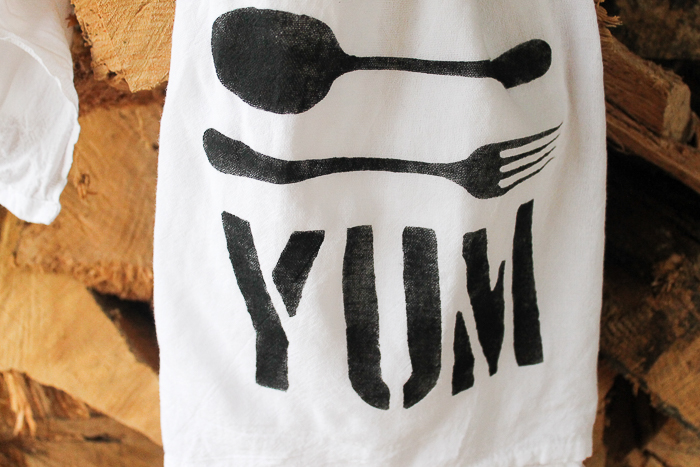
Create Personalized Tea Towels with the Cricut JoyCreate Personalized Tea Towels with the Cricut Joy
Your folders
Your folders

Ingredients
Export 9 ingredients for grocery delivery
Instructions
Step 1
Prewash and dry the tea towel. Iron out all wrinkles and creases.
Step 2
Open Cricut Design Space.
Step 3
Click on the “+” sign to start a new project, opening up a blank canvas.
Step 4
Click on the Images button from the toolbar.
Step 5
Search Floral and Leaf Image #M14791A14 and then click on the image to insert it on the canvas.
Step 6
Adjust the size by highlighting the image and clicking on the size box in the top toolbar. Change the measurement to 4.25” high by 4.376” wide.
Step 7
Select “Make It” in the upper right corner to proceed with cutting.
Step 8
Choose “With Mat” unless you are using a non Cricut Joy Smart Vinyl.
Step 9
Click the “Mirror” toggle button to on. This is necessary for ALL iron on vinyl cuts.
Step 10
Cut the Everyday Iron-On Vinyl width to 4.5” to fit on the Cricut Joy grip mat. Press continue.
Step 11
Choose Everyday Iron-On Vinyl from the list of options in the drop down menu.
Step 12
Place the Iron-On vinyl directly onto the standard grip Cricut mat with the SHINY SIDE DOWN. You can use a smaller piece, but we decided not to trim the vinyl until after we’d cut the image.
Step 13
Following the instructions prompted on the screen, cut out the vinyl.
Step 14
Remove the Everyday Iron-On Vinyl from the mat.
Step 15
Cut around the image and put aside the left over vinyl for another project
Step 16
Using a weeding tool, peel away the excess vinyl leaving only the floral image.
Step 17
Position the mat or a towel on a flat surface.
Step 18
Set the temperature and time on the machine following the chart for the type of vinyl and material being used or use this EasyPress Interactive Quick Reference Guide.
Step 19
If your towel is 100% cotton and you are using Everyday Iron-On Vinyl, set the EasyPress Mini to medium heat.
Step 20
Determine where you will be placing the image and preheat the tea towel in that spot for 5 seconds. This will prep the fabric for the vinyl, removing all excess moisture as well as help to remove any creases and wrinkles from the fabric.
Step 21
Place the cut image on to the tea towel with the shiny side up.
Step 22
Press the image on to the tea towel for 25 seconds, constantly moving EasyPress Mini as you press.
Step 23
Turn the apron upside down and apply heat for another 15 seconds.
Step 24
While vinyl is still warm, peel the plastic part of the vinyl off carefully and discard.
Step 25
Make sure you do not place an iron or the EasyPress Mini directly over the vinyl without the protective plastic cover.
Step 26
Prewash and dry the tea towel. Iron out all wrinkles and creases.
Step 27
Open Cricut Design Space.
Step 28
Click on the “+” sign to start a new project, opening up a blank canvas.
Step 29
Click on the Images button from the toolbar.
Step 30
Search Floral and Leaf Image #M14791A14 and then click on the image to insert it on the canvas.
Step 31
Adjust the size by highlighting the image and clicking on the size box in the top toolbar. Change the measurement to 4.25” high by 4.376” wide.
Step 32
Select “Make It” in the upper right corner to proceed with cutting.
Step 33
Choose “With Mat” unless you are using a non Cricut Joy Smart Vinyl.
Step 34
Click the “Mirror” toggle button to on. This is necessary for ALL iron on vinyl cuts.
Step 35
Cut the Everyday Iron-On Vinyl width to 4.5” to fit on the Cricut Joy grip mat. Press continue.
Step 36
Choose Everyday Iron-On Vinyl from the list of options in the drop down menu.
Step 37
Place the Iron-On vinyl directly onto the standard grip Cricut mat with the SHINY SIDE DOWN. You can use a smaller piece, but we decided not to trim the vinyl until after we’d cut the image.
Step 38
Following the instructions prompted on the screen, cut out the vinyl.
Step 39
Remove the Everyday Iron-On Vinyl from the mat.
Step 40
Cut around the image and put aside the left over vinyl for another project
Step 41
Using a weeding tool, peel away the excess vinyl leaving only the floral image.
Step 42
Position the mat or a towel on a flat surface.
Step 43
Set the temperature and time on the machine following the chart for the type of vinyl and material being used or use this EasyPress Interactive Quick Reference Guide.
Step 44
If your towel is 100% cotton and you are using Everyday Iron-On Vinyl, set the EasyPress Mini to medium heat.
Step 45
Determine where you will be placing the image and preheat the tea towel in that spot for 5 seconds. This will prep the fabric for the vinyl, removing all excess moisture as well as help to remove any creases and wrinkles from the fabric.
Step 46
Place the cut image on to the tea towel with the shiny side up.
Step 47
Press the image on to the tea towel for 25 seconds, constantly moving EasyPress Mini as you press.
Step 48
Turn the apron upside down and apply heat for another 15 seconds.
Step 49
While vinyl is still warm, peel the plastic part of the vinyl off carefully and discard.
Step 50
Make sure you do not place an iron or the EasyPress Mini directly over the vinyl without the protective plastic cover.
Top similar recipes
Curated for youYour folders
 112 views
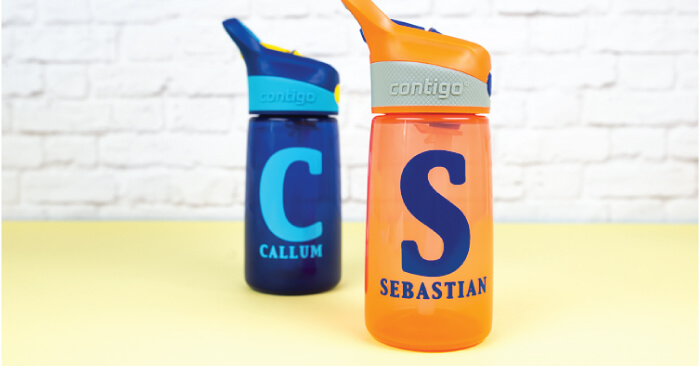
Easy Personalized Water BottlesEasy...
heyletsmakestuff.com
Your folders
 220 views
Cricut Maker
thecountrychiccottage.net
Your folders
 161 views
Cricut Joy Card Mat CardsCricut Joy...
thecountrychiccottage.net
Your folders
 62 views
Personalized Hair Care - Aura
aurahaircare.com
Your folders
 79 views
Weaving To Woo - Friendship Towels
schachtspindle.com
Your folders
 66 views
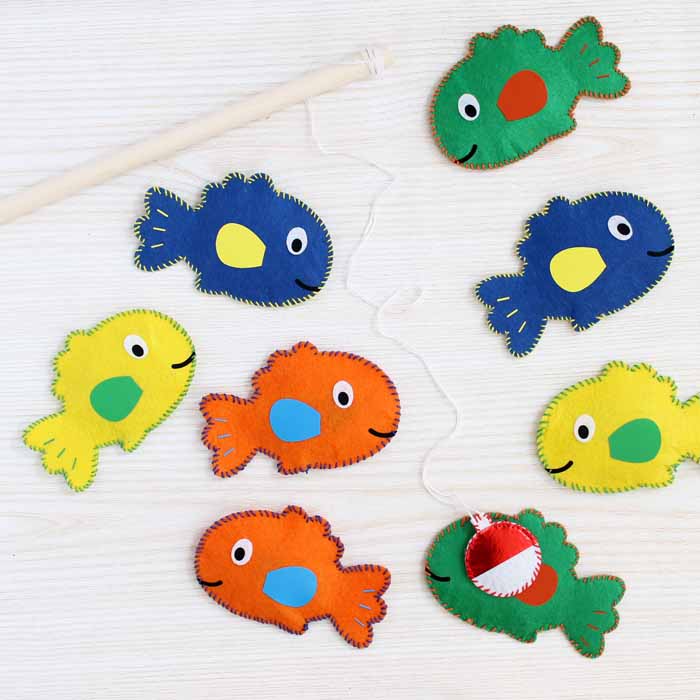
DIY Magnetic Fishing Game With Cric...
thecountrychiccottage.net
Your folders
 206 views
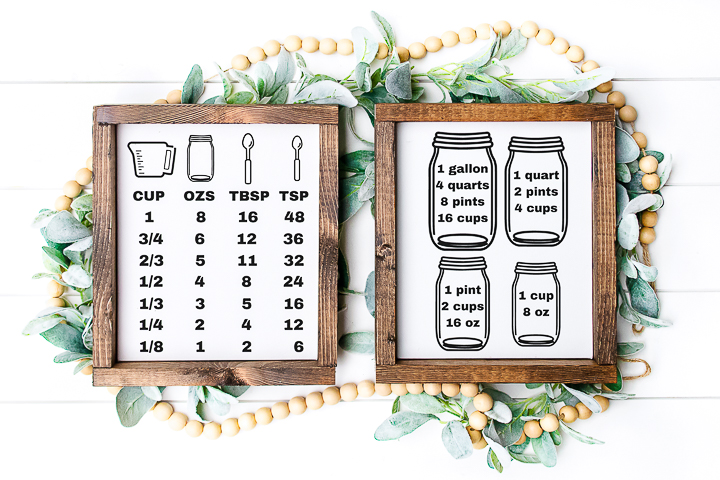
Cooking Conversion Chart with your ...
thecountrychiccottage.net
Your folders
 233 views
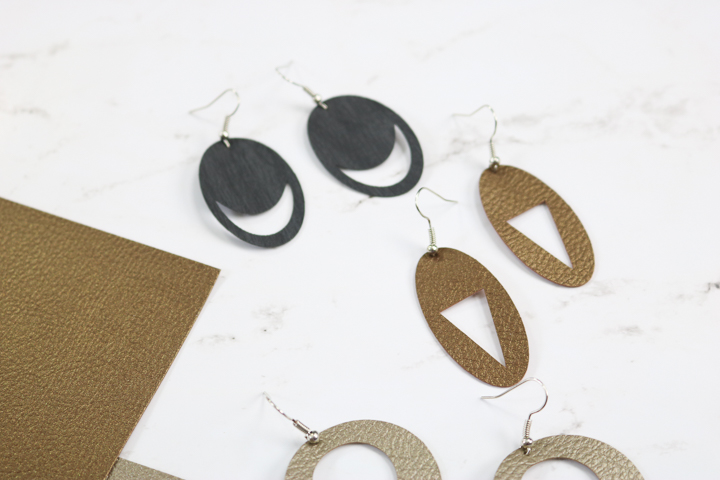
Cutting Earrings with a Cricut Mach...
thecountrychiccottage.net
Your folders
 267 views
The Perfect Tea Latte
teacachai.com
Your folders
 182 views
DIY Stenciled Flour Sack Dish Towel...
thecountrychiccottage.net
Your folders
 148 views
How to Make Reusable Paper Towels w...
papernstitchblog.com
Your folders
 142 views
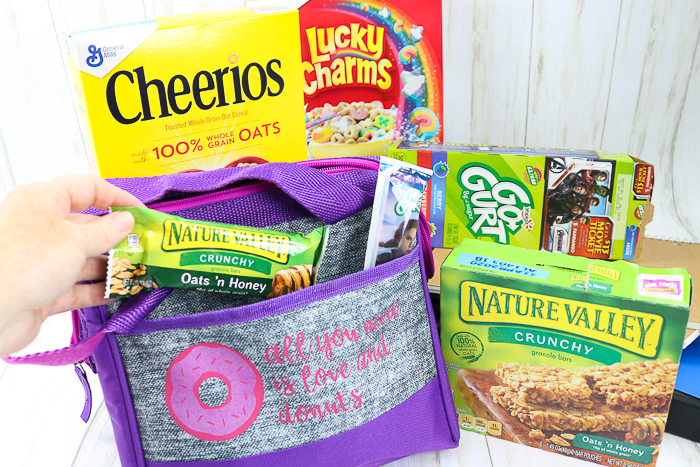
Custom Lunch Box with Your Cricut M...
thecountrychiccottage.net
Your folders
 216 views
Custom Pencil Case with Your Cricut...
thecountrychiccottage.net
Your folders
 228 views
Personalized Keto Diet Meal Plans |...
eu.ketocycle.diet
Your folders
147 viewsPersonalized Keto Diet Meal Plans |...
ketocycle.diet
Your folders
 398 views
The Gin and Tea Cocktail
firstordergin.com
Your folders
 157 views
The Very Best Iced Tea
alexandracooks.com
5.0
(14)
Your folders
 178 views
The Perfect Green Ginger Tea
organixx.com
Your folders
 191 views
How to Make a Custom Hat with Cricu...
prettyprovidence.com