DIY Christmas PotholdersDIY Christmas Potholders
Your folders
Your folders
Total: 30
Ingredients
Export 3 ingredients for grocery delivery
Instructions
Step 1
Start by using the cut file to cut your pieces from glitter heat transfer vinyl. Be sure to mirror the mats before cutting and cut with the good side down on your mat. Once cut, you will need to weed away all excess from around your design as well as the centers of letters.
Step 2
Then position your design on the potholder.
Step 3
Remove all but one color as we are going to press one at a time.
Step 4
Locate correctly on the potholder and cover with an iron-on protective sheet or parchment paper. Then press with your Cricut EasyPress for the proper amount of time at the right temperature.
Step 5
Then peel back the protective liner. DO NOT DISCARD.
Step 6
Place the next color on the potholder in place. Then return the protective sheet that you just removed. This will help protect your iron-on material.
Step 7
Press then remove all of the liners to reveal your design.
Step 8
Continue this process for all of the colors of iron-on. Once all colors have been pressed, turn the potholder over and press from the back according to the directions on the heat guide.
Step 9
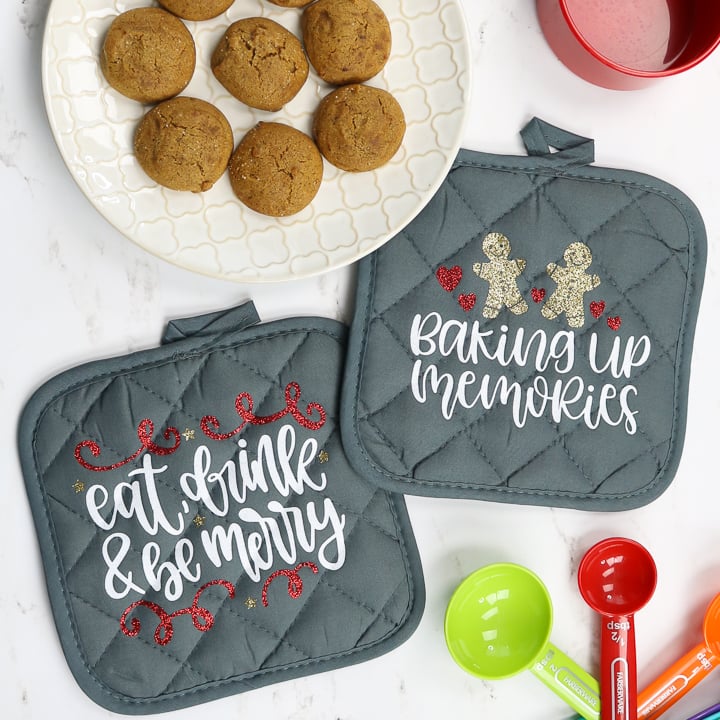
Your potholders are now done and ready to use!
Step 10
Start by using the cut file to cut your pieces from glitter heat transfer vinyl. Be sure to mirror the mats before cutting and cut with the good side down on your mat. Once cut, you will need to weed away all excess from around your design as well as the centers of letters.
Step 11
Then position your design on the potholder.
Step 12
Remove all but one color as we are going to press one at a time.
Step 13
Locate correctly on the potholder and cover with an iron-on protective sheet or parchment paper. Then press with your Cricut EasyPress for the proper amount of time at the right temperature.
Step 14
Then peel back the protective liner. DO NOT DISCARD.
Step 15
Place the next color on the potholder in place. Then return the protective sheet that you just removed. This will help protect your iron-on material.
Step 16
Press then remove all of the liners to reveal your design.
Step 17
Continue this process for all of the colors of iron-on. Once all colors have been pressed, turn the potholder over and press from the back according to the directions on the heat guide.
Step 18
Your potholders are now done and ready to use!