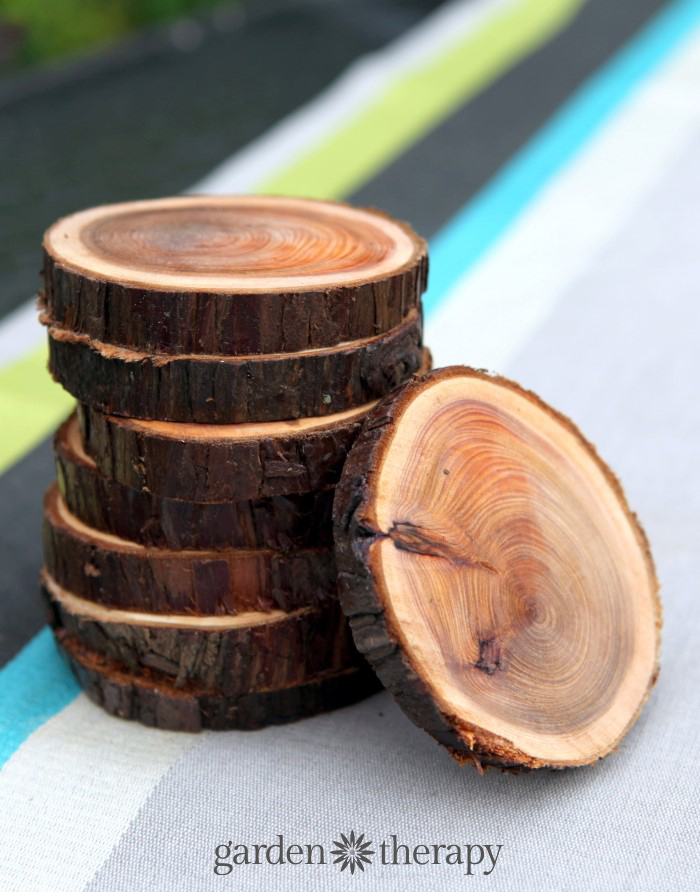
DIY Coasters from Wood Slices
gardentherapy.ca
Recipe saved
Your folders
No folders yet. Create one to organize this recipe.
Recipe saved
Your folders
No folders yet. Create one to organize this recipe.
0
Ingredients
Remove All · Remove Spices · Remove Staples
Export 3 ingredients for grocery delivery
Instructions
Helping creators monetize
Show ad-free recipes at the top of any site
Step 1
Slice branches into 1/2" thick pieces with the handsaw. Try to keep the slices as even and straight as possible.
Step 2
Sand each wood slice down using the heavy grit paper first, then the fine grit to smooth it out. Don't sand the bark.
Step 3
Wipe clean, then coat the front, back, and sides with a clear varnish. This is optional, but can prolong the life of the wooden coaster.