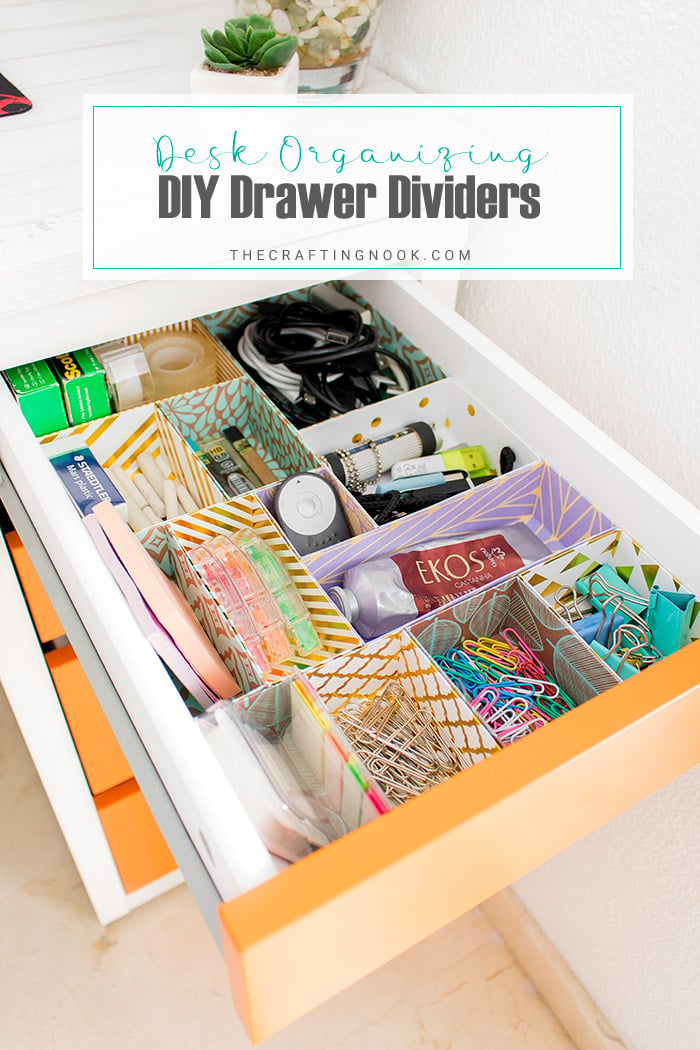
DIY Drawer Dividers for Desk Organizing
Your folders
Your folders
Servings: 2
Author : by Camila Camila Rojas

Ingredients
Export 5 ingredients for grocery delivery
Instructions
Step 1
The first you need to do is empty your drawer and measure the inside.
Step 2
Cut a piece of cardstock the exact size of your drawer. It should fit perfectly inside your drawer.
Step 3
Place your drawer pattern on a table and start placing your items on it where you think they should be.
Step 4
Once you are happy with the placement, make marks with a pencil between each item or group of items.
Step 5
Then trace lines that surround the items. You should get something like this (with your own spaces of course):
Step 6
Test the pattern in your drawer to see if you like it.
Step 7
Time to design your drawer dividers.
Step 8
The pattern gives you the size of the base of your drawer dividers. Now you need to decide the height.
Step 9
I decided I wanted to make the sides stronger so I added an overlap that folds outwards. But this is totally optional.
Step 10
Formula to draw your drawer divider pattern:
Step 11
Overlap – Side – base – side – overlap .
Step 12
If you don’t want the overlap then it’s:
Step 13
Side – base – side.
Step 14
Cut the out line borders.
Step 15
So once you finish you should have something like this and this is how it works:
Step 16
Cut out the corners as shown.
Step 17
Then cut the 4 lines I showed in red.
Step 18
The overlaps should be fold out wards:
Step 19
Then the sides are folded inwards.
Step 20
Apply glue to the flaps and glue them to the sides on the outside.
Step 21
Then glue the overlap.
Step 22
Let it dry for a few minutes and there you go!!!
Step 23
Make all the drier dividers you need and start putting them in your drawer.
Step 24
Voila!!!
Step 25
We got some pretty drawers here!!!
Step 26
Put your all your items as planned in your drawers and see the amazing different a few dividers can make.
Step 27
Time to put those drawers back into the desk.