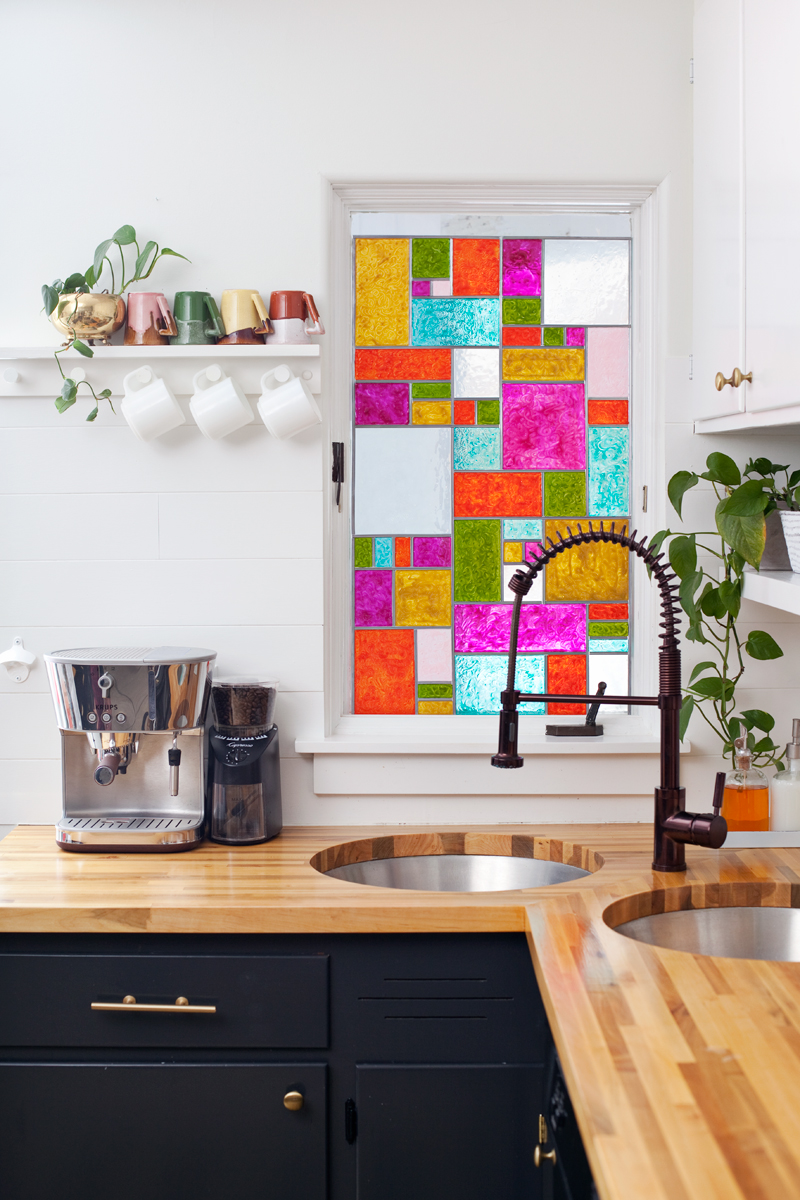
DIY Faux Stained Glass
Your folders
Your folders
Ingredients
Export 7 ingredients for grocery delivery
Instructions
Step 1
Lay out your backdrop paper and trace the outline of your glass panel. If you are using a t-square, make sure the glass panel is square with your table before tracing. Then design your stained glass pattern with marker lines.
Step 2
Lay the glass panel over the lines you made with the marker. Cover the lines with the lead strips that you cut to size with sharp scissors. I cut my pieces a bit longer than what I needed and then cut away tiny bits of the end until it fit perfectly. Use a stylus to press the metal strips into place. (The lead strips I used came with a stylus.)
Step 3
Outline the inside of each section of the design with glass paint. Be very careful to keep the line straight and go all the way up to the edge of the lead strips.
Step 4
Fill in the outlined area with a thick layer of paint, and use the tip of your bottle to spread the paint around. To prevent bubbles and to smooth out the texture, use glass brushes instead of the tip of your bottle. I didn’t use glass brushes and had trouble with the texture of my paint showing in the final product. If you get bubbles, use a tooth pick or needle to pop them.
Step 5
Fill in all of the sections of your design with paint, working so that your arm will not accidentally get into freshly painted sections. You may wish to take your time and do random sections across the glass and wait for the paint to dry before doing another round of random sections. That’s what I did, and it saved my sanity from having to paint so many sections in one sitting!