DIY Magnesium Lotion Recipe
Your folders
Your folders
Cook Time: 1 hours, 30 minutes
Total: 1 hours, 30 minutes
Servings: 100
Author : Kyla | alifeadjacent.com
Ingredients
Export 22 ingredients for grocery delivery
Instructions
Step 1
Before you start, please be sure to thoroughly clean and sanitize all tools, containers and equipment, including your immersion blender shaft. See recipe notes for tips.
Step 2
Prepare a water bath by filling a shallow pan with a few inches of water. Heat gently over medium-low heat. It does not need to be too hot, as you don't want to burn your ingredients.
Step 3
Using a digital scale, carefully measure your oil into a heat-proof glass measuring cup. This will be the cup you use for your oil phase (oil-based ingredients).Tip: If not using a scale, use the markings on the side of your cup as a guide.
Step 4
Zero the scale. Then, weigh your Olivem 1000 or Ritamulse SCG/ECOMulse into your cup of oil. If not using a scale, measure the emulsifier and add to your oil.
Step 5
Place the cup into the water bath to heat.
Step 6
While your oil-based ingredients are heating, measure or weigh your distilled water (or hydrosol) into your other measuring cup. This will be the cup you use for your water phase (water-based ingredients).
Step 7
Then, measure or weigh your magnesium oil into the same cup.
Step 8
If adding allantoin powder, add it into your water and magnesium oil mixture.Tip: It's difficult to measure such a small amount of allantoin powder without using a scale that can measure down to 0.01g. I use a scale and a tiny glass beaker. However, you can also use a miniature measuring spoon that measures 1/16 tsp.
Step 9
Place the cup containing your water phase into the water bath.
Step 10
Allow your ingredients to heat gently. Gently stir both phases once during the heating process to ensure even heating.Tip: You will know when both phases are finished heating when the emulsifier has liquified and your oil phase mixture is completely clear. Depending on your stove, this may take 10-20 minutes. There's no need to use a thermometer, as both phases should be close enough in temperature to ensure a successful emulsion.
Step 11
While you wait for your lotion phases to heat, it's a good idea to prepare your preservative and essential oils (the cool down phase). Weigh or measure them into separate containers – tiny beakers work well for this purpose.Tip: Accuracy is important, especially when measuring preservatives. So I highly recommend using a pocket scale that can measure small increments. But if you don't have a scale, you can also use a glass dropper with markings to measure the correct amount.
Step 12
Once you've measured your preservative and your essential oils, cover each beaker with cling wrap and set aside.
Step 13
Once the oil phase has liquified, put on your oven gloves to avoid burning your hands. Carefully lift the cup containing the oil phase out of the water bath. Dry the bottom of the cup with a towel.
Step 14
Then, pour the oil phase into the water phase. Stir gently with a sanitized spatula. At this point, the mixture should turn white – this is a sign the emulsion is working.
Step 15
Allow the mixture to heat for a couple more minutes for good measure, but there's no need to overheat.
Step 16
Carefully remove the cup from the water bath. (Don't forget your gloves!) Place the cup onto the counter where you'll be mixing your magnesium lotion.
Step 17
Give the liquified mixture a quick burst with your immersion blender to kickstart the emulsion. Only a second or two is needed, but be careful, as the liquid will be prone to splashing. Then, allow to cool for a couple minutes.Tip: be sure that any surface your blender touches is properly sanitized. You may wish to place it down on a sanitized plate while you wait.
Step 18
Once your lotion mixture has cooled for a couple minutes, it's time to begin the emulsion process. Begin to emulsify the lotion using your immersion blender. Be careful and go slow to avoid splashing. If your lotion begins to turn white, creamy, and opaque, keep blending. On the other hand, if your lotion thickens, but looks a little gloopy and gelatinous, don't panic. This simply means it's still too hot. Pause and allow it to cool for a couple more minutes before continuing.
Step 19
Continue to blend until your magnesium lotion turns thick and creamy, like full-fat yogurt. Once it reaches this point, pause and allow it to cool for about 10 minutes before blending again. You'll need to blend your lotion periodically as it cools, as this will help maintain the emulsion. However, there's no need to obsess over it. Simply go back every 10 minutes or so to blend it again. You will notice that your lotion will thicken even more as it cools down.
Step 20
After about 30 minutes or so, your lotion should be cool enough to incorporate the cool-down phase (your preservative and optional essential oils).Tip: a laser thermometer helps you know when your lotion is close to room temperature. However, this isn't necessary. You'll easily be able to tell it's ready when your container is no longer hot. It should be barely warm to the touch. Add your Geogard ECT (and essential oils, if desired) to the cooled lotion and blend again to incorporate.
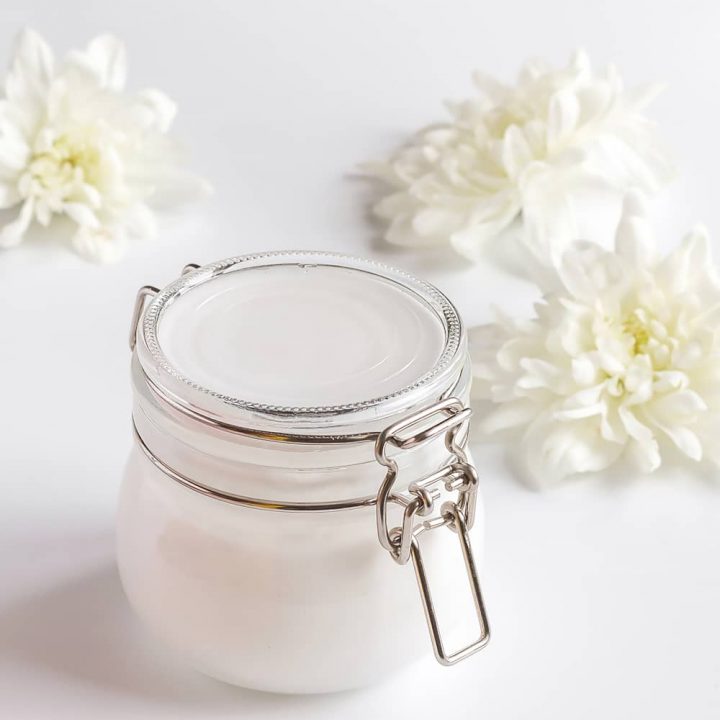
Step 21
Your homemade magnesium lotion is finished and ready to be packaged in the container of your choice.