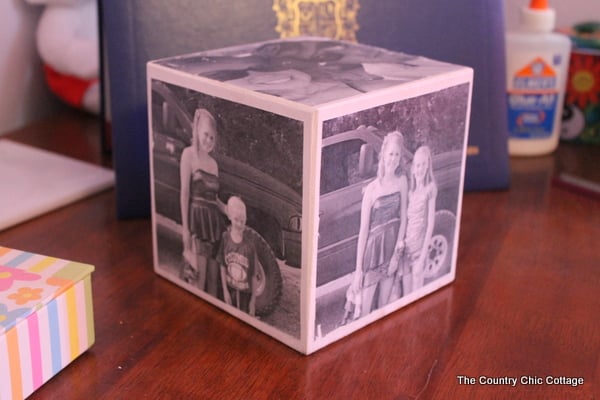
DIY Photo Cube
Your folders
Your folders
Ingredients
Export 5 ingredients for grocery delivery
Instructions
Step 1
Paint your entire cube with white paint. Let it dry completely.
Step 2
Print black and white copies of your photos with a toner-based printer or copier and trim them to size.
Step 3
Apply a thick coat of Mod Podge Photo Transfer medium on your photocopies.
Step 4
Place your photos facedown on the sides of your cube and spread them out so they're flat and smooth. Dry according to the instructions on the Mod Podge Photo Transfer medium bottle.
Step 5
Use a sponge to wet down your photos. As the paper gets wet, it will peel off and leave the photos on your cube. This is the time-consuming part and will take time to slowly wet down the paper and remove it.
Step 6
Once all of the images are complete, let them dry and cover them with a coat of Mod Podge. Let dry completely.