DIY Placemats for Fall
Your folders
Your folders
Total: 15
Ingredients
Export 4 ingredients for grocery delivery
Instructions
Step 1
First, place the burlap over a placemat and cut the burlap out to match the size of the placemat.
Step 2
Next, I pulled away about three strings from each side to create a frayed edge. If you are worried about your placemat continuing to fray, you can use fray check all around the edges of your finished product.
Step 3
Then count in from one edge about eight strings and start pulling strings out. You can literally just pull a middle string easily.
Step 4
Pull enough strings so that your ribbon will fit through the burlap. In my case, it was around eight strings.
Step 5
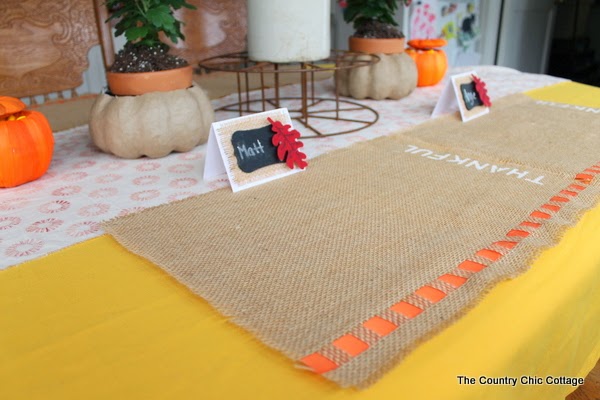
Start threading through your ribbon. I went five strings and then repeated — in and out of my placemat all the way down the burlap.
Step 6
Now, it is time to add why we are all gathered together on Thanksgiving. I spelled “THANKFUL” down the side of each of my placemats with the stencil and white paint.
Step 7
You could, of course, add different words to each of your placemats. I loved the thankful sentiment so I kept all four of mine consistent. Have fun with the different words!
Step 8
After your paint has dried, iron your placemats and they are ready to add to your Thanksgiving table!