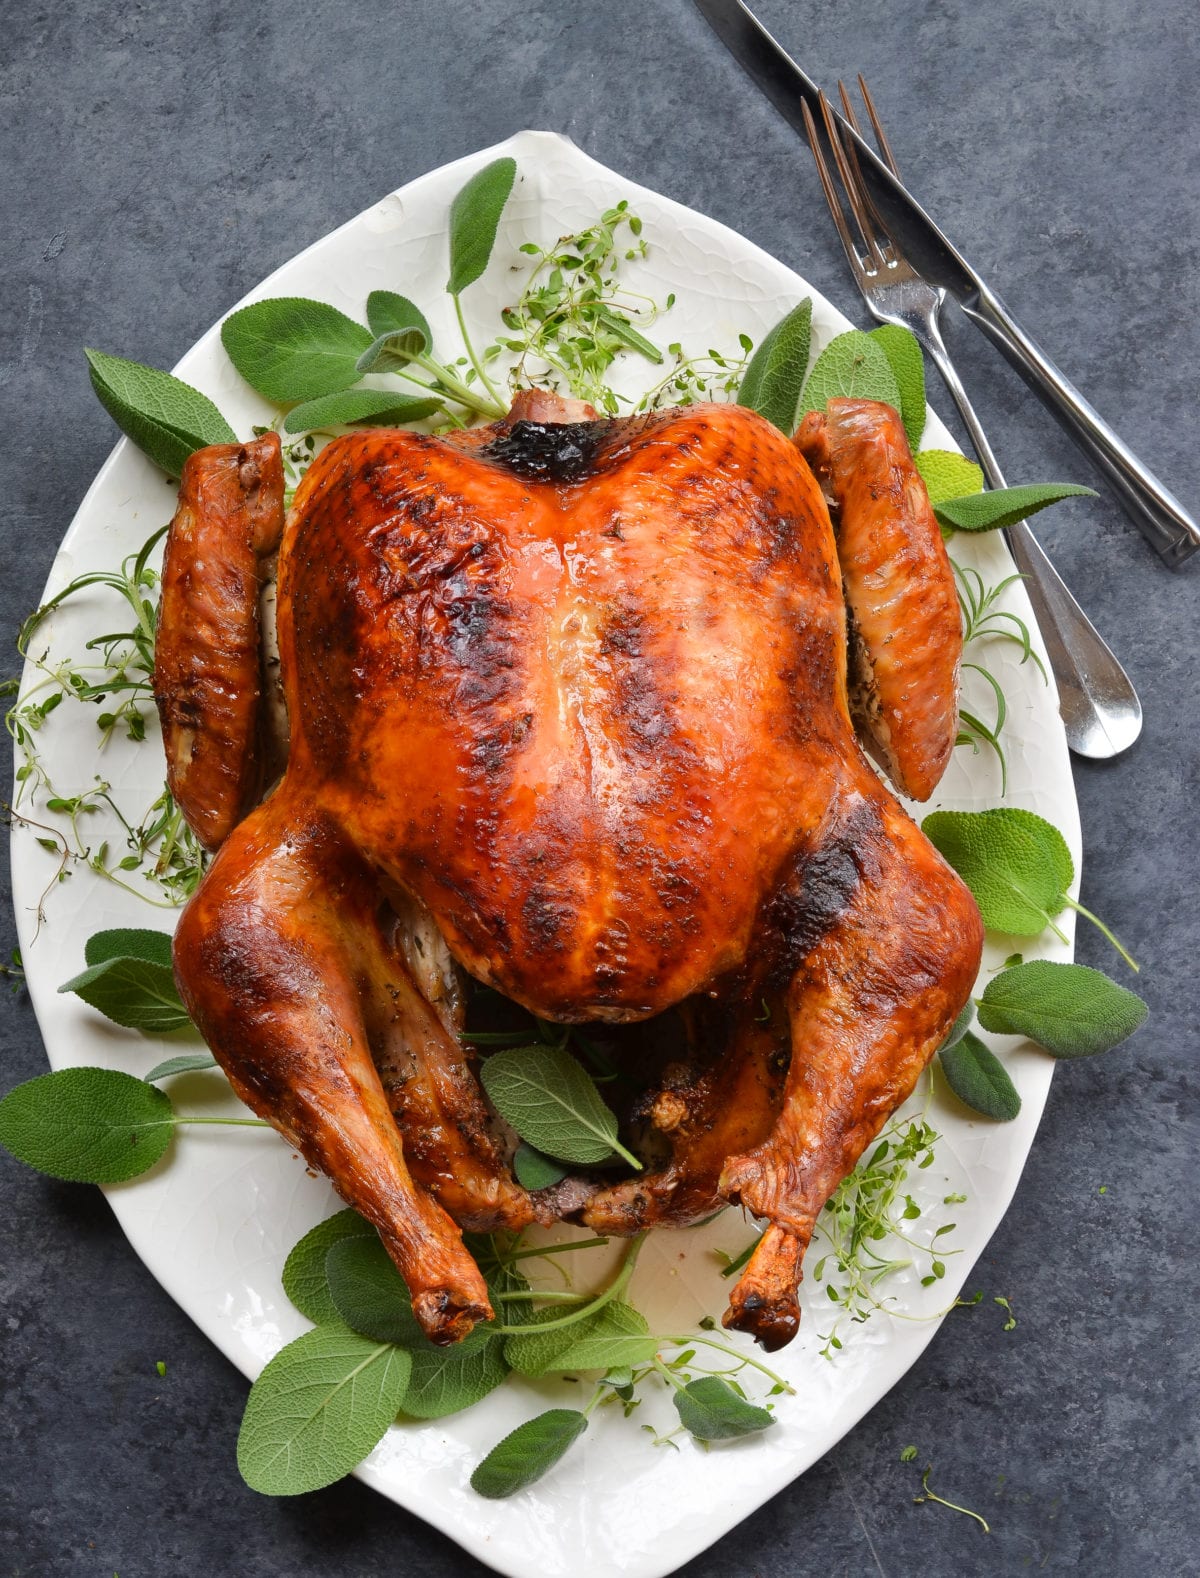
Dry-Brined Turkey
5.0
(59)
Your folders
Your folders
Prep Time: 30 minutes
Cook Time: 2 hours, 30 minutes
Total: 3 hours
Servings: 8

Ingredients
Export 6 ingredients for grocery delivery
Instructions
Step 1
Line a rimmed baking sheet with aluminum foil for easy clean up, and set an oven rack on top.
Step 2
Remove and discard the truss that holds turkey legs together (if the legs are held together with turkey skin, cut the skin to release them). Trim off and discard any excess fat in the neck or body cavity. Remove giblets and neck; discard or save for stock. Rinse the turkey inside and out with warm water. Pat dry with paper towels.
Step 3
In a small bowl, mix the sugar, salt, thyme, sage, and pepper for the dry brine. Place the turkey on the rack of the prepared baking sheet. Rub and pat the dry brine all over the turkey, including inside the cavity. Refrigerate, uncovered, for at least 24 hours and up to 48 hours.
Step 4
Preheat the oven to 375°F and set an oven rack in the lower third of the oven. Using damp paper towels, brush the dry brine off the turkey.
Step 5
Scatter the onion, carrots, and celery in the bottom of a large roasting pan. Place a roasting rack inside the pan and place the turkey on the rack. Tuck the wings underneath the bird. Using your hands, smear the butter all over the turkey.
Step 6
Roast the turkey until the skin is deep golden and a leave-in or instant-read thermometer registers 165°F when inserted into the thickest part of the breast and the thigh, 1¾ to 2½ hours (see note). Check the turkey after 1½ hours. If the skin is getting too browned, cover it loosely with foil.
Step 7
Using clean oven mitts (that you don't mind getting dirty), carefully tilt the turkey so any juices from the cavity pour into the roasting pan. Transfer the turkey to a platter or cutting board. Tent with foil and let rest for 20 to 30 minutes. Remove the vegetables from the pan and discard (or if they aren't too soft/brown, save them and arrange on the serving platter with the turkey). Reserve the drippings in the pan for the gravy.
Step 8
While the turkey rests, make the gravy.
Step 9
Carve the turkey and serve with the gravy on the side.
Step 10
Make-Ahead Instructions: If you don't mind losing the crispy skin, the turkey can be roasted and carved ahead of time. Pour a thin layer of the gravy into an ovenproof serving dish. Arrange the carved turkey nicely on top of the gravy; cover tightly with plastic wrap and refrigerate for up to two days. Refrigerate the remaining gravy in a separate container. To reheat: remove the plastic wrap and cover the platter with aluminum foil. Place in a 325°F-oven for 20 to 30 minutes, until the turkey is hot. Reheat the gravy in the microwave or on the stovetop.
Step 11
Note on Selecting Your Turkey: For the best results with this dry-brining method, look for a turkey that is not kosher, injected, or labeled as "self-basting." These types of turkeys have already been treated with salt or a brining solution. However, if you can only find a kosher, injected, or self-basting turkey, you can still use this recipe, as these birds do still benefit from additional seasoning. Just halve the amount of salt in the dry brine to avoid over-salting.
Step 12
Note: I've given a range for the cooking time, which will depend on the size of your turkey. For best results, I recommend using a digital thermometer with a leave-in probe and remote monitor ( like this one). That way, you can monitor the temperature of the turkey without ever opening your oven.