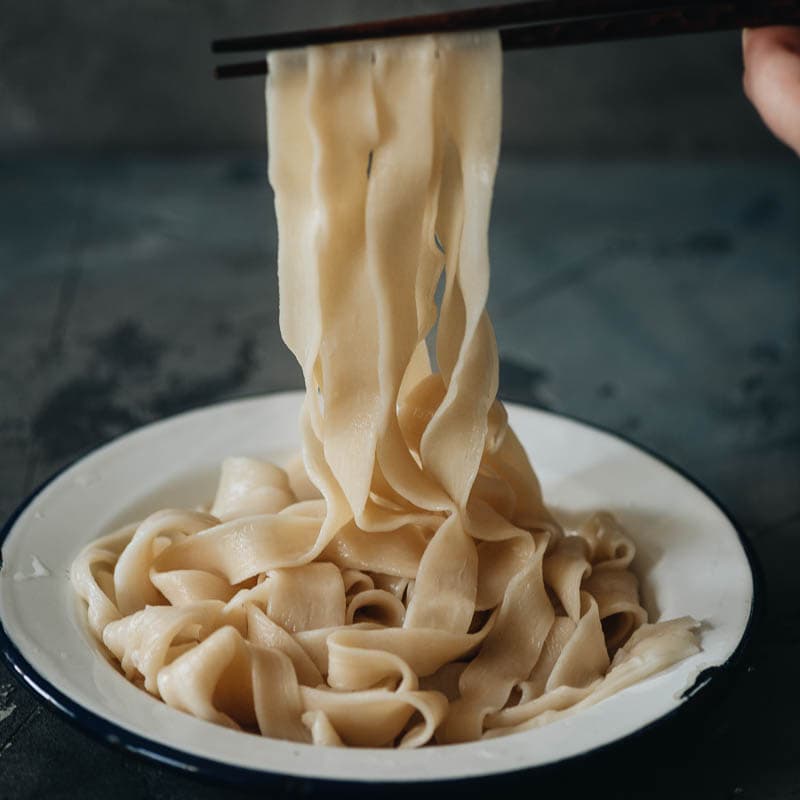
Easy Hand-Pulled Noodles
4.8
(26)
Your folders
Your folders
Prep Time: 20 minutes
Cook Time: 2 minutes
Total: 162 minutes
Servings: 4
Author : Maggie Zhu
Ingredients
Export 2 ingredients for grocery delivery
Instructions
Step 1
Combine the water and salt in a small bowl. Stir to dissolve the salt.
Step 2
Add the flour into a large bowl. Bit by bit, pour the water into the flour, mixing with a pair of chopsticks or a spatula as you go.
Step 3
Once all the water is added, the dough should be in shaggy threads with little/no dry flour in the bowl. Begin pressing the dough together. If you find the dough is too dry and there’s still dry flour that’s hard to incorporate into the dough, drizzle more water onto the dry flour and mix it again, until there’s no dry flour left. Knead the dough until a rough, firm ball is formed, about 2 minutes.
Step 4
Cover the bowl with plastic wrap and let it rest for 20 minutes.
Step 5
Once the dough is rested, knead it again until it becomes smooth, 1 to 2 minutes.
Step 6
Mix the flour and salt in the bowl of the KitchenAid mixer and add the dough hook. Turn it to the mix setting. Slowly drizzle the water down the side, all along the bowl. This should take about 1 minute. Once the water is incorporated, turn to setting 2 and knead until a rough dough ball is formed, another 2-3 minutes.
Step 7
Cover the dough with plastic wrap and let it rest for 20 minutes.
Step 8
Either knead in the machine on setting 4 for 30 seconds or by hand for 1-2 minutes.
Step 9
If you plan to store/freeze the dough, coat the dough with oil and store it in a sealed plastic bag. Refrigerate for up to 2 days or freeze for up to 3 months.
Step 10
FOR THIN NOODLES: Divide the dough to halves and roll each dough into a 1/2” (1 cm) thick oval.
Step 11
FOR FLAT NOODLES: Divide the dough to halves and roll each and roll each dough into a 1/4” (1/2 cm) thick oval.
Step 12
FOR WIDE NOODLES: Cut the dough into 8 pieces. Roll each piece into approximately 3”x5” (8x13 cm) ovals, 1/4” (1/2 cm) high.
Step 13
Coat the dough(s) generously with oil and cover with plastic. Let rest for 2 hours.
Step 14
Bring a medium-sized pot of water to a boil.
Step 15
FOR THIN NOODLES: Cut long the longer side of the oval, slicing the dough into 1/2” (1 cm) wide strips and rolling each piece slightly to the side with each cut to prevent them from sticking together. Cover the cut pieces with the plastic again to prevent them from drying out. Starting with the first strip you cut off, pick it up on both ends. (*Footnote In one swift motion, tug the noodle about an arm’s length and gently bounce it on the working surface once or twice until it forms a long, thin noodle. Rest the noodle on your working surface as you fold it over, so that both ends are in one hand. Hook the other side with your thumb. Give it a couple light tugs and bounces until the noodles get longer and reach the desired thin shape. Then pull off the thick ends collected in one hand and lay the noodle out on the working surface. Repeat with the rest of your noodles.
Step 16
FOR FLAT NOODLES: Cut along the longer side of the oval, slicing the dough into 1 1/2” (3 cm) wide strips. Cover the cut pieces with the plastic again to prevent from drying out. Starting with the first strip you cut off, pick it up on both ends. (*Footnote In one swift motion, tug the noodle to about an arm’s length and gently bounce it on the working surface once or twice. Rest the noodle on your working surface for 10-20 seconds, then give it a couple extra-light tugs and bounces until it forms a flat long noodle. Then pull off the thick ends and lay the noodle out. Repeat with the rest of your noodles. Drop the noodles into the boiling water, a few at a time, and cook for 1 to 1.5 minutes.
Step 17
FOR WIDE NOODLES: One at a time, grip the short ends of a strip (*Footnote and pull it apart in one swift motion until the dough feels taut. It should be between 1 to 2 feet. Bounce it on the table a couple times. Pull off the thick ends and lay the noodle out, covering it with plastic to prevent drying out.
Step 18
Drop the noodles, a few pieces at a time, into the boiling water and cook for 1 to 1.5 minutes, until tender but still with a chewy texture. Do not cook too many noodles at a time! It’s hard to control the texture that way and the noodles might stick together.
Step 19
Store the cooked noodles: If you plan on reheating, you can slightly undercook the noodles (to al dente) to create a better texture once reheated. Store the noodles in an airtight container or a ziplock bag in the fridge for up to 3 days or in the freezer for up to 3 months.
Step 20
For frozen/refrigerated dough; let the frozen dough thaw in the fridge overnight. Transfer the refrigerated dough to room temperature. Rest for 2 hours. The dough will become super soft and can be gently shaped, rested for another 10 minutes or so, and pulled. Cook according to the instructions above.
Step 21
To reheat, bring a pot of water to a boil and add the cooked noodles. Separate with a pair of chopsticks and cook until the noodles are just heated through.
Step 22
For a quicker and lazier reheating method (for leftovers), reheat the refrigerated noodles in the microwave until heated, then quickly rinse the noodles with tap water in a colander. Drain the water thoroughly before serving.
Step 23
If you plan to use the thin noodles for fried noodles, you don’t need to reheat them before using. Thaw them if frozen. Then run the noodles with tap water in a colander and separate gently with chopsticks. Drain thoroughly before using for stir fried noodles.