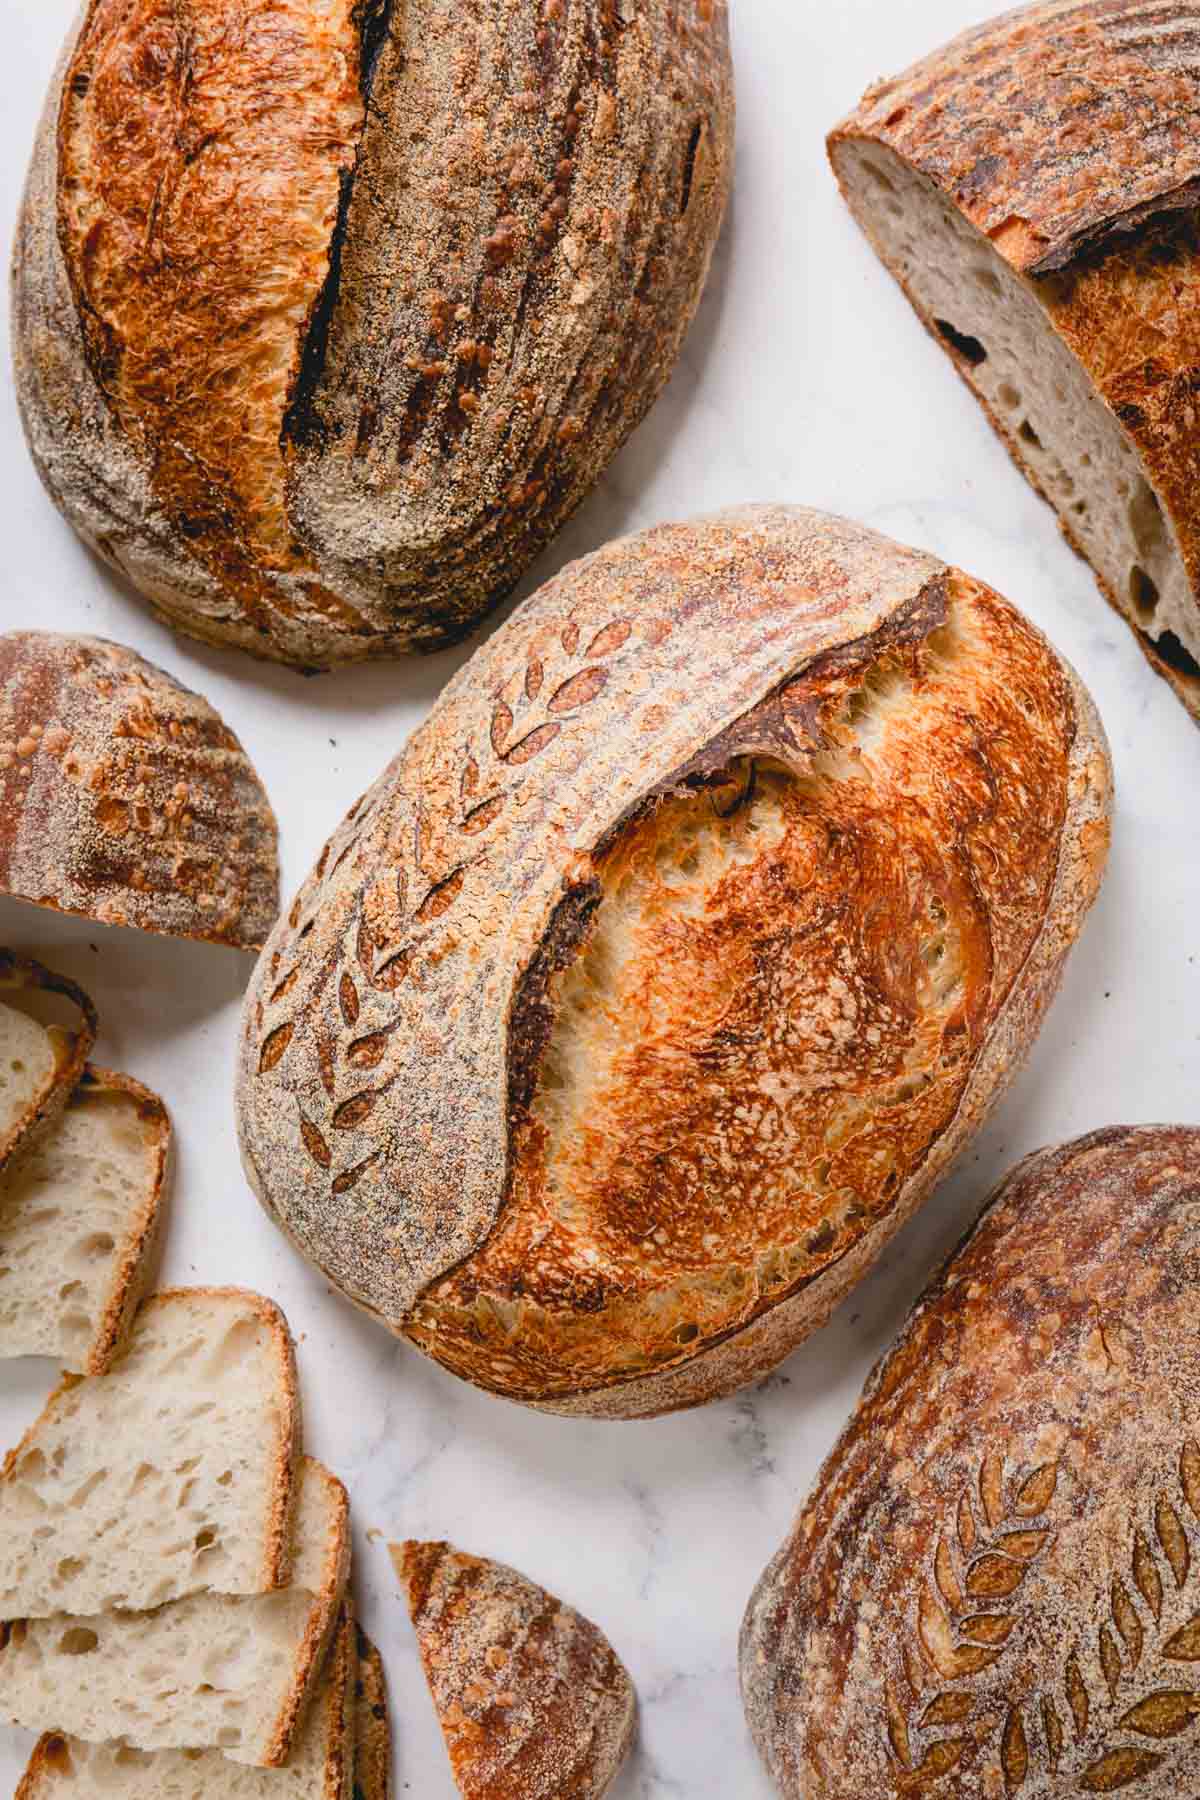
Easy Sourdough Bread
5.0
(1)
Your folders
Your folders
Servings: 1
Author : Shinee
Ingredients
Export 3 ingredients for grocery delivery
Instructions
Step 1
Feed the starter 8-12 hours prior to making the bread dough. You need a nice and ripe starter. Test the starter by dropping a small amount into a water. If it floats, it’s ripe and ready to use!
Step 2
In a large mixing bowl, combine warm water and ripe starter. Mix until most of the starter is broken up and mixed into the water.
Step 3
Add flour and salt.
Step 4
Use a silicone spatula, or your hand, or the dough hook attachment, knead the dough until all the flour is incorporated, about 2 minutes. Let it rest for 5 minutes.
Step 5
Then knead it again for 5 minutes, if using a stand mixer, or about 8 minutes, if kneading by hand. (Note: Don’t be alarmed by soft and sticky dough. It’s exactly as it should be, and it’ll get easier to handle.) Cover the dough with plastic wrap (or shower cap) and rest for 30 minutes.
Step 6
Turn the dough out onto a clean counter, lightly sprayed with water. Gently stretch the dough out as far as it can go. Then lift the bottom end and fold it over the center of the dough. Then do the same with the top side of the dough. Now, lift the sides of the dough and fold it over onto the center as well. Then tuck the corners to form a nice smooth ball. Using a bench scraper, turn the dough into tight ball to create a surface tension. Please watch my video demonstration for better understanding. (TIP: Lightly dampen your hands with water. It minimizes the dough sticking to your hands.)
Step 7
Put the dough back into the bowl, cover and bulk ferment for 5-6 hours at room temperature (around 70°F). (Note: If you have time, I also encourage you to do additional 1-2 lamination about 1 hour apart. It helps to strengthen the gluten structure and promotes nice open crumb.)
Step 8
Turn the dough out onto a clean counter, lightly sprayed with water. With lightly dampened hands, stretch and fold the dough again as described in step Form the dough into a tight ball and let it rest for 10 minutes, covered. Resting allows the dough to relax and it’ll be easier to shape it.
Step 9
Flip the dough smooth side down and stretch the top portion slightly and fold it over the center. Do the same thing with the bottom portion. You should now have a log shaped dough. Then from the short end, roll the dough as if you’re rolling a burrito. Tightly pinch the seams.
Step 10
Generously dust the banneton basket with brown rice flour and put the bread dough into it, seam-side up.
Step 11
Cover the banneton with plastic wrap, or the same shower cap. And let it proof for 1 hour at room temperature, then place it in the fridge for overnight, 8-10 hours, for cold proofing. OR proof the dough for 2 hours at room temperature and bake right away. (Note: Slow cold proofing helps to develop more flavor. But in my experience, it didn’t affect the oven spring.)
Step 12
Preheat the oven with bread cloche to 425°F (218°C) for at least 1 hour. (If using Dutch oven, you may or may not preheat it. I’ve tried either way and didn’t see significant difference.)
Step 13
Poke test: Poke the dough in the banneton with your finger about half an inch deep. If the dough springs right back, then it’s under-proofed. If the dough doesn’t spring back at all, it’s over-proofed. You want your dough spring back slowly and leave a small indentation.
Step 14
Carefully invert the proofed bread dough onto the hot cloche. Spritz the top of the bread with water and score it to your desired pattern. Cover and bake for 45 minutes. (TIP: Spraying water helps to create more steam and encourages a good oven spring. The bread crust also gets nice blisters from water sprays.)
Step 15
Then remove the cover and bake the bread for another 15 minutes.
Step 16
Carefully transfer the bread onto a wire rack and cool completely for at least 3 hours before slicing into it. (TIP: If sliced too soon, the bread will be unpleasantly gummy.)