Echanted Forest Christmas Yule Log Cake Made with Japanese Cake Roll
4.6
(14)
Your folders
Your folders
Prep Time: 4 hours, 35 minutes
Total: 4 hours, 35 minutes
Servings: 8
Cost: $5.06 /serving
Author : Mimi

Ingredients
Export 17 ingredients for grocery delivery
Instructions
Step 1
Make Totoro Cream Puffs using this recipe. Shells can be frozen in advance. Please see tutorial.
Step 2
Set egg whites out at room temperature.
Step 3
When the egg whites comes to room temperature, whip on low speed. Once it begins to foam, add cream of tartar.
Step 4
Increase speed to medium.
Step 5
Continue whipping until egg whites become opaque and the whisks starts to leave tracks inside the whites.
Step 6
Add the sugar a little at a time until fully incorporated.
Step 7
Add vanilla extract and incorporate.
Step 8
Continue to whip on med-high speed until stiff peaks are reached.**
Step 9
Transfer half of the uncolored meringue to a piping bag fitted with a 1/2" round tip (ex. Atecco #805). Save a little to put in another piping bag with a smaller tip for piping the white dots onto the mushroom top.
Step 10
Color the remainder of the meringue with red GEL food coloring (ex. Americolor's Super Red). Transfer to a piping bag fitted with a 1/2" round tip.
Step 11
Place parchment paper or Silpat mats onto baking tray. If using paper, dab a bit of meringue onto the bottom of the paper and stick it to the pan to prevent it from shuffling around as you pipe.
Step 12
Pre-heat oven to 200F.
Step 13
With the white meringue, pipe the stems of the mushroom by holding the piping tip upright while applying even pressure. After reaching 3/4" in height, release pressure and pull away quickly to stop piping. There will be a pointed peak on the stem, this can be cut away after baking.
Step 14
With the red meringue, pipe the caps by allowing the meringue to flatten out into a 1" circle as you pipe. Release pressure and use a swirling motion to stop piping to prevent pointed tips.
Step 15
Use the reserve white meringue in a bag with a small piping tip (ex. round #to pipe small white dots onto the mushroom caps.
Step 16
Bake for 1 hour at 200F. Do not open the doors while baking.
Step 17
Meringues are fully baked when they can be pulled cleanly away from the mat without sticking.
Step 18
Turn off the oven. Leave meringues inside with the door ajar for at least 2 hours or overnight.
Step 19
Once meringues have dried, cut off the peaks of the mushroom stems to create a flat surface for applying the mushroom cap.
Step 20
Use some royal icing or melted chocolate to glue the two together.
Step 21
Line a 8 X 12" rectangular cake pan with parchment paper.
Step 22
In a small sauce pan, heat the milk and cocoa powder on medium heat until powder is fully dissolved. Do not let the milk come to a boil. Keep stirring continuously while breaking down big clumps of powder. Once fully dissolved, set chocolate milk mixture aside to cool.
Step 23
Preheat oven to 325F.
Step 24
In a large mixing bowl, add in sugar, baking soda, cream of tartar and salt. Sift in cake flour, stir to combine.
Step 25
Create a well in the center. Inside it, add yolks, oil, vanilla extract and chocolate milk mixture.
Step 26
Stir to combine until fully incorporated, do not over mix. Set this chocolate-flour mixture aside.
Step 27
In a clean and dry, non-plastic mixing bowl, whip egg whites on slow speed until frothy, add cream of tartar. (Note 1)
Step 28
Increase speed to medium, once the whites become opaque and bubble size have tightened up, add sugar a little bit at a time.
Step 29
Increase speed to med-high, whip until stiff peaks. You've now made a meringue. (Note 2)
Step 30
Gently fold 1/3 of the meringue into the chocolate-flour mixture to get it moving. Once incorporated, fold in the rest of the meringue. Do not stir. Use batter immediately.
Step 31
Dab a bit of the batter onto the sides of the parchment paper to keep corners together. Dab a little more onto the paper and stick it to the pan to prevent the parchment paper from tipping over into the cake batter.
Step 32
Pour into lined cake pan from one spot, spread out the batter evenly with an angled spatula.
Step 33
Tap the pan on the counter to release large air pockets.
Step 34
Bake for 14-16 min. at 325F until a skewer pulls out clean and cake springs back in the center.
Step 35
Let cool 5 min. in the pan before removing.
Step 36
Place cooling rack over cake pan.
Step 37
Flip cake over onto the rack, gently remove paper.
Step 38
The side facing up will eventually become the top of the cake roll. Let it sit on cooling rack for 5 min.
Step 39
Place a piece of new parchment paper on top
Step 40
Flip the cake over and start rolling, allowing the parchment paper to be in between the folds. This will prevent the cake from sticking to itself. It's important to roll the cake before it cools completely, otherwise, it will crack while rolling.
Step 41
Let it cool in this wrapped condition while making the chocolate whipped cream.
Step 42
Place a mixing bowl and beaters in the freezer to chill. It will help the cream whip better.
Step 43
Chop up chocolate into small pieces.
Step 44
Place chocolate in a small pot along with the cream.
Step 45
Heat over medium heat until chocolate is fully melted. Do not bring to a boil.
Step 46
Let cool to room temperature then place in the fridge to chill. Check on it every 10-15 minutes and give it a gentle stir. It should be chilled before whipping but do not let it cool for too long as it will become too stiff to whip.
Step 47
Place the chocolate and cream mixture in the chilled mixing bowl, then beat on low speed and slowly increasing to medium. Stop when it start to get stiff. Do not over whip.
Step 48
Chill mixing bowl and beaters in the freezer. This will help whipped cream whip up better.
Step 49
Whip heavy cream on low speed and then increase to medium. Once the beaters leave tracks in the cream, add the powdered sugar.
Step 50
Whip on med-high until stiff peaks are reached.** The cream will turn from glossy to matte. Do not over whip.
Step 51
Very carefully unroll the cake.
Step 52
Gently add one even layer of the Chantilly cream filling onto the unrolled cake.
Step 53
Very gently roll the cake back up using the parchment paper to help push the cake onto itself. This will help prevent cracking. To further prevent cracks, add more cream along the short edge that is folded first and do not try to roll the cake too tightly. Cut off the sides before placing on a presentation plate.
Step 54
Cut off one end of the cake on a diagonal.
Step 55
Place it onto the side of the cake roll.
Step 56
Frost the cake with the chocolate whipped cream using an angled spatula.
Step 57
Use a fork to create wood grain marks in the frosting.
Step 58
Place meringue mushrooms and Totoro Cream puff on top before serving. These elements will absorb some of the moisture from the frosting so use sparingly. Place the rest of the meringues and cream puffs off onto the side for guests to enjoy.
Step 59
Enjoy!
Top similar recipes
Curated for youYour folders

 623 views
Tiramisu Yule Log Christmas Cake
natashaskitchen.com
5.0
(15)
14 minutes
Your folders

 206 views
Yule Log Cake
internationalcuisine.com
5.0
(3)
15 minutes
Your folders
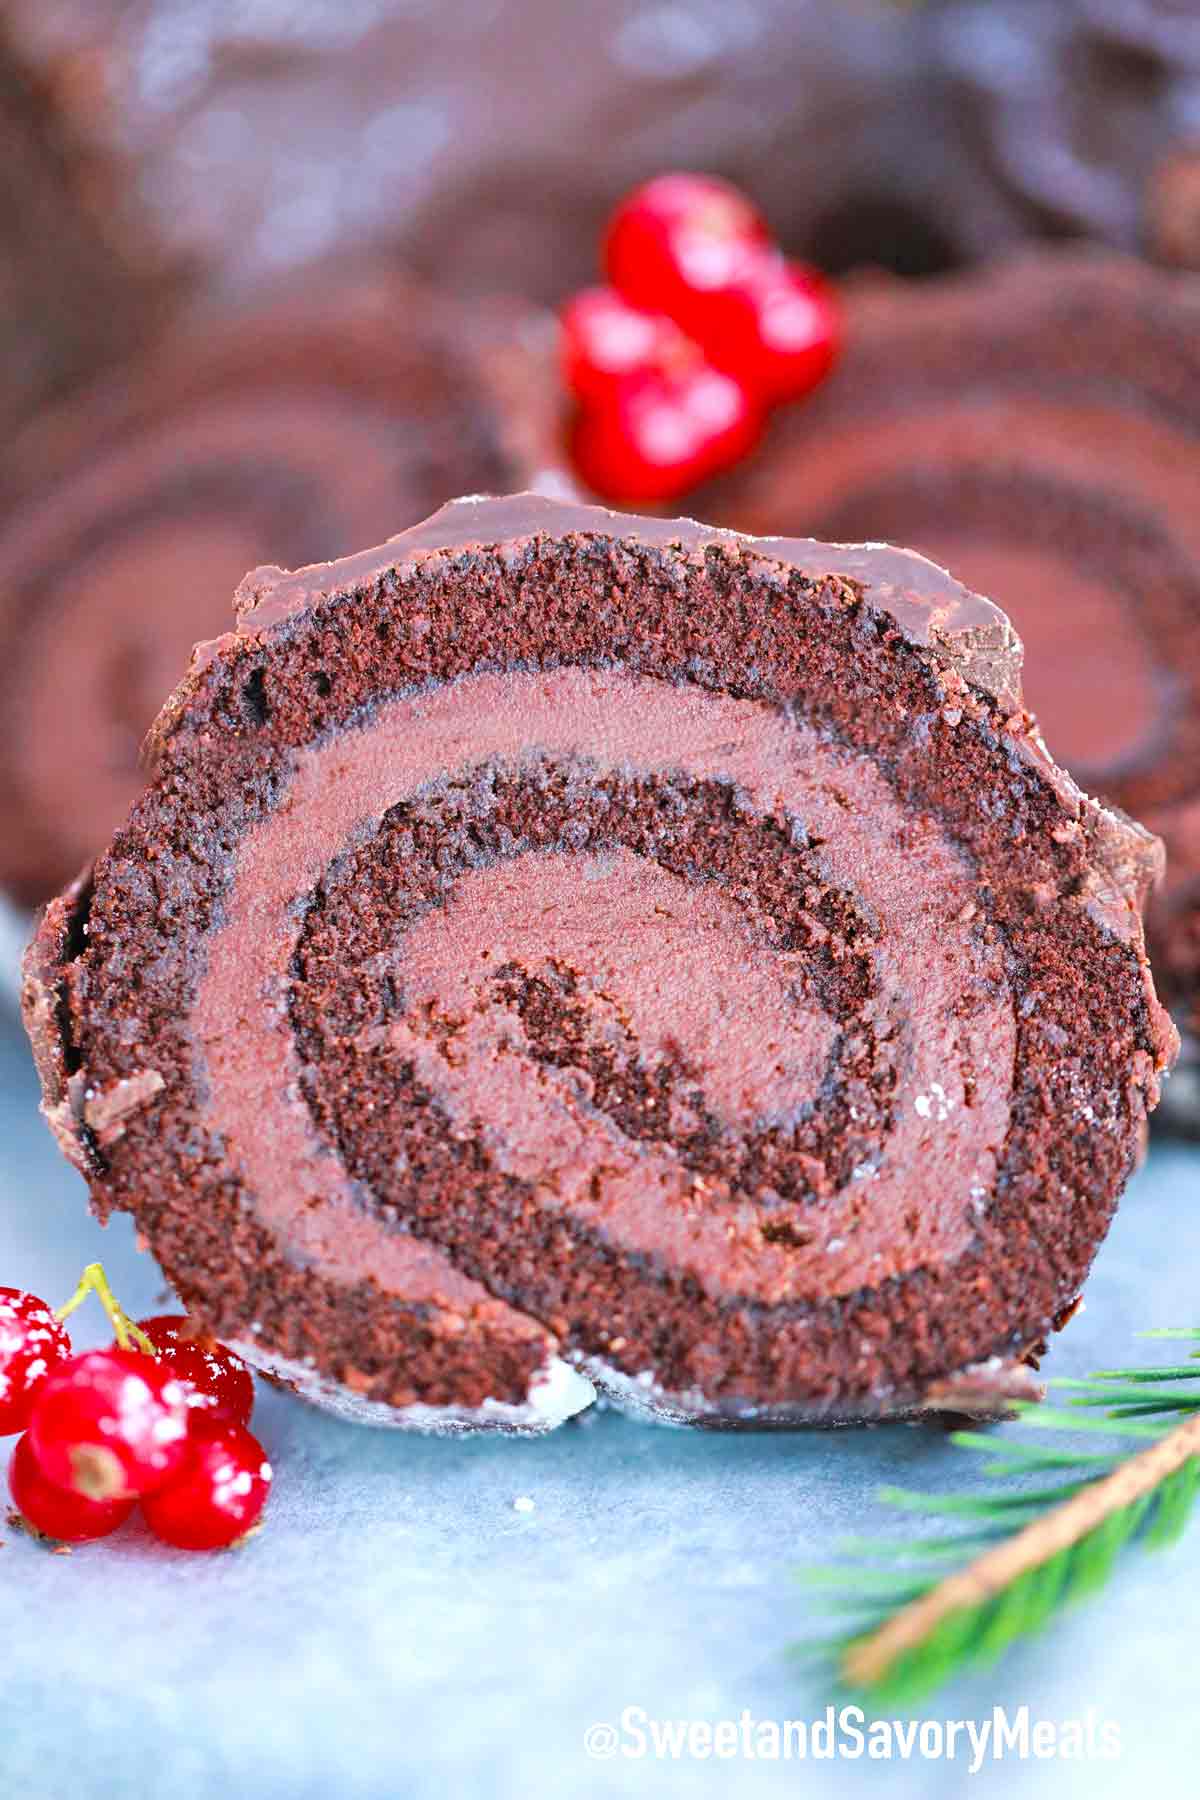
 391 views
Yule Log Cake
sweetandsavorymeals.com
20 minutes
Your folders
 93 views
Yule Log Cake
lilluna.com
Your folders
 184 views
Black Forest Yule Log
goodhousekeeping.com
20 minutes
Your folders

 214 views
Black Forest Yule Log
moversandbakers.co.uk
12 minutes
Your folders

 249 views
Yule log (cake) - Wikipedia
en.wikipedia.org
Your folders

 389 views
Festive Christmas Yule Log
myloveofbaking.com
Your folders

 908 views
Yule Log Cake Recipe - BettyCrock...
bettycrocker.com
Your folders

 577 views
Yule Log
bakingamoment.com
4.5
(2)
30 minutes
Your folders
 105 views
Yule Log
preppykitchen.com
Your folders
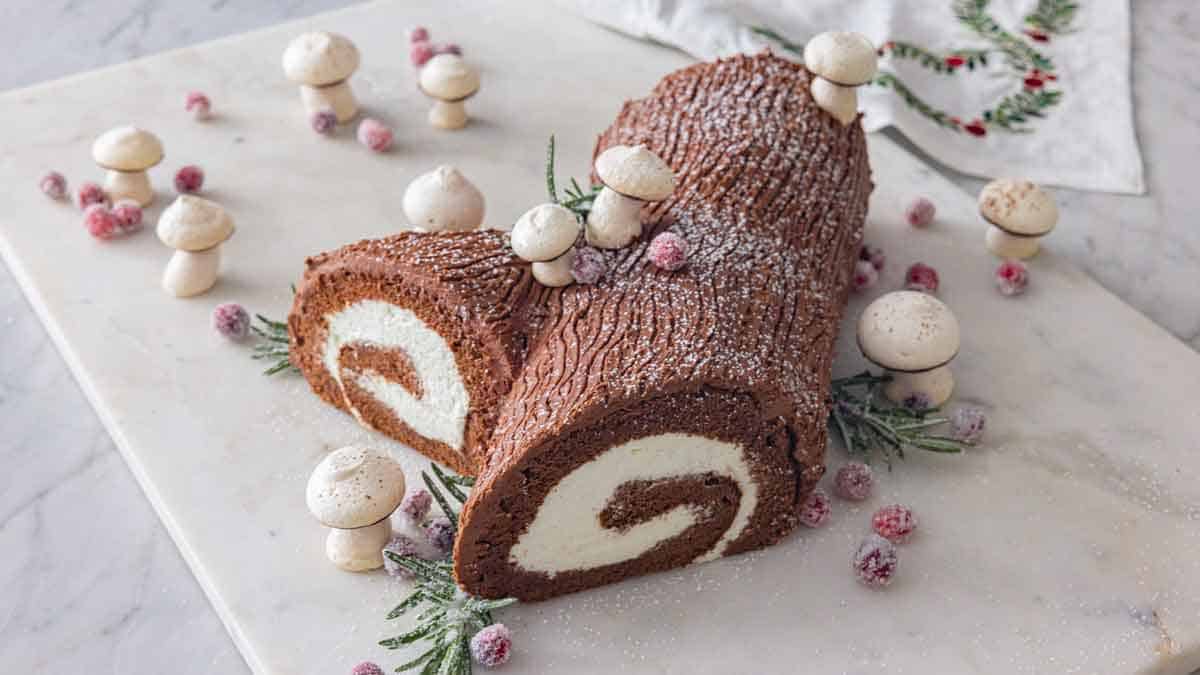
 289 views
Yule Log
preppykitchen.com
5.0
(31)
140 minutes
Your folders

 258 views
Yule Log
bakingwithgranny.co.uk
4.5
(2)
10 minutes
Your folders
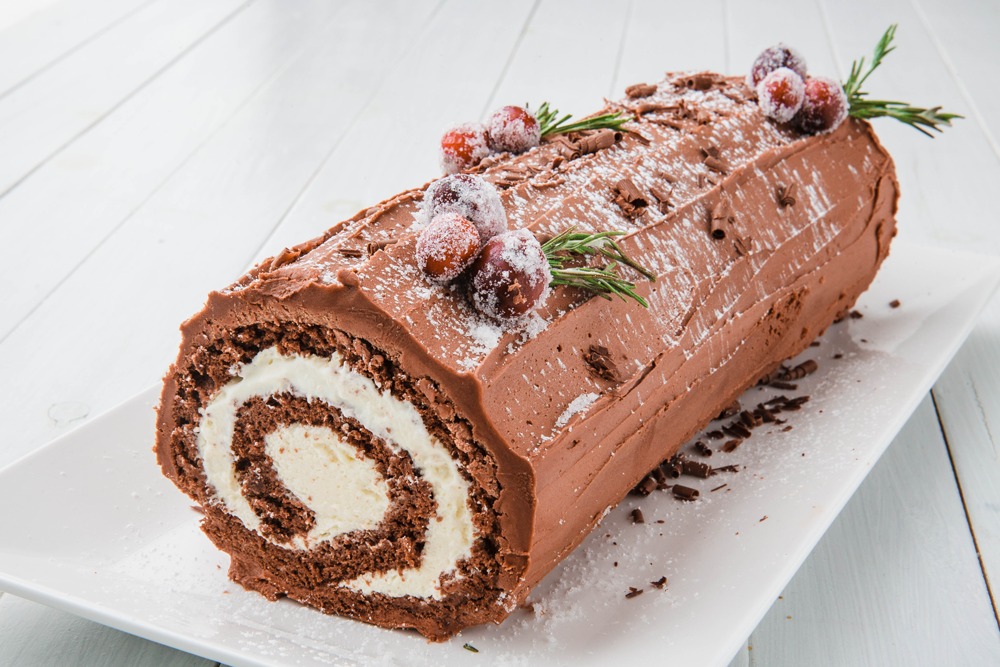
 767 views
Bûche de Noël (Yule Log Cake)
delish.com
4.1
(28)
Your folders
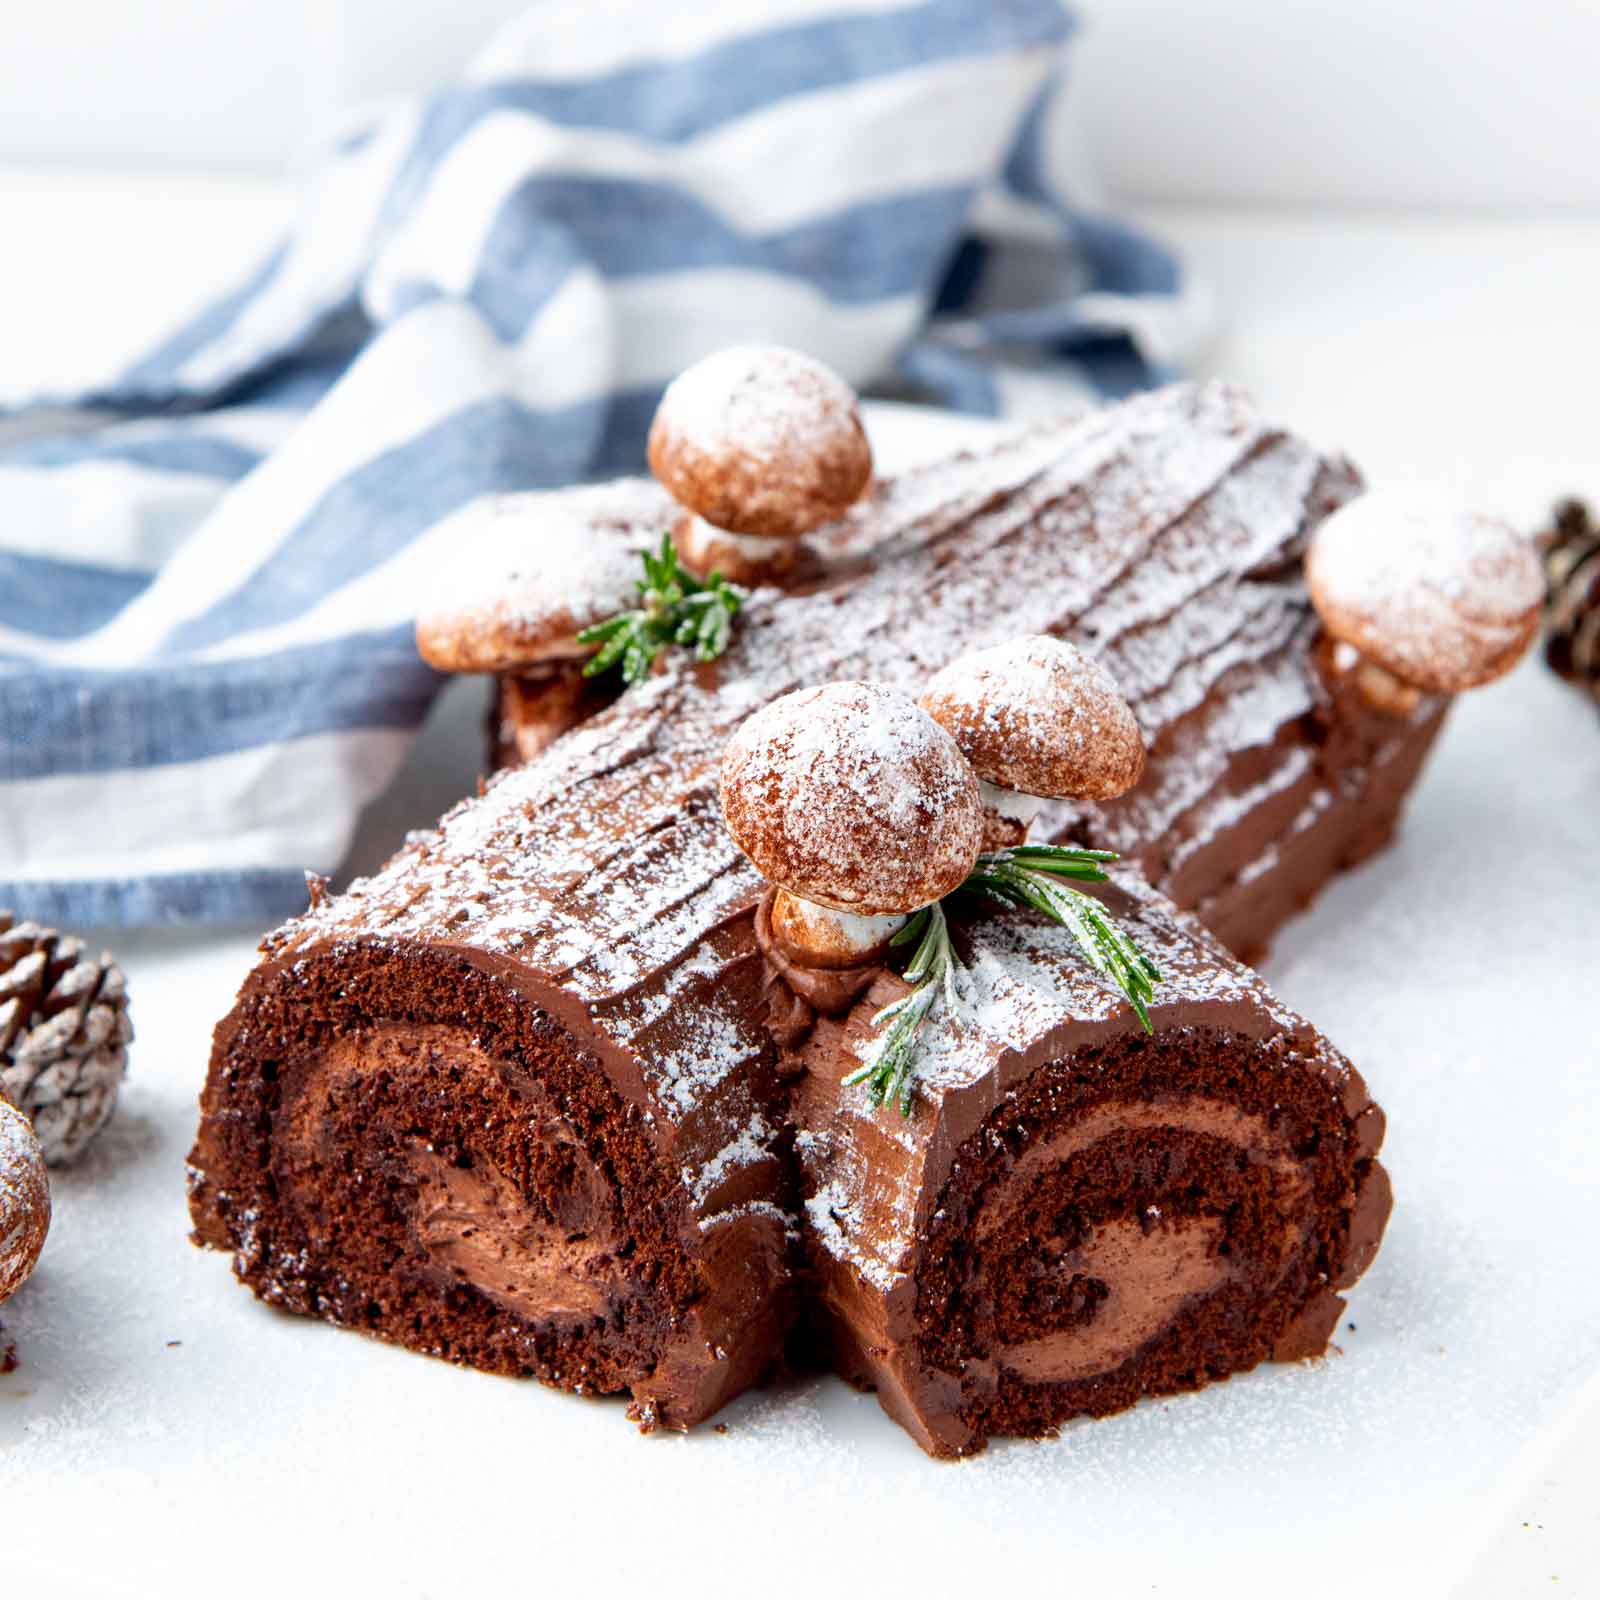
 955 views
Buche de Noel (Yule Log Cake)
theflavorbender.com
30 minutes
Your folders
 496 views
Yule Log Cake (Bûche De Noël)
lifeloveandsugar.com
5.0
(25)
12 minutes
Your folders
 169 views
Yule Log Cake (Bûche de Noël)
momlovesbaking.com
20 minutes
Your folders
 186 views
Yule Log Cake (Bûche de Noël)
lifeloveandsugar.com
4.8
(137)
12 minutes
Your folders
 264 views
Black Forest Cake Roll
baking-sense.com
10 minutes