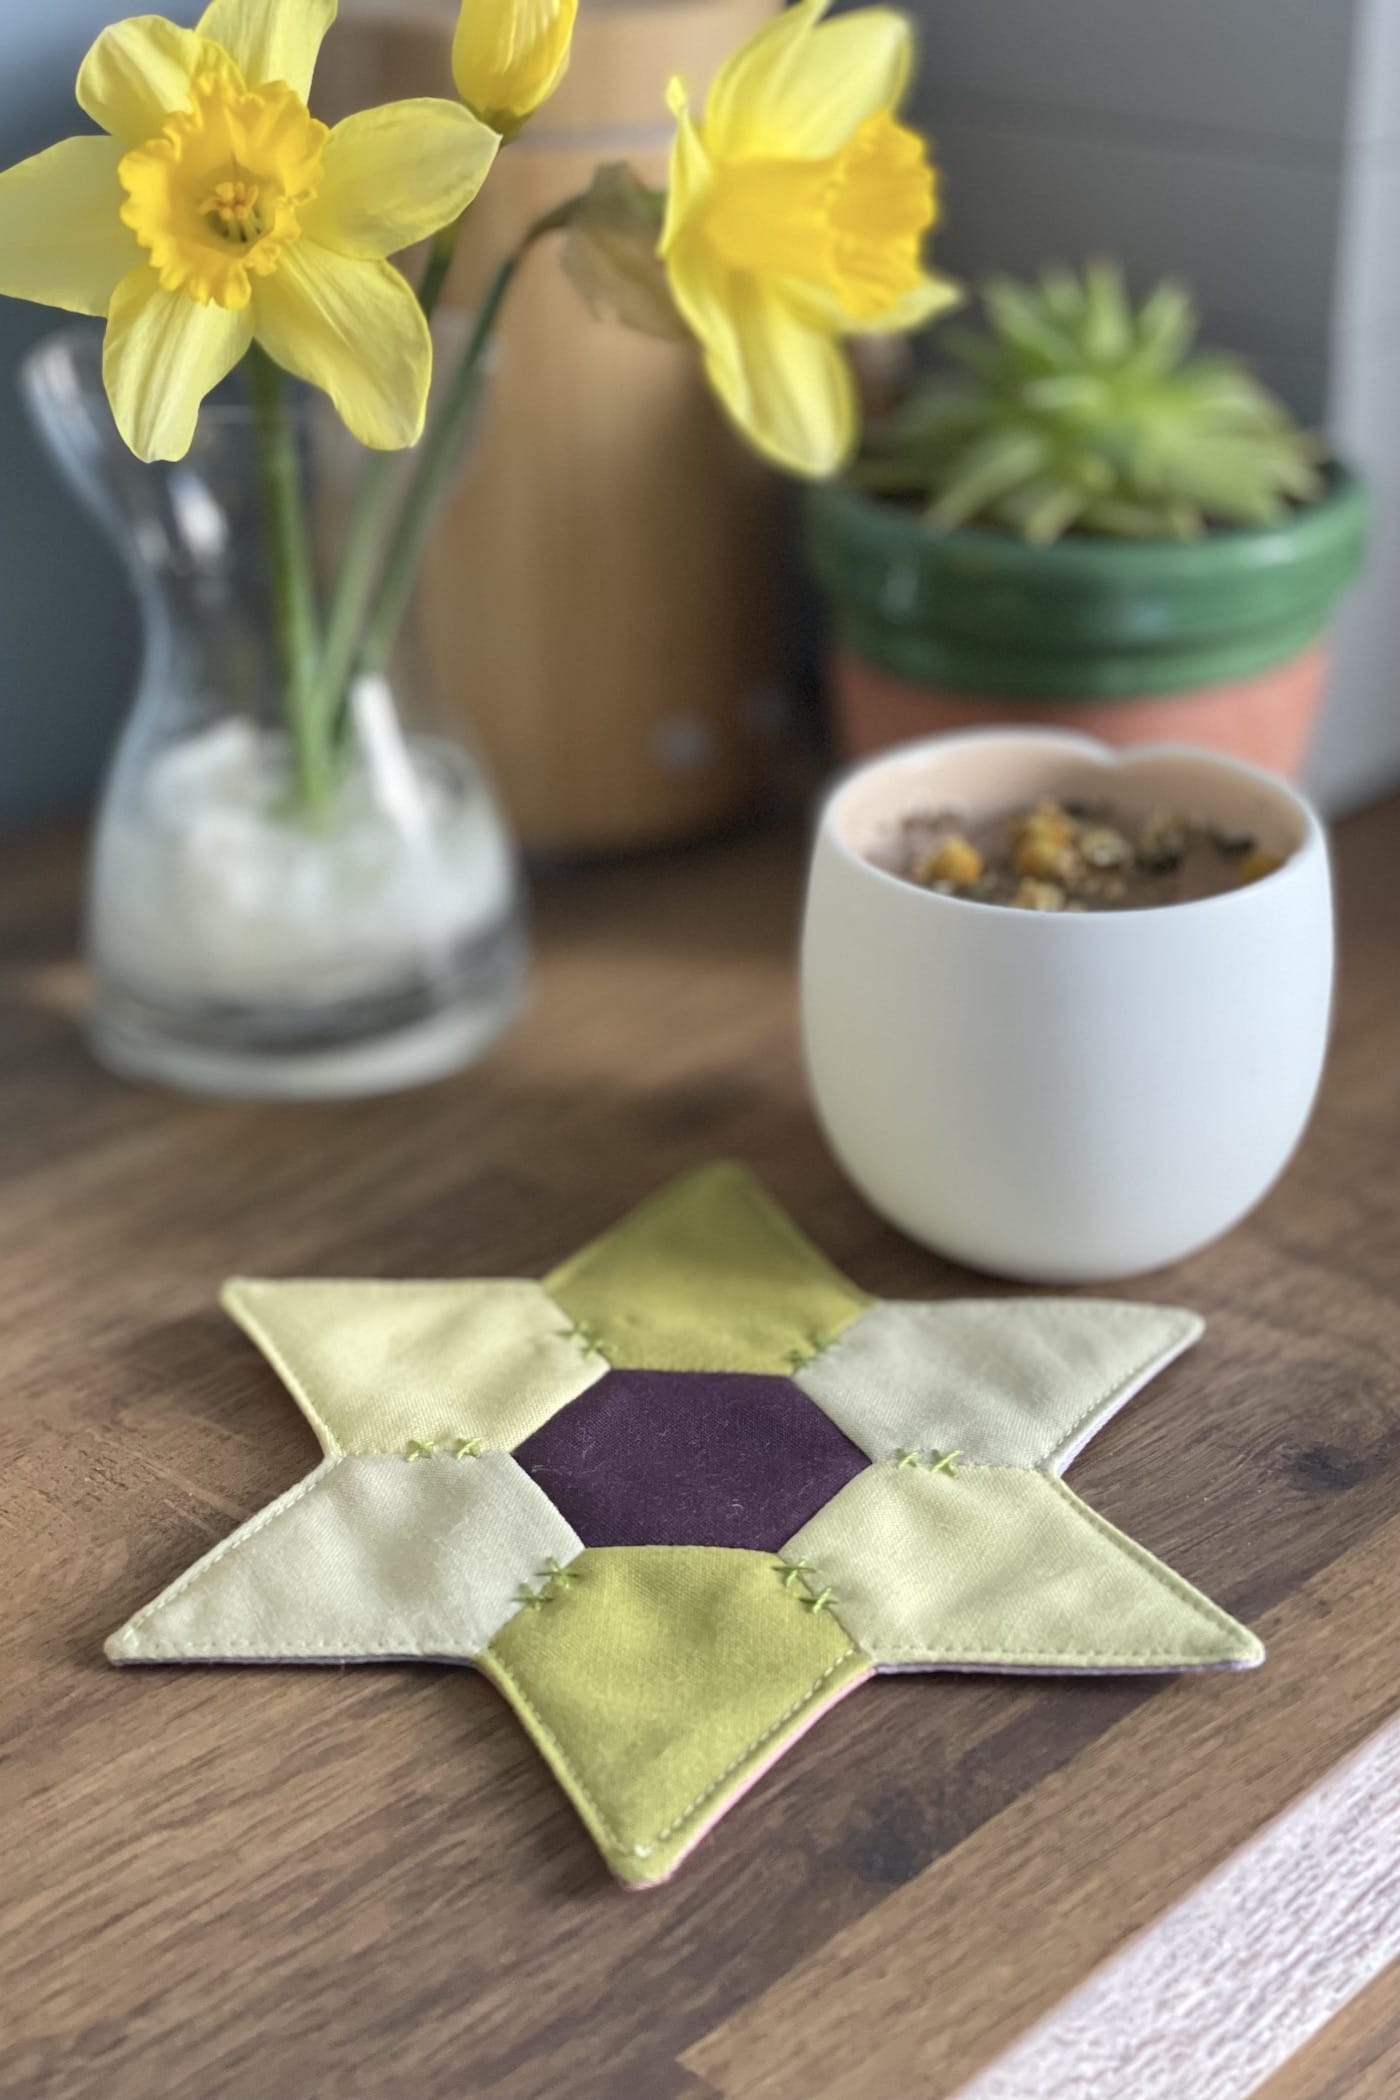
English Bloom Mug Rug Pattern
Your folders
Your folders
Total: 360
Ingredients
Export 4 ingredients for grocery delivery
Instructions
Step 1
From fabric A cut 3” square (2). From fabric B cut 3” x 3½” (2). From fabric C cut 3” x 3½” (2). From fabric D cut 3” x 3½” (2).From fabric E cut 3” x 3½” (2).From fabric F cut 3” x 3½” (2).From fabric G cut 3” x 3½” (2).
Step 2
Print and cut out the EPP shapes. You’ll need two hexagons and twelve jewels. I like to use a light weight cardstock.
Step 3
Secure one hexagon shape to the wrong side of one fabric A square, taking care to place the hexagon in the centre. You can secure (or baste it) with a pin or a glue stick dot. Cut around the template leaving a ¼” seam allowance on every edge. Repeat for the second hexagon.
Step 4
Repeat step one using the jewel shapes with the fabric B to G rectangles.
Step 5
Now it’s time to baste the fabric to the EPP shapes. You can use your preferred basting method but I’ll be showing the steps for how to thread baste. I’d recommend using a basting thread colour that contrasts with your fabric colours as this will make it easier to see to remove later on.
Step 6
Fold over the fabric seam allowance on one edge and hold it in place with a clip. Then fold over the next seam allowance (moving round the edges in order). Hand sewing a couple of stitches in the folded seam you just created to secure it.
Step 7
Now fold over the seam allowance on the next edge and add a stitch in the folded seam.
Step 8
Continue round the edges, folding over the seam allowance and then hand sewing the folded seams and until you have got back to where you started. Sew a final couple of stitches in the final folded seam.
Step 9
Repeat steps 4 to 6 with all the jewels and hexagons. It doesn’t matter which edge you start with but for the jewel shapes I’d recommend starting with one of the short edges. Gently press all the fabric shapes.
Step 10
Set out the shapes with the hexagon in the centre and jewels round the edge (using the photos as a guide for placement) and, if you are using a range of fabrics, decide where you want each to go.
Step 11
Second set of EPP shapes
Step 12
You can sew the EPP pieces together in any order. I’d recommend using a thread colour (or a selection of thread colours) that blend well with the fabrics you are using.
Step 13
Hold two shapes right sides together with one edge (including corners) neatly lined up. Start at one end and hand sew a few tiny stitches in the corner to start off, and then continue along the edges using a tight whip stitch.
Step 14
Take care to catch only a small amount of fabric from both sides and don’t sew through the card template.
Step 15
Add a few extra stitches at the end corner to secure you thread. Once you have finished the first seam, lay the pieces flat and turn them over to the right side. Ideally you won’t be able to see any stitches (or only a tiny amount of stitching). If you can see big stitches then you are catching too much fabric in your stitches.
Step 16
When sewing the pieces together take care to match up the corners and edges. You will need to fold some card pieces to join the edges; add an extra couple of stitches for strength when more than two corners join.
Step 17
Sew until all of the pieces are together and you have two flowers. Press.
Step 18
Now carefully remove all the card pieces and the basting stitches, and press out all the outside edge seam allowances.
Step 19
Press them enough that they lay flat but not so much that the seam allowance lines disappear…you’ll use those for a sewing guide later on.
Step 20
Take the two flowers and place them right sides together with all the outside edges and the seams matching and pin them together leaving a 2” gap at one V. Use the photo as a guide.
Step 21
Use your sewing machine to sew the two flowers together using the seam allowance crease as a guide. Take your time to turn carefully at the corners and don’t forget to leave the 2” gap.
Step 22
Take the batting piece and place the flower from step 17 on top. Draw round it using a fabric pen, then draw guide lines ¼” inside the first set. Cut out the smaller flower shape from the batting.
Step 23
Baste the batting flower onto the fabric flower. It should be the same size as the sewn seam lines you created in step 17. If it is bigger then carefully trim it down…it is better that it is slightly smaller than the seam lines rather than bigger.
Step 24
Trim the excess fabric from the six flower points using the photo as a guide. This will help to reduce bulk and get a neater finisher later on.
Step 25
Carefully snip into the seam allowance at the V shapes (except the one that hasn’t been sewn yet). This will help to reduce bulk and get a neater finisher later on.
Step 26
Turn the mug rug right side out. Take your time with this step and be very careful when poking out the corners…don’t forget a lot of the mug rug has been sewn together by hand!
Step 27
As this mug rug is reversible, adding any extra details should be done before sewing up the turning hole. I have added some simple hand embroidery crosses on each side. When adding these details to each side, be carefully you don’t catch the fabric that you are not decorating. You’ll need to work inside the turning hole to avoid sewing through both sides at the same time. This is a little fiddly so choose you decorative designs carefully…simple is better!
Step 28
Finish the mug rug by folding in the seam allowance on the turning hole and pinning the edges together. You can hand sew the turning hole together or top stitch round all the edges of the mug rug, catching the turning hole edges as you go.