fabric baskets.mp4
Your folders
Your folders
Total: 60
Servings: 1
Ingredients
Export 4 ingredients for grocery delivery
Instructions
Step 1
Place fusible fleece square on top of one of the 16" squares of fabric (on the back/wrong side of the fabric.)Iron interfacing in place.
Step 2
Place the other square of fabric onto your work surface (right side up).
Step 3
Place the fabric fused with interfacing on top with right sides together and interfacing on top.
Step 4
Place two straight pins on one side, 4" apart.
Step 5
Starting at one straight pin, sew a 3/8" seam around the entire perimeter, ending at the second straight pin.
Step 6
Clip corners to reduce bulk.
Step 7
Turn right side out. Press seams flat and poke out corners so that they are pointy.
Step 8
Fold the edges of the 4" opening over and pin in place.
Step 9
Top stitch around the entire square. This will give it a finished look and close off the opening where you turned it right side out.
Step 10
Fold the finished square in half.
Step 11
Make 2 markings 3.5" up from one corner and 3.5" to the left of the corner, along the bottom.Use a straight edge to draw a line connecting the two dots. This should create a triangle in the corner. Note: My daughter misplaced my sewing pen so I used a pencil. You don’t really notice the light pencil markings when it’s finished, but a sewing pen with disappearing ink works best! You can also simply make two dots and eyeball it as you sew.
Step 12
Stitch along the line from one dot to the other. Repeat this step on the other corner.
Step 13
Fold the square the opposite way and repeat the steps of marking the sides and bottom, connecting the dots and sewing across the line for the other two corners.
Step 14
Flatten each corner to create a pocket.
Step 15
Tack down the top of each pocket by sewing over the top stitched seam.
Step 16
Fold flaps over and pin into place.
Step 17
Secure flap by hand stitching an "x" onto each one. Note: I started and ended my x's under the flap to hide the knots, but you don't have to do that.
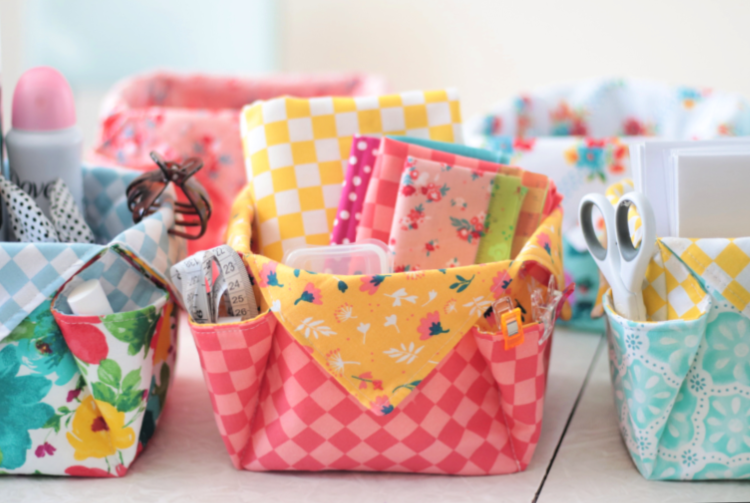
Step 18
Your fabric basket is now complete. Admire your work and make a second one! 🙂