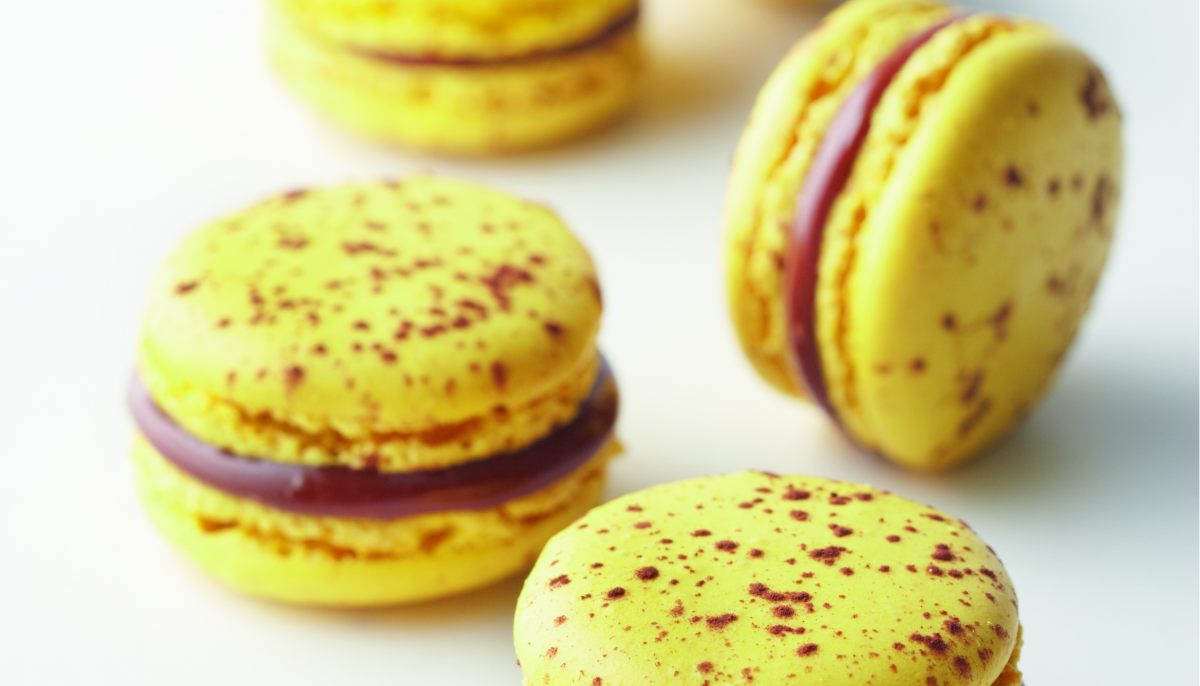
French Macaron Recipe
Your folders
Your folders
Total: 123
Servings: 36
Ingredients
Export 9 ingredients for grocery delivery
Instructions
Step 1
Age your egg whites 2-4 days ahead of making your macarons. Crack and separate the eggs and store the whites in a container covered in plastic wrap.
Step 2
Take your egg whites out of the fridge 2-3 hours in advance. Room-temperature egg whites whip up better than cold egg whites.
Step 3
Begin by wiping your bowls, whisk, and tools down with some white vinegar. This will remove every trace of oil from the surface and help ensure the perfect macaron.
Step 4
Preheat your oven to 300ºF (148ºC).
Step 5
Trim the parchment paper to the size of your pan so that it fits perfectly inside.
Step 6
Place the macaron template under the parchment or make your own template by tracing circles that are roughly 1.5" wide and spaced about 1" apart. Turn the parchment over so that the marker does not transfer to your cookies.
Step 7
Measure out all your ingredients carefully using a food scale and set them aside. Having your ingredients ready to go will help ensure success.
Step 8
Place your dry ingredients (almond flour, powdered sugar, and salt) into your food processor. Process for 5-second increments, three times. Shake the container as needed to ensure even mixing.
Step 9
Place your strainer over a large bowl.
Step 10
Sift the almond flour mixture to remove any large bits of almond. If you have to remove a lot, make sure to add the same amount of almond flour back in so that your batter ratio is not thrown off.
Step 11
Place your egg whites, cream of tartar, and meringue powder into the bowl of your stand mixer with the whisk attachment attached.
Step 12
Begin whisking your egg whites on medium speed until you reach soft peaks. Medium speed will produce smaller, stronger air bubbles than whipping at high speed.
Step 13
Sprinkle in the granulated sugar slowly until it's all added and continue whisking on medium until you reach stiff peaks.
Step 14
Finally, add the vanilla and mix until combined.
Step 15
Add your meringue to the dry ingredients and begin using the "J fold" method by making a line down the center of your mixture with the rubber spatula and then up and to the left of the bowl. Rotate the bowl 90º and repeat this "J fold" for 10 strokes.
Step 16
Add your food coloring in at this point. Remember, a little goes a long way. Fold two more times.
Step 17
Begin testing your batter after stroke 12 for readiness by lifting the spatula out of the bowl to see how the batter runs off the spatula. If the batter stays clumped or does not fall off the spatula, fold it one more time and test again.
Step 18
Repeat this process until the batter falls off the spatula in a "V" shape. Another test you can do is to firmly bang your bowl onto the counter to see if the batter settles into itself. If it does, it's ready. If it doesn't move it still needs more mixing. Some pastry chefs recommend making a figure 8 with the batter to test readiness but I find this often causes overmixing so looking for the "V" is a safer option.
Step 19
Prepare your piping bag with a ½" round piping tip by cutting the end of the piping bag off and inserting the tip into the bag.
Step 20
Twist the piping tip and bag together to seal the bottom of the piping bag and then press the bag into the tip so that the filling does not leak out of the piping bag.
Step 21
Fold the top of the piping bag down over your hand and scoop the macaron batter into the piping bag with a rubber spatula. Or you can place the piping bag into a tall glass so both your hands are free.
Step 22
Lay the bag flat on the counter and push all the batter to the bottom of the piping bag so there are no air bubbles and then twist the top to prevent leaking. Tie the top into a knot if desired.
Step 23
When ready to pipe, pull the piping tip out and move the batter down into the piping tip by squeezing the batter gently. Pro-tip: When you are not piping, hold the piping bag straight up to prevent leaking. When ready to pipe turn the bag over and immediately begin piping.
Step 24
Hold the piping bag straight up and down over a circle, about 1" away from the prepared baking sheets.
Step 25
Begin squeezing, do not rotate or move your bag.
Step 26
The piping tip opening should be touching the macaron at all times.
Step 27
Stop piping just inside the circle (at the dotted line if you're using my template).
Step 28
Make a small quick "C" circular motion with the tip to remove it from the piped cookie. Try not to just lift up because this will leave little peaks on top of your cookies.
Step 29
After all your macarons are piped, lift your pan up about 6" and drop it onto your work surface a few times. This helps pop any large bubbles that may have got trapped in your batter pop so they don't crack your macarons.
Step 30
Use a needle or toothpick to fix any bubbles if you still have some.
Step 31
Don't forget to remove the templates under the parchment paper before baking.
Step 32
Allow the macarons to sit at room temperature for 15-30 minutes to develop a "skin" on them before baking. You should be able to lightly touch the top of the cookie and the batter will not stick to your finger. Do not leave your macarons out to dry for longer than 30 minutes or the shell can get too thick and your macaron shells won't develop feet.
Step 33
Remove the template and place a small dab of macaron batter under the corner of each piece of parchment paper to keep it from blowing all over the place in the oven.
Step 34
Bake the macarons in the oven at 300ºF for 10 minutes. Rotate the pan after 5 minutes to promote even baking as well as let some of the steam out of the oven which helps to prevent cracking.
Step 35
Test one macaron by gently lifting it from the parchment paper with a knife. If it releases, your macarons are done. If it's sticking, continue baking and check every minute until they release.
Step 36
Remove the baking tray from the oven and pull the parchment off the pan by sliding it gently onto a wire rack so that your macarons do not continue to bake.
Step 37
Combine your chocolate and cream together in a microwave-safe bowl.
Step 38
Heat the mixture for one minute then whisk together.
Step 39
Continue heating the mixture in 30-second increments until the chocolate is melted and everything is mixed together smoothly.
Step 40
Add the butter and vanilla, then stir together until it's melted and combined.
Step 41
Place the ganache into a piping bag and flatten the mixture out until it is pretty thin.
Step 42
Place the ganache into the freezer for about 10 minutes to help it set up.
Step 43
Push the ganache to the end of the piping bag with a bowl scraper.
Step 44
Cut a small ⅛" hole in the bottom of the piping bag and begin filling your macaron shells with the ganache.
Step 45
Place a second shell on top and now your macarons are complete!
Top similar recipes
Curated for youYour folders

 733 views
French Macaron Recipe
sugargeekshow.com
5.0
(87)
15 minutes
Your folders
 1876 views
Macaron (French Macaroon)
allrecipes.com
4.1
(377)
10 minutes
Your folders
 566 views
Macaron Recipe: The French Method
cakemerchant.com
Your folders
 43 views
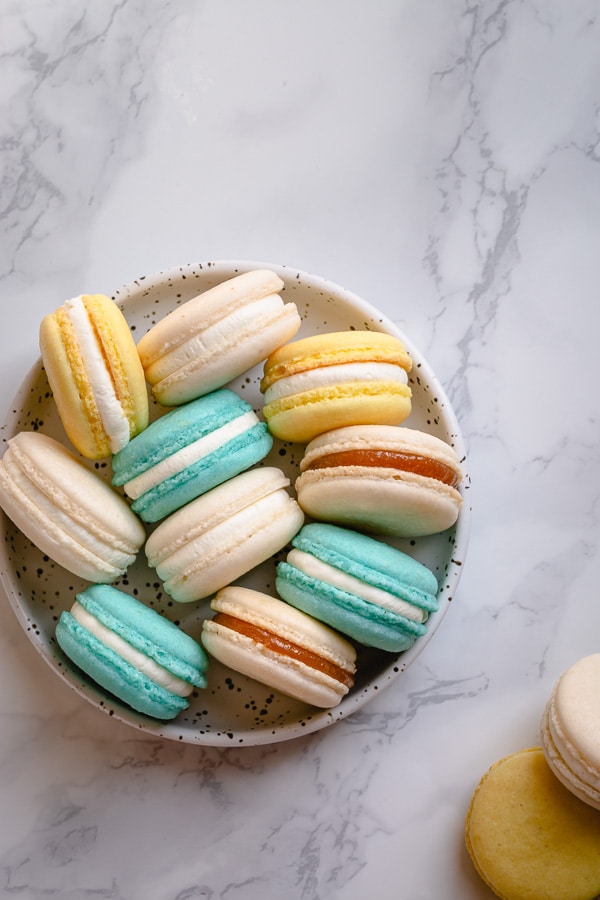
French Macaron Recipe (1/2 recipe)
michellesmacarons.com
5.0
(1)
18 minutes
Your folders
 181 views
Raspberry French Macaron Cake
poshlittledesigns.com
2 hours
Your folders
 1994 views
Macaron Recipe
preppykitchen.com
5.0
(176)
25 minutes
Your folders
79 viewsMacaron recipe
preppykitchen.com
Your folders
 518 views
Chocolate Macaron Recipe
sugargeekshow.com
4.9
(114)
15 minutes
Your folders
 516 views
Basic Macaron Recipe
sweetandsavorybyshinee.com
4.5
(106)
18 minutes
Your folders
 128 views
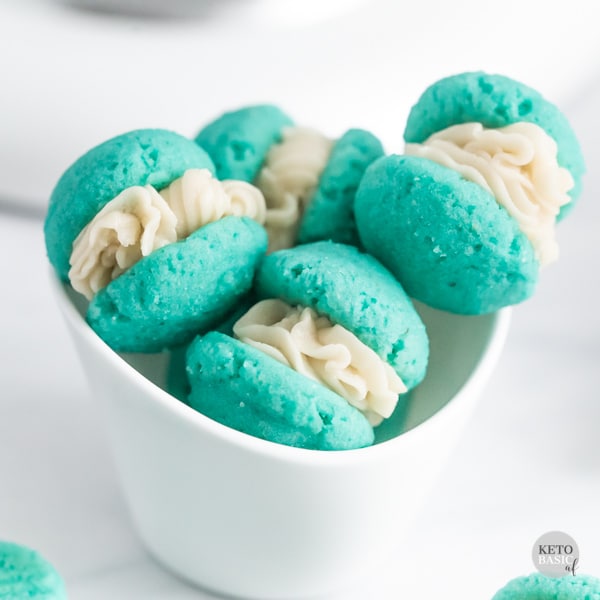
Keto Macaron Recipe
ketobasicaf.com
5.0
(2)
15 minutes
Your folders
57 viewsKeto Macaron Recipe
ketobasicaf.com
Your folders
 331 views
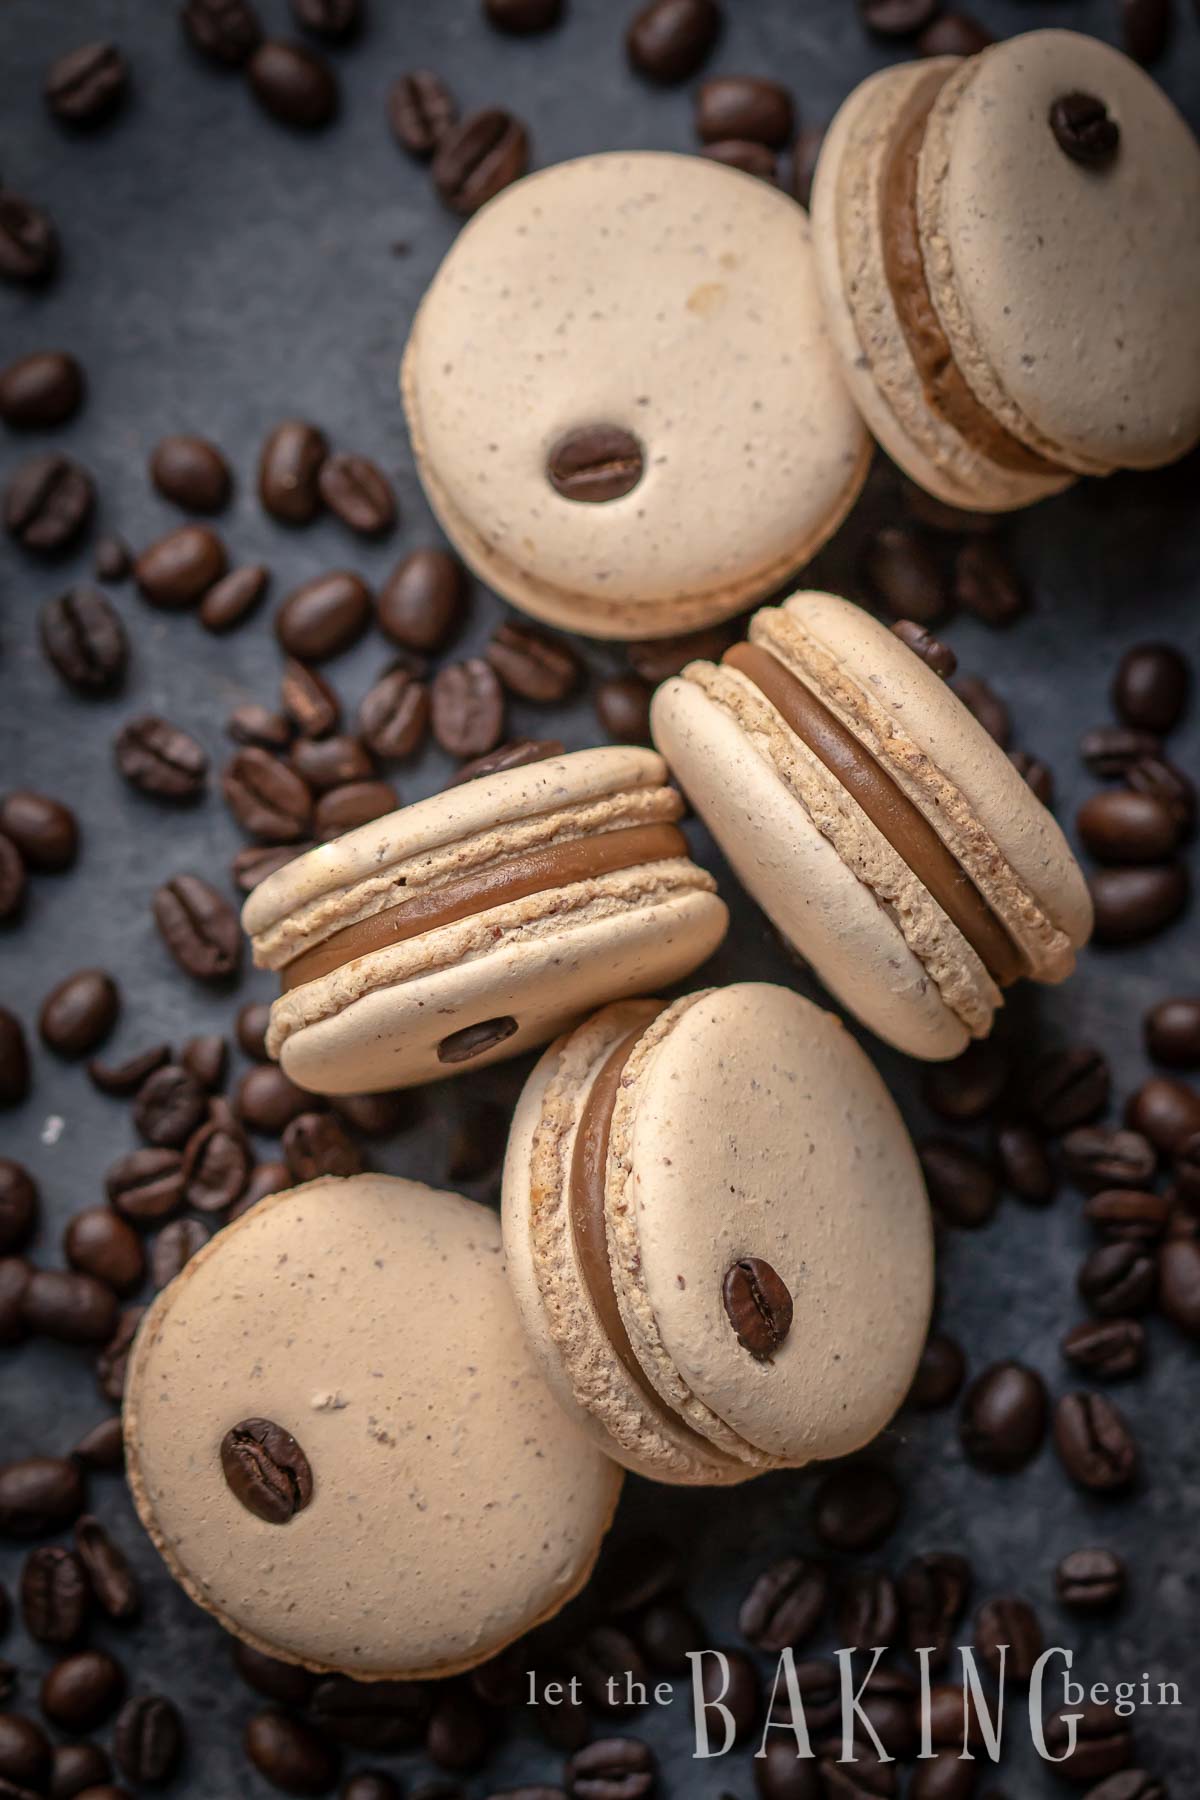
Coffee Macaron Recipe
letthebakingbegin.com
4.2
(12)
30 minutes
Your folders
 427 views
Basic Macaron Recipe
emilyfabulous.com
4.9
(47)
30 minutes
Your folders
61 viewsBasic Macaron Recipe
emilyfabulous.com
Your folders
 336 views
Strawberry Macaron Recipe
sugargeekshow.com
5.0
(19)
15 minutes
Your folders
62 viewsChocolate Macaron Recipe
sugargeekshow.com
Your folders
 359 views
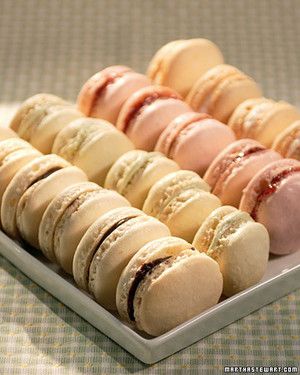
Macaron Filling
marthastewart.com
3.6
(188)
Your folders
 227 views
Macaro...
academiedugout.fr
Your folders
 302 views
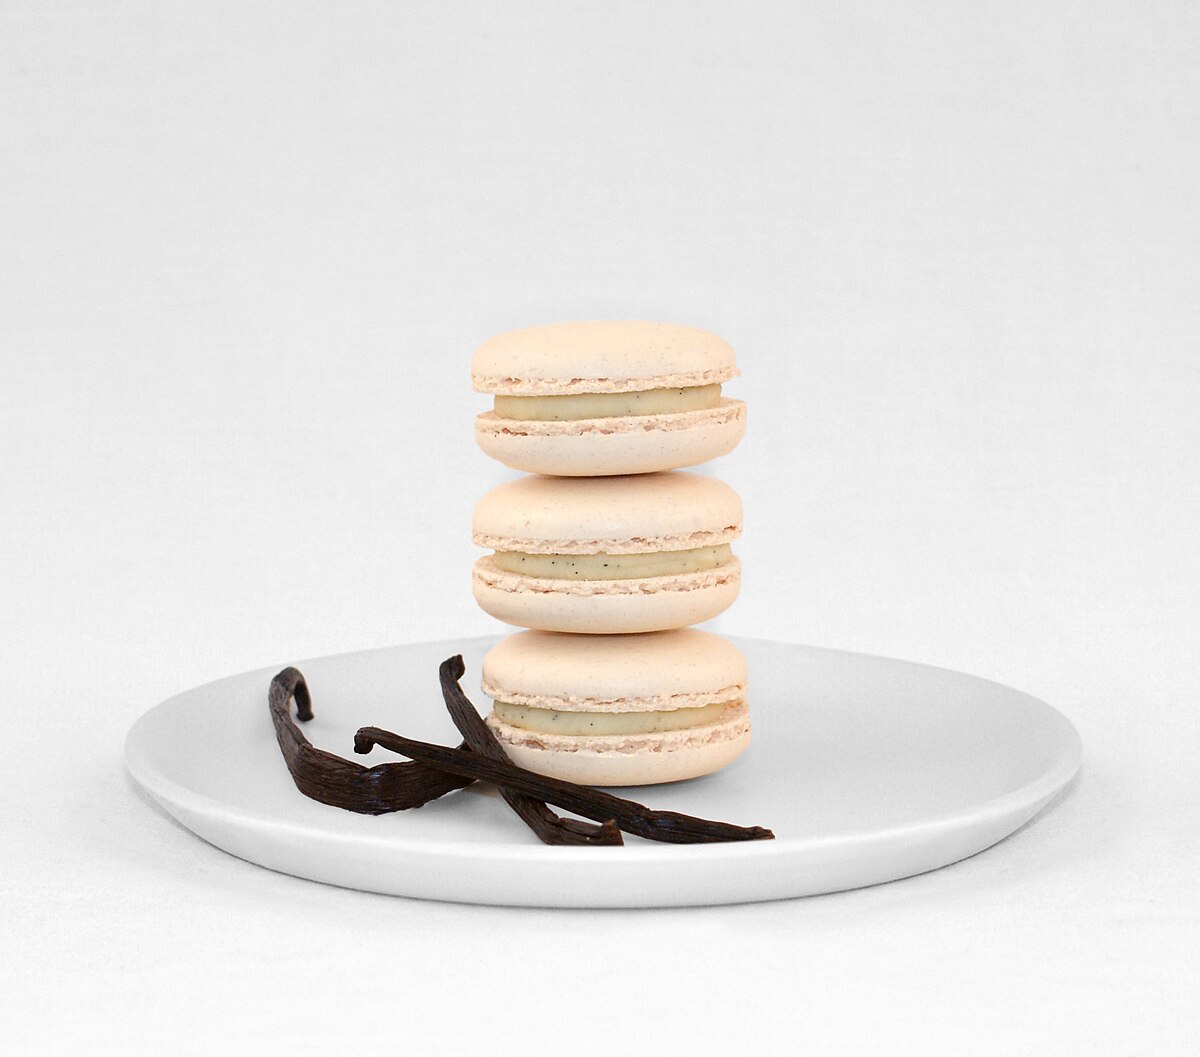
Macaron - Wikipedia
en.wikipedia.org