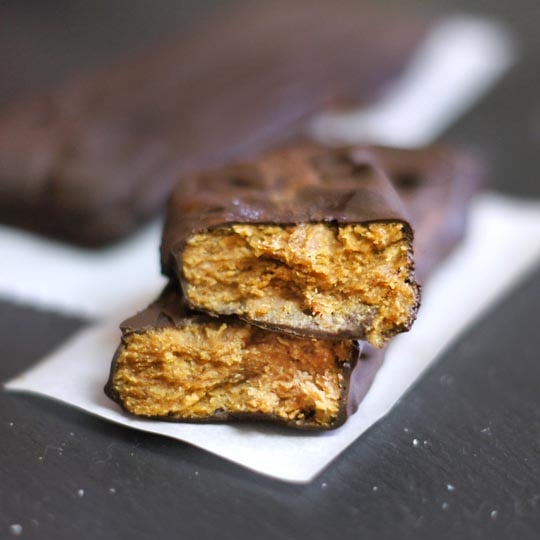
Healthier Homemade Butterfingers
4.7
(15)
Your folders
Your folders
Prep Time: 30 minutes
Total: 30 minutes
Servings: 20
Cost: $0.87 /serving
Author : Megan Gilmore
Ingredients
Export 4 ingredients for grocery delivery
Instructions
Step 1
Pour the maple syrup or honey into a small saucepan, and stir in the cream of tartar until dissolved. This is the ONLY time you will stir this mixture!
Step 2
Attach the candy thermometer to the saucepan, making sure that the stem of the thermometer is not touching the metal sides, or bottom, of the pot. Ideally, the tip should be submerged in 2-inches of syrup, for the most accurate results. (See notes below)
Step 3
To prevent the maple syrup from boiling over, use your finger to spread of bit of butter or coconut oil around the inner rim of the saucepan.
Step 4
Bring the maple syrup or honey to a boil, over low-medium heat, and allow to heat up to 300F. This may take longer than you expect-- close to 10 minutes of boiling!
Step 5
While the mixture is boiling, measure out the cup of natural peanut butter and salt. You'll want these two ingredients ready to go when the maple syrup is ready, because things will move quickly once the boiling is done! You'll also want to line a baking sheet with parchment paper, so it's ready when the time comes.
Step 6
When the maple syrup has reached 300F, remove the pan from the heat immediately! It will burn quickly after that, so be sure to watch closely!
Step 7
Quickly mix in the peanut butter and salt, stirring as fast as possible. The mixture will become difficult to stir as it cools. (I mixed mine in a separate mixing bowl, but I think mixing it directly in the saucepan would be a better idea-- it would keep the mixture warmer and more malleable.)
Step 8
Transfer the peanut butter mixture to the parchment-lined baking sheet, and press it into a relatively flat sheet, according to desired thickness.
Step 9
Use an oiled-knife to score the bars, as it's easier to cut into them while the mixture is still a bit warm. Place the pan in the fridge or freezer to cool completely.
Step 10
For the chocolate coating, melt 1-2 cups of dark chocolate chunks, by placing them in an oven-safe bowl at 350F, stirring after 5 minutes until melted completely. (A microwave works, too!)
Step 11
Coat both sides and edges of each bar with melted chocolate, and place them on parchment paper to set. For best texture, place the coated bars in the freezer for at least an hour before serving.
Step 12
These bars are most crunchy when served directly from the freezer, but they are delicious at room temperature, too-- just a little softer.