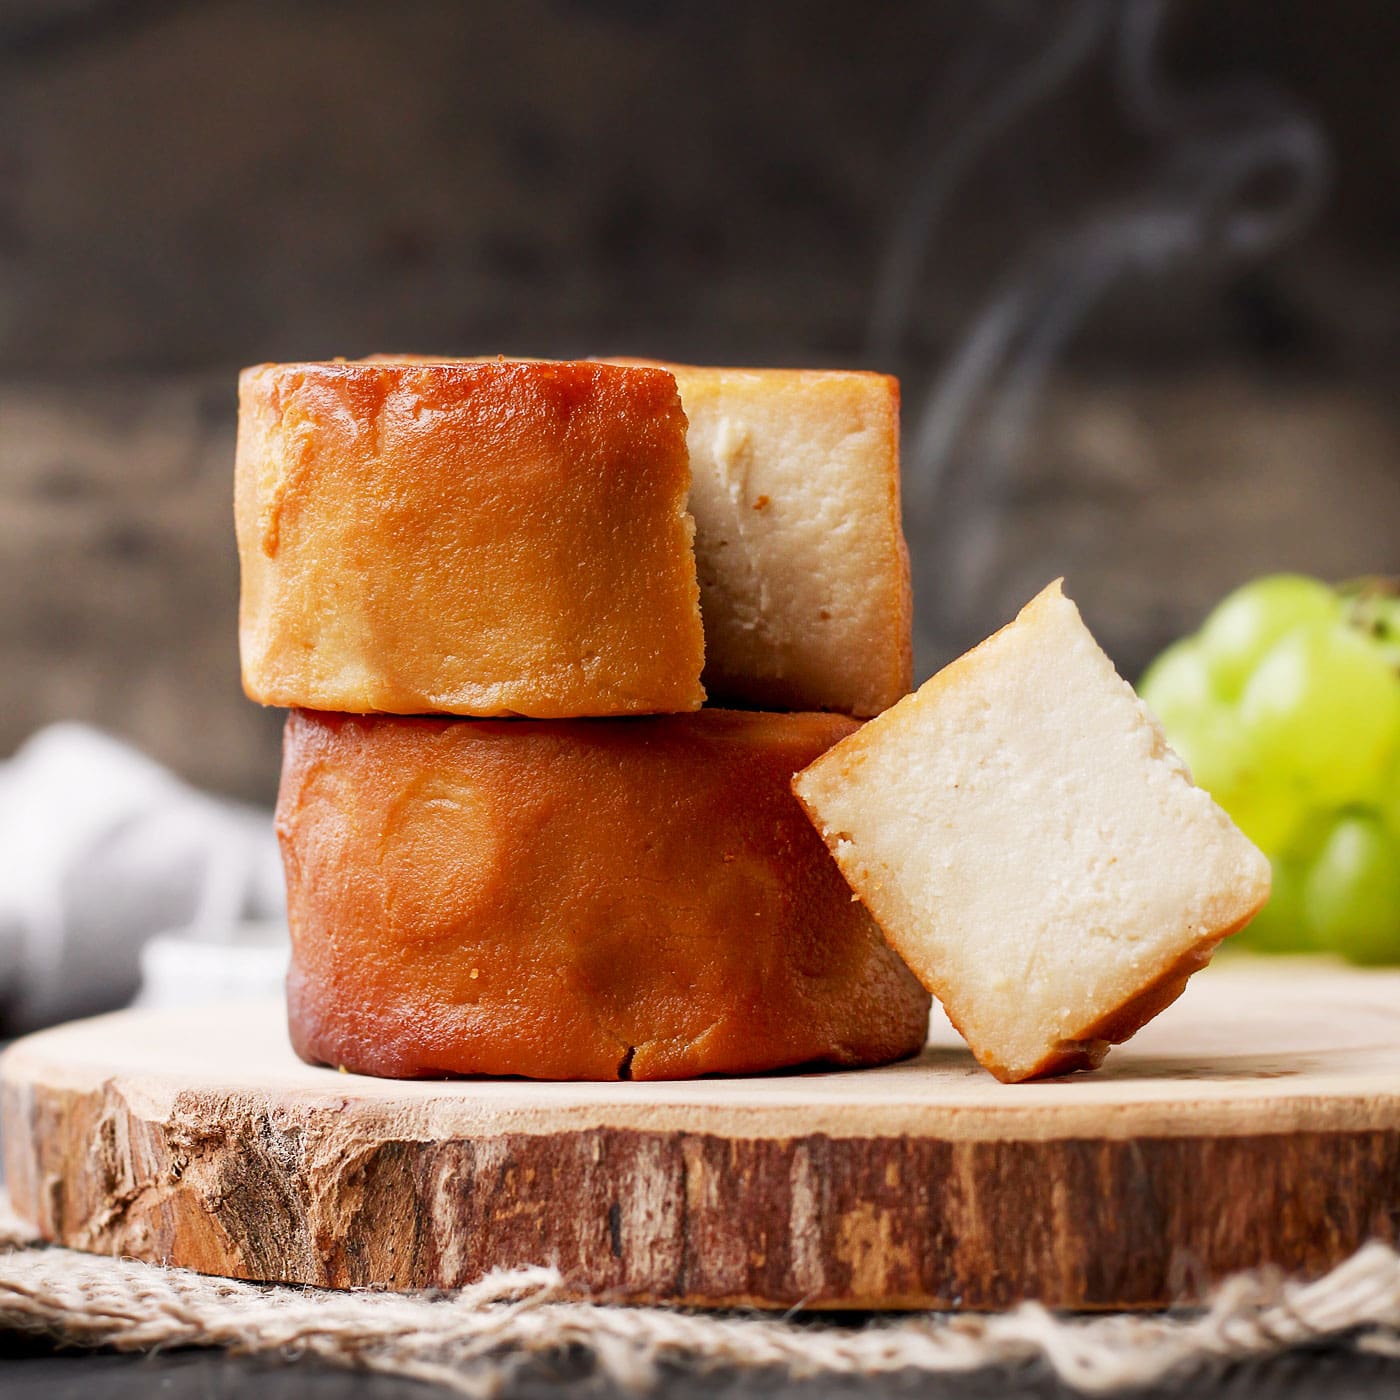
Hickory Smoked Vegan Cheese
5.0
(64)
Your folders
Your folders
Prep Time: 60 minutes
Total: 30300 minutes
Servings: 3

Ingredients
Export 5 ingredients for grocery delivery
Instructions
Step 1
Soak the cashews. Add the raw cashews to a large bowl and cover them with water. Let the cashews soak overnight or for at least 8 hours.
Step 2
Drain them. The next day, drain the cashews and transfer them back to the bowl. In order to kill possible harmful bacteria, I recommend bringing a pot of water to a boil and pouring it over the cashews. Let sit for 1 minute, and drain them again. Next, allow the cashews to cool down for 15-20 minutes.
Step 3
Blend into a cream. Transfer the drained cashews to a high-speed blender or food processor. Add the white miso, nutritional yeast, and filtered water. Blend on high speed, scraping down the sides from time to time, until you get a very smooth yet thick texture.
Step 4
Add the culture. Stir in the acidophilus powder from the capsules (or use mesophilic culture) and blend again for a few seconds.
Step 5
Allow the cashew cream to ferment. Transfer the cashew mixture to a cheesecloth and wrap it tightly (alternatively, you can use a nut milk bag). Place the cheesecloth containing the cashew cream in a colander on top of a bowl. Add a weight above it and let sit at room temperature for about 24 hours. Regarding the weight, I usually just place a plate and a few bowls on top but feel free to use whatever you have on hand. This step is important to start the fermentation of the cashew cream and drain possible excess water (which will make it easier to shape the cream into wheels).
Step 6
Check after 24 hours. After one day, give the cashew cream a taste. It should have a slightly sour and lemony taste, like fresh cream cheese.
Step 7
Refrigerate. Transfer the cashew cream to a clean bowl and cover with plastic film to the touch. Place in the refrigerator for about 4 hours.
Step 8
Shape into small wheels. Cut strips of parchment paper and lay them in three 4-inch springform pans. You want to cover the sides and bottom of the springform pans. You can also use plastic film if you prefer. The goal is to prevent the cheese from sticking to the metal. Fill the pans with the cashew cream and press it down using plastic film so it doesn’t stick to your hands. Cover the pans with plastic film touching the cashew cream (to prevent it from drying) and place in the refrigerator for 2 days.
Step 9
Salt. Two days later, carefully remove the cheeses from the springform pans and place them in a container lined with parchment paper. Salt both sides of each cheese with about 1/4 tsp of salt per cheese. Slightly salt the sides as well. Use your finger to gently spread the salt on the surface of the cheeses.
Step 10
Refrigerate. Cover the container with its lid and refrigerate for 24 hours.
Step 11
Pat them dry. The next day, your cheeses will have lost some water due to the salt. This reaction is called osmosis. Basically, salt drains excess water. If they are too wet, pat them dry with a paper towel and replace the parchment paper with a new one.
Step 12
Age the cheeses. For the next 2 weeks, flip the cheeses every day and change the parchment paper regularly if it becomes wet. Note: Your cheeses should always be aged in your refrigerator, inside the container. Not at room temperature. At first, the cheeses will be very soft, but as they age, they will become firmer. If you see some mold appearing, just scrape it off and re-salt the area.
Step 13
After two weeks, your cheeses should be firm enough to handle. If they are not, I recommend letting them age for another week. Once they are firm enough, it’s time to smoke them.
Step 14
Set up. Place one tablespoon of hickory wood chips in the bottom of the stovetop smoker. Place the drip and cooking trays on top of the wood chips. You can now place two cheeses on the cooking rack.
Step 15
Smoke. Heat the smoker over low-medium heat on a stovetop burner. Once the smoke starts to appear, close the smoker’s lid completely and smoke the cheese for about 12 minutes. Some smoke will escape from the smoker. That’s normal.
Step 16
Flip. Halfway through smoking, carefully flip the cheeses. This will not affect flavor, but it will allow your cheeses to get an even brown color.
Step 17
Allow to cool. After 12 minutes, the cheeses should be golden brown. Remove the smoker from heat and let cool for at least 30 minutes. Note: The cheeses will be very soft because of the heat, so remove them very carefully from the rack.
Step 18
Age them again. Transfer the cheeses to a bamboo mat or clean grid and place them in the refrigerator. Let them age for one more week, flipping every 2-3 days. If you are patient enough, I recommend allowing the cheeses to age for another 2-3 weeks after the smoking process, wrapped in cheese paper (the flavors will merge, and the cheeses will become even firmer).
Step 19
After the smoking process, this cheese can be stored in the refrigerator for up to four weeks. If you see any sign of mold, simply scrape it off.