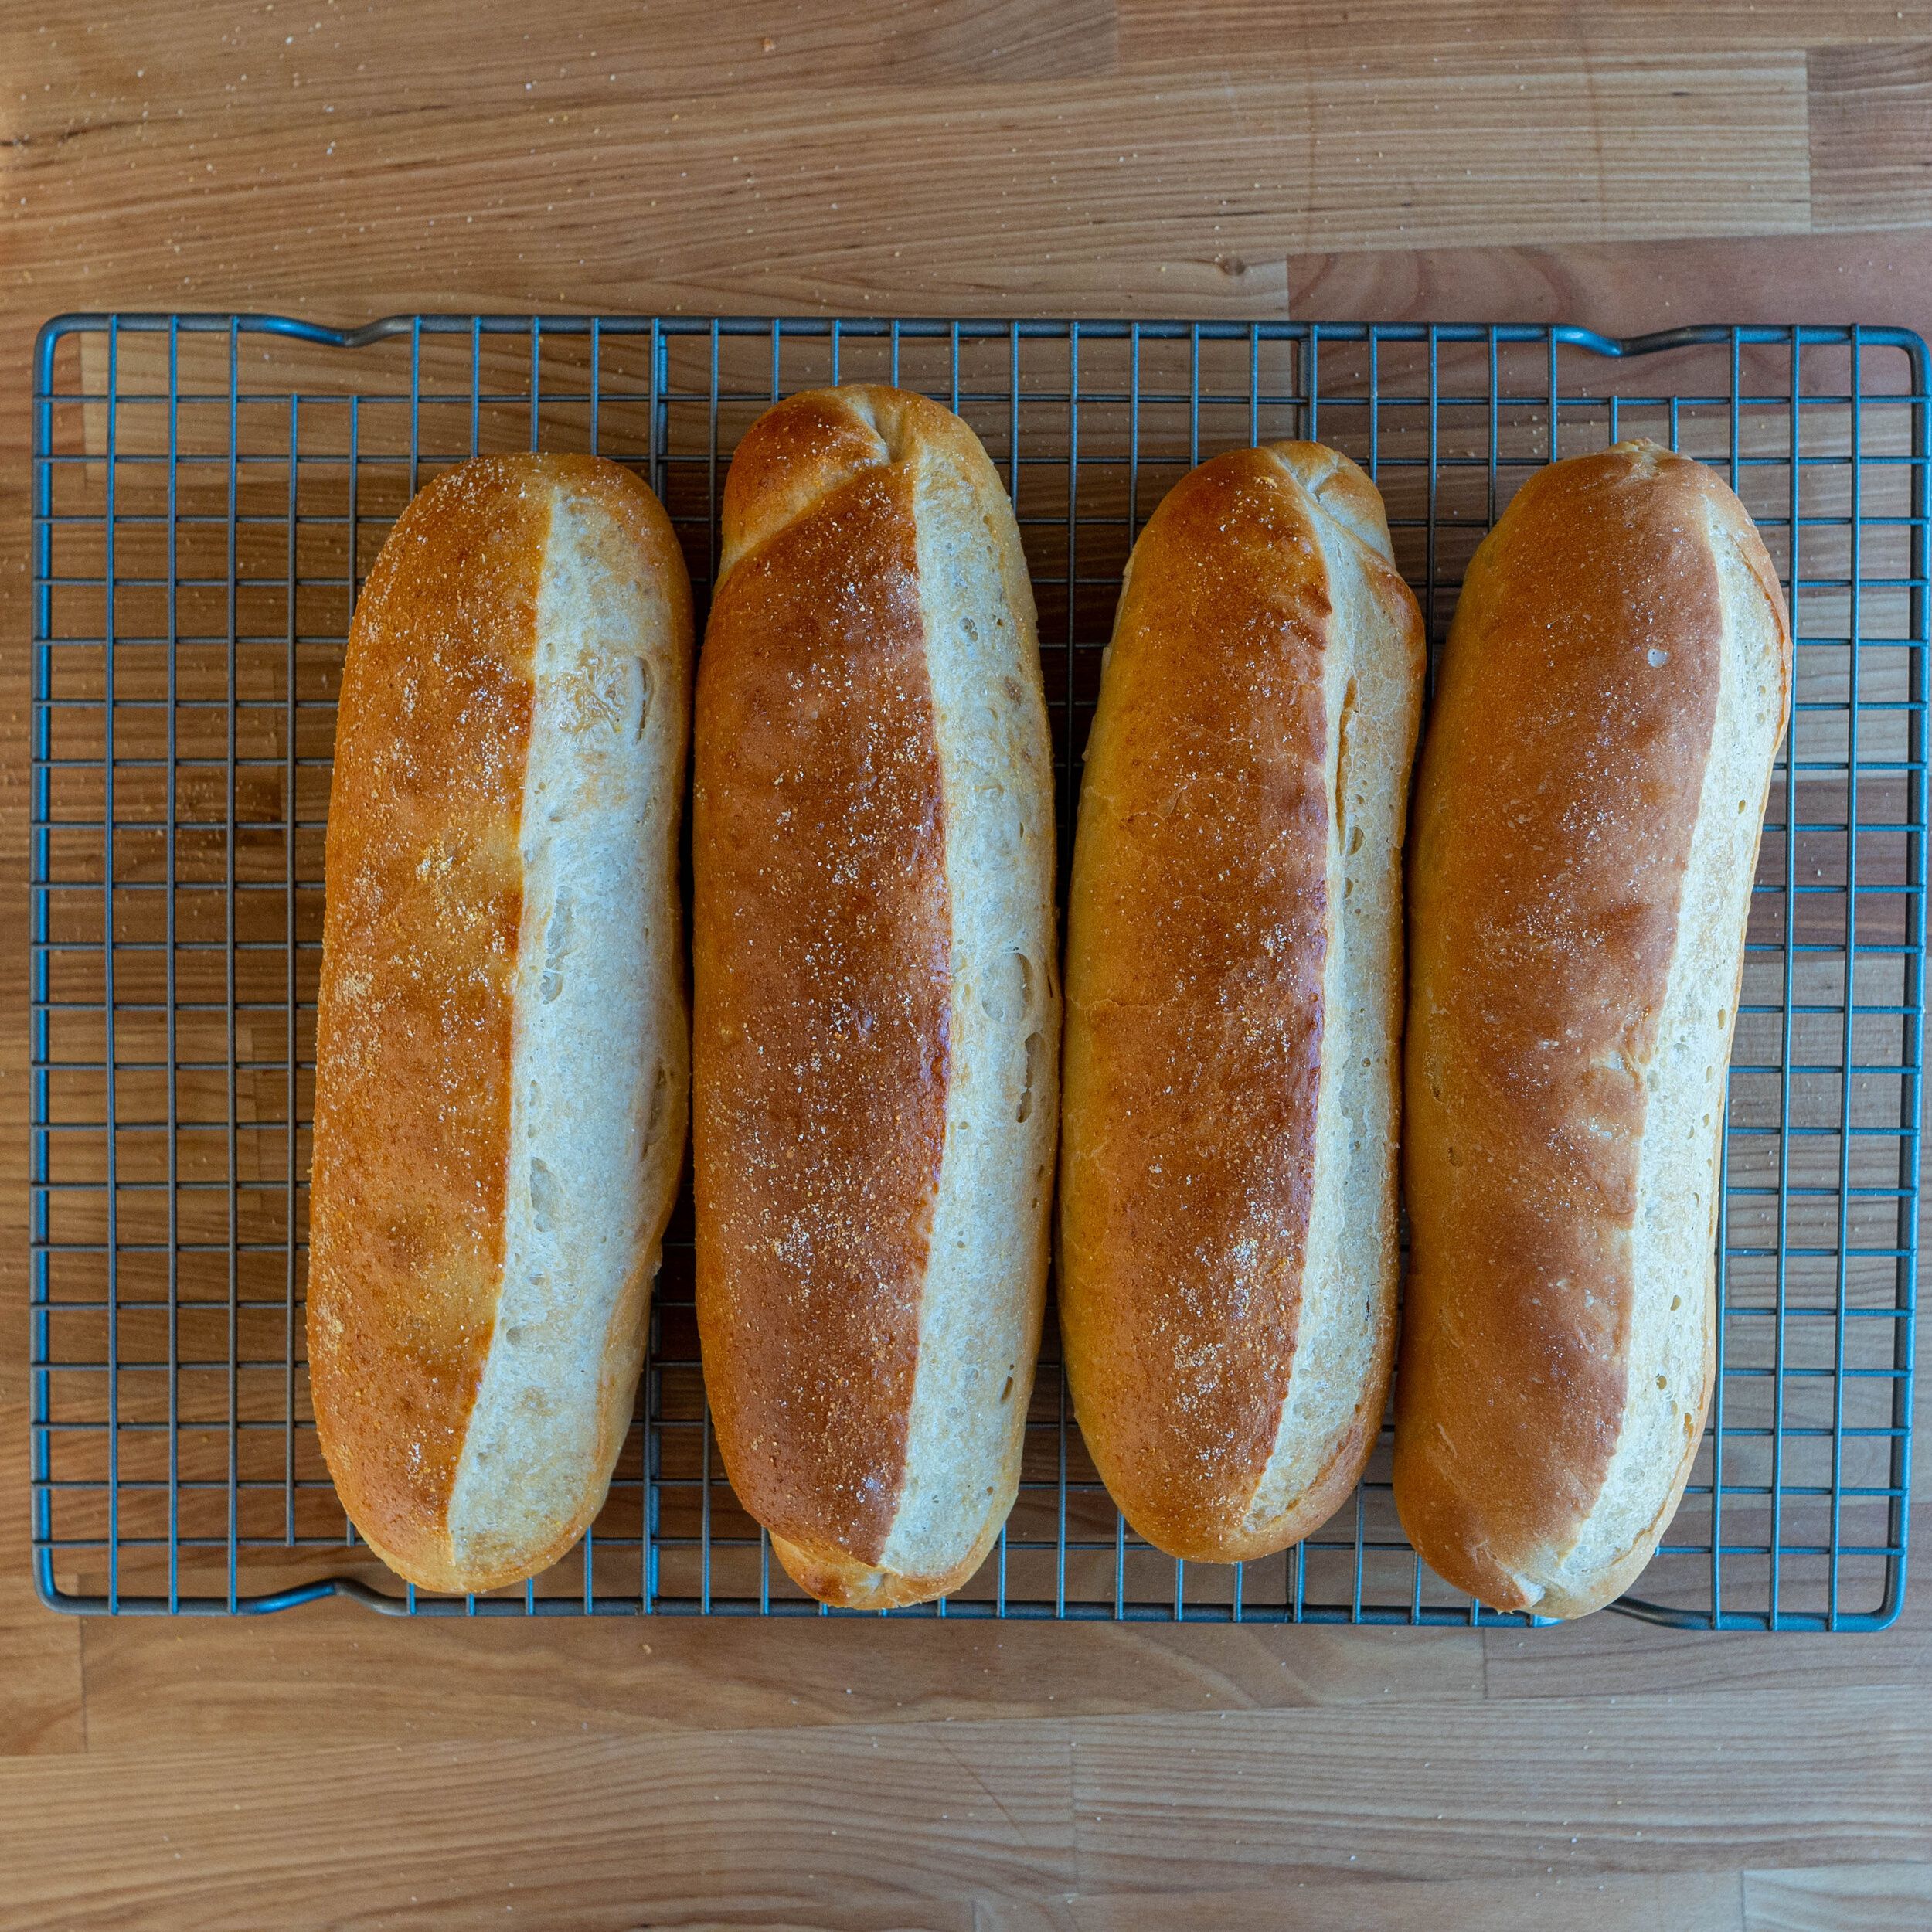
Hoagie Rolls
Your folders
Your folders
Total: 3 hours
Servings: 7
Author : Ethan Chlebowski

Ingredients
Export 10 ingredients for grocery delivery
Instructions
Step 1
Warm the milk in the microwave for about 50 seconds. Ideally, the temperature should be between 105-110°F/40-43°C to optimize yeast activity. Add the yeast and diastatic malt powder to the warm milk and stir to combine. Let stand for 3-5 minutes until light foam surfaces and bubbles are visible.Note: Proofing the yeast is done to test the viability of the yeast. If there is no foam surface or little bubbles the yeast is likely dead and should be discarded for new yeast.Meanwhile, add the flour, honey, olive oil, and salt to a large mixing bowl. Once the yeast is proofed, pour in the mixture and vigorously mix the dough with your hands until no dry flour remains in the bowl and a cohesive mass forms, about 2 minutes. Cover with plastic wrap and let rest for 15 minutes.Note: Resting will allow the flour to start hydrating all on its own, and make the dough a little bit easier to work with when we start kneading.
Step 2
Once rested, turn the dough out onto a clean counter and knead for 8-10 minutes. I advise setting a timer to make sure ample time is spent kneading. Knead the dough until it is completely smooth and no longer sticky.After kneading the dough, cut off a piece and test for gluten development by carefully stretching the dough very thin to check for a see-through 'window' before tearing.Note: The gluten window test is the key to understanding if the flour has been hydrated enough which is how gluten is developed. If the dough tears before getting to a slightly translucent window, continue kneading for another couple of minutes.
Step 3
Once done kneading, add the dough to the mixing bowl and cover with plastic wrap. Let rise until doubled in size, about 45-60 minutes, though it could take longer depending on the yeast, room, and dough temperature.
Step 4
Once doubled in size, punch the dough down and divide it into 4 equal portions, roughly 175 grams each.Using your fingertips lightly press and stretch and piece of dough into a rectangle about 8 inches wide and 1 inch thick. Then, tightly roll the dough from the bottom to the top. Press and seal the seam created on the bottom of the roll. Now, you should have a log of dough with the seam side down. Applying even pressure with the palm of your hands in the center of the dough begin gently rolling the log out into a cylinder, about 10 inches long.Note: For shaping, just take a look at the video steps as it's hard to explain in words.Evenly sprinkle cornmeal on two baking sheets (or one large baking sheet). Shape each hoagie roll and place 2 on each baking sheet. Cover lightly with plastic wrap or a towel and let the rolls proof until about 1.5 to 2 times in size, another 45-60 minutes.
Step 5
With 15 minutes of proofing left, preheat the oven to 375°F/190°C. Place an oven-safe pan or another baking sheet on the bottom rack of the oven. In the next step, ice will be dropped on the hot pan to help create a steamy environment for a better oven spring.
Step 6
Score: Using a razor or sharp knife, score the hoagie rolls with one long slash at a 45-degree angle to allow for oven spring.Make & apply the egg wash: Whisk the egg white and spoonful of water together. Using a brush, lightly spread the egg wash on the exterior to give us a better crust. Sprinkle a little extra cornmeal over top. Note: At this point, you can sprinkle on toppings like sesame seeds, or herbs and spices if you would like.Place the rolls into the oven on the middle rack and toss in 4 to 5 ice cubes on the hot pan on the preheated pan which will create steam.Bake for 10 minutes then rotate the pan. Continue baking for another 8-10 minutes until the crust is golden brown and the internal temperature reaches 200°F/93°C (use a thermometer).Let cool completely on a wire rack. I like to store these in a plastic bag for 1 day before making a sandwich since I find their texture gets better overnight in a sealed bag.