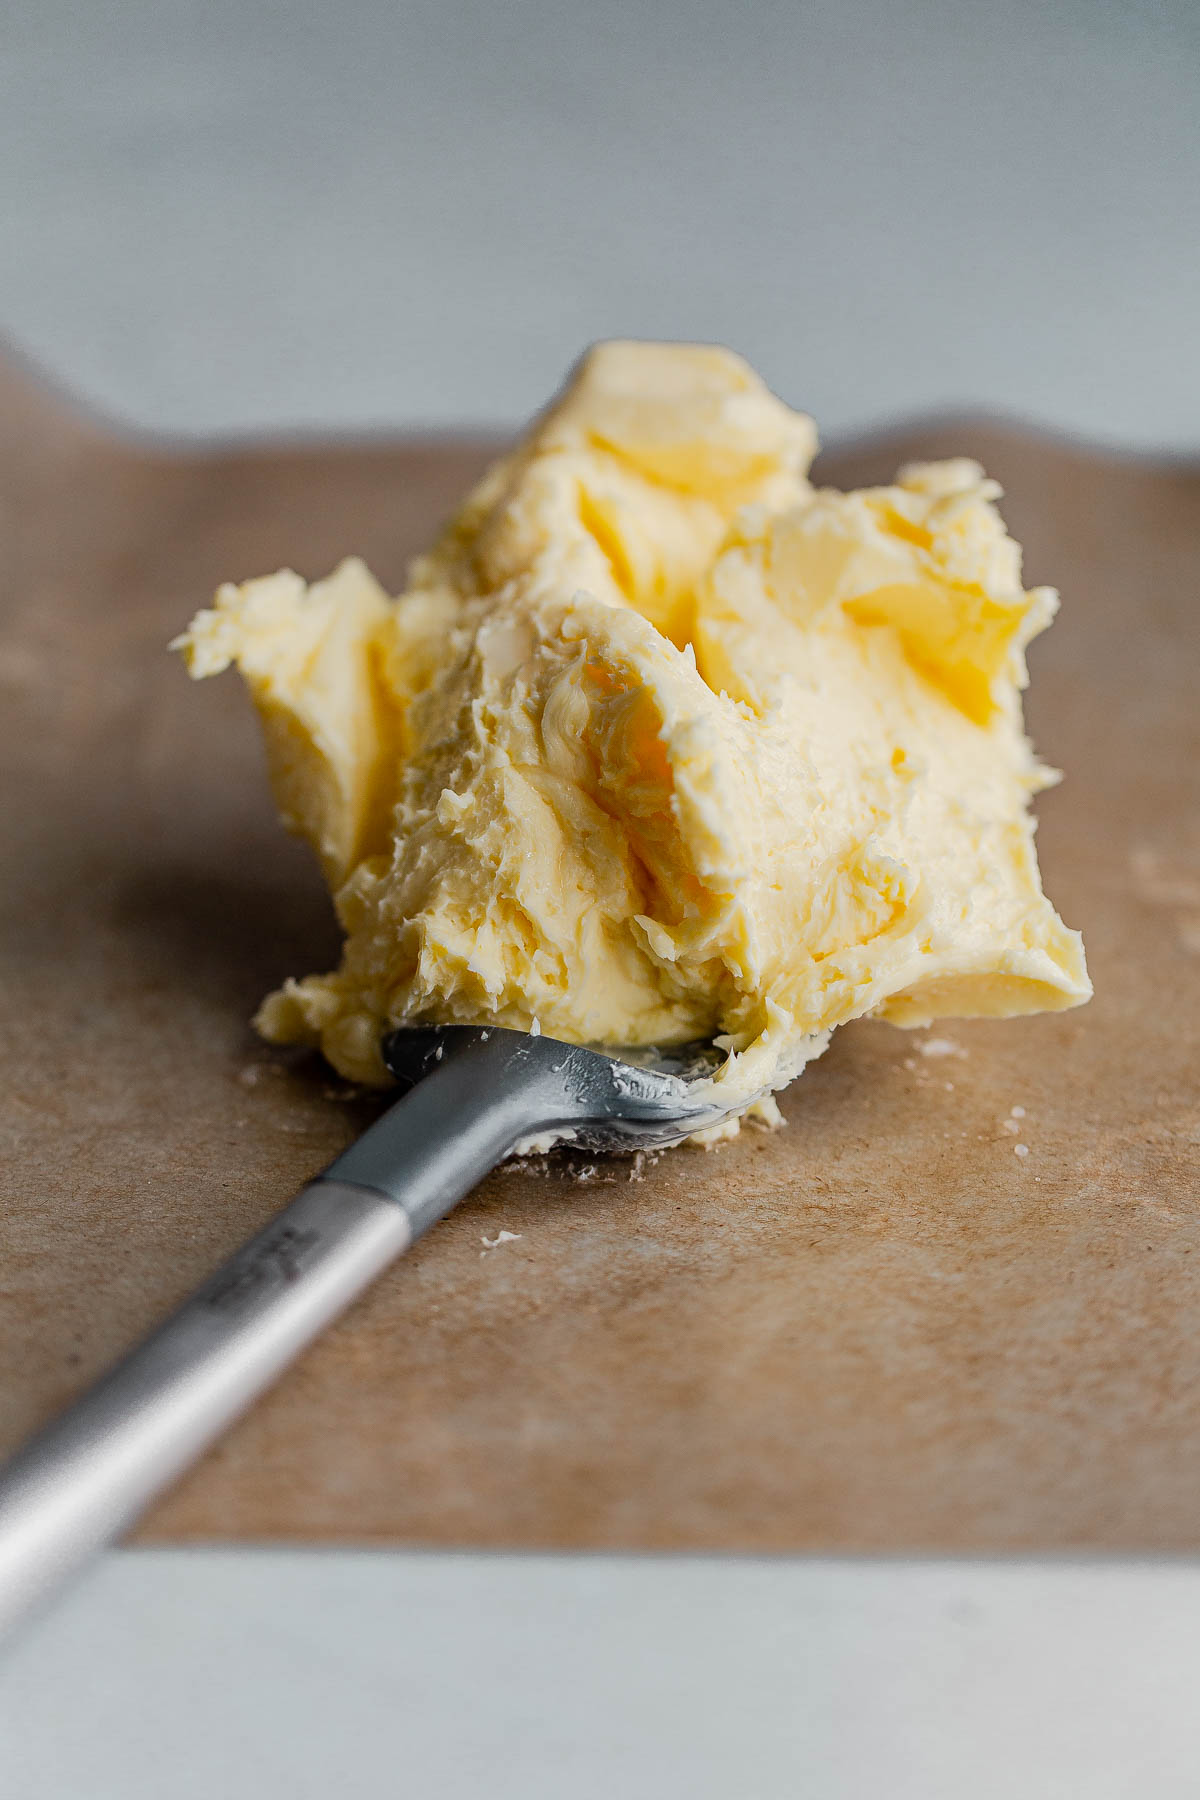
Homemade Cultured Butter
4.9
(24)
Your folders
Your folders
Prep Time: 2880 minutes
Cook Time: 20 minutes
Total: 2900 minutes
Servings: 12
Author : Laura // A Beautiful Plate
Ingredients
Export 2 ingredients for grocery delivery
Instructions
Step 1
Culture the Cream: Combine the cream and culturing agent (cultured buttermilk, plain unsweetened yogurt with live cultures, or cultured sour cream or creme fraiche) in a lidded container. Stir to combine.
Step 2
Allow the cream mixture to sit at room temperature, between 70°F to 75°F (21°C-24°C), for at least 24 hours and up to 48+ hours. The mixture will thicken and have a stronger, more pronounced tangy flavor as it sits. It will sour and become significantly thicker in texture with time.
Step 3
Transfer the cream mixture to the refrigerator and chill for at least one hour. This will ensure that the butter fat will stay firm and not become greasy during churning.
Step 4
Churn: Place the chilled cream mixture in the bowl of stand mixer fitted with a whisk attachment (note: you can also use a large food processor or even shake the cream by hand if you're up to it!). Cover the stand mixer with a clean kitchen towel (this will help prevent any splattering) and whip over medium-high speed until the mixture has thickened and has the texture of a soft whipped cream.
Step 5
Reduce the mixer speed to medium-low and continue whipping until the liquid and butter fat just begin to separate and it looks curdled. Reduce speed to low - be sure to cover the mixer as it can splatter considerably at this stage - and continue whipping until the butter comes together as a solid mass on the whisk attachment.
Step 6
Strain: Set a large fine-meshed sieve over a large mixing bowl. You can line the sieve with muslin, but I do not find this step necessary. Gently pour over the liquid (this is real buttermilk) then transfer the mass of butter to the sieve. Using a spatula, gently press the butter against the sieve to release any additional liquid - without pushing the butter through the sieve. Transfer the homemade buttermilk to a covered container and refrigerate. The buttermilk can be stored in the fridge for one to two weeks.
Step 7
Wash: Meanwhile, transfer the mass of butter to the now empty mixing bowl. At this step, we will wash the butter repeatedly with very cold water, pressing the butter to release any excess buttermilk. Strain, wash, repeat. The cold water helps to firm up the butter and washing helps press out any excess buttermilk from the butter, which will extend it's storage life in the fridge.
Step 8
Pour 1 cup (240 mL) of very cold water over the butter and using the back of a spatula (or spoon), press the butter repeatedly against the edge of the bowl. Drain, discarding any liquid, and repeat until the water runs clear. This will take anywhere from 4 to 6 washes. Be sure to err on the side of overwashing. Once the water runs clear and you have drained the liquid, press the butter once more to release any excess water. If you desire, you can use clean hands to do this - but it isn't necessary or required.
Step 9
Add Salt If Desired: At this stage, you can choose to mix and stir in salt or other seasonings, if desired. I prefer not to salt my cultured butter (and sprinkle salt after using, etc.) as it can mask the tangy flavor.
Step 10
Store: Divide the butter in half - this recipe yields roughly 12 ounces of cultured butter - shape as desired, wrapping the butter in wax paper. Store well-wrapped in the refrigerator for up to a month (or longer) or freeze for later use.