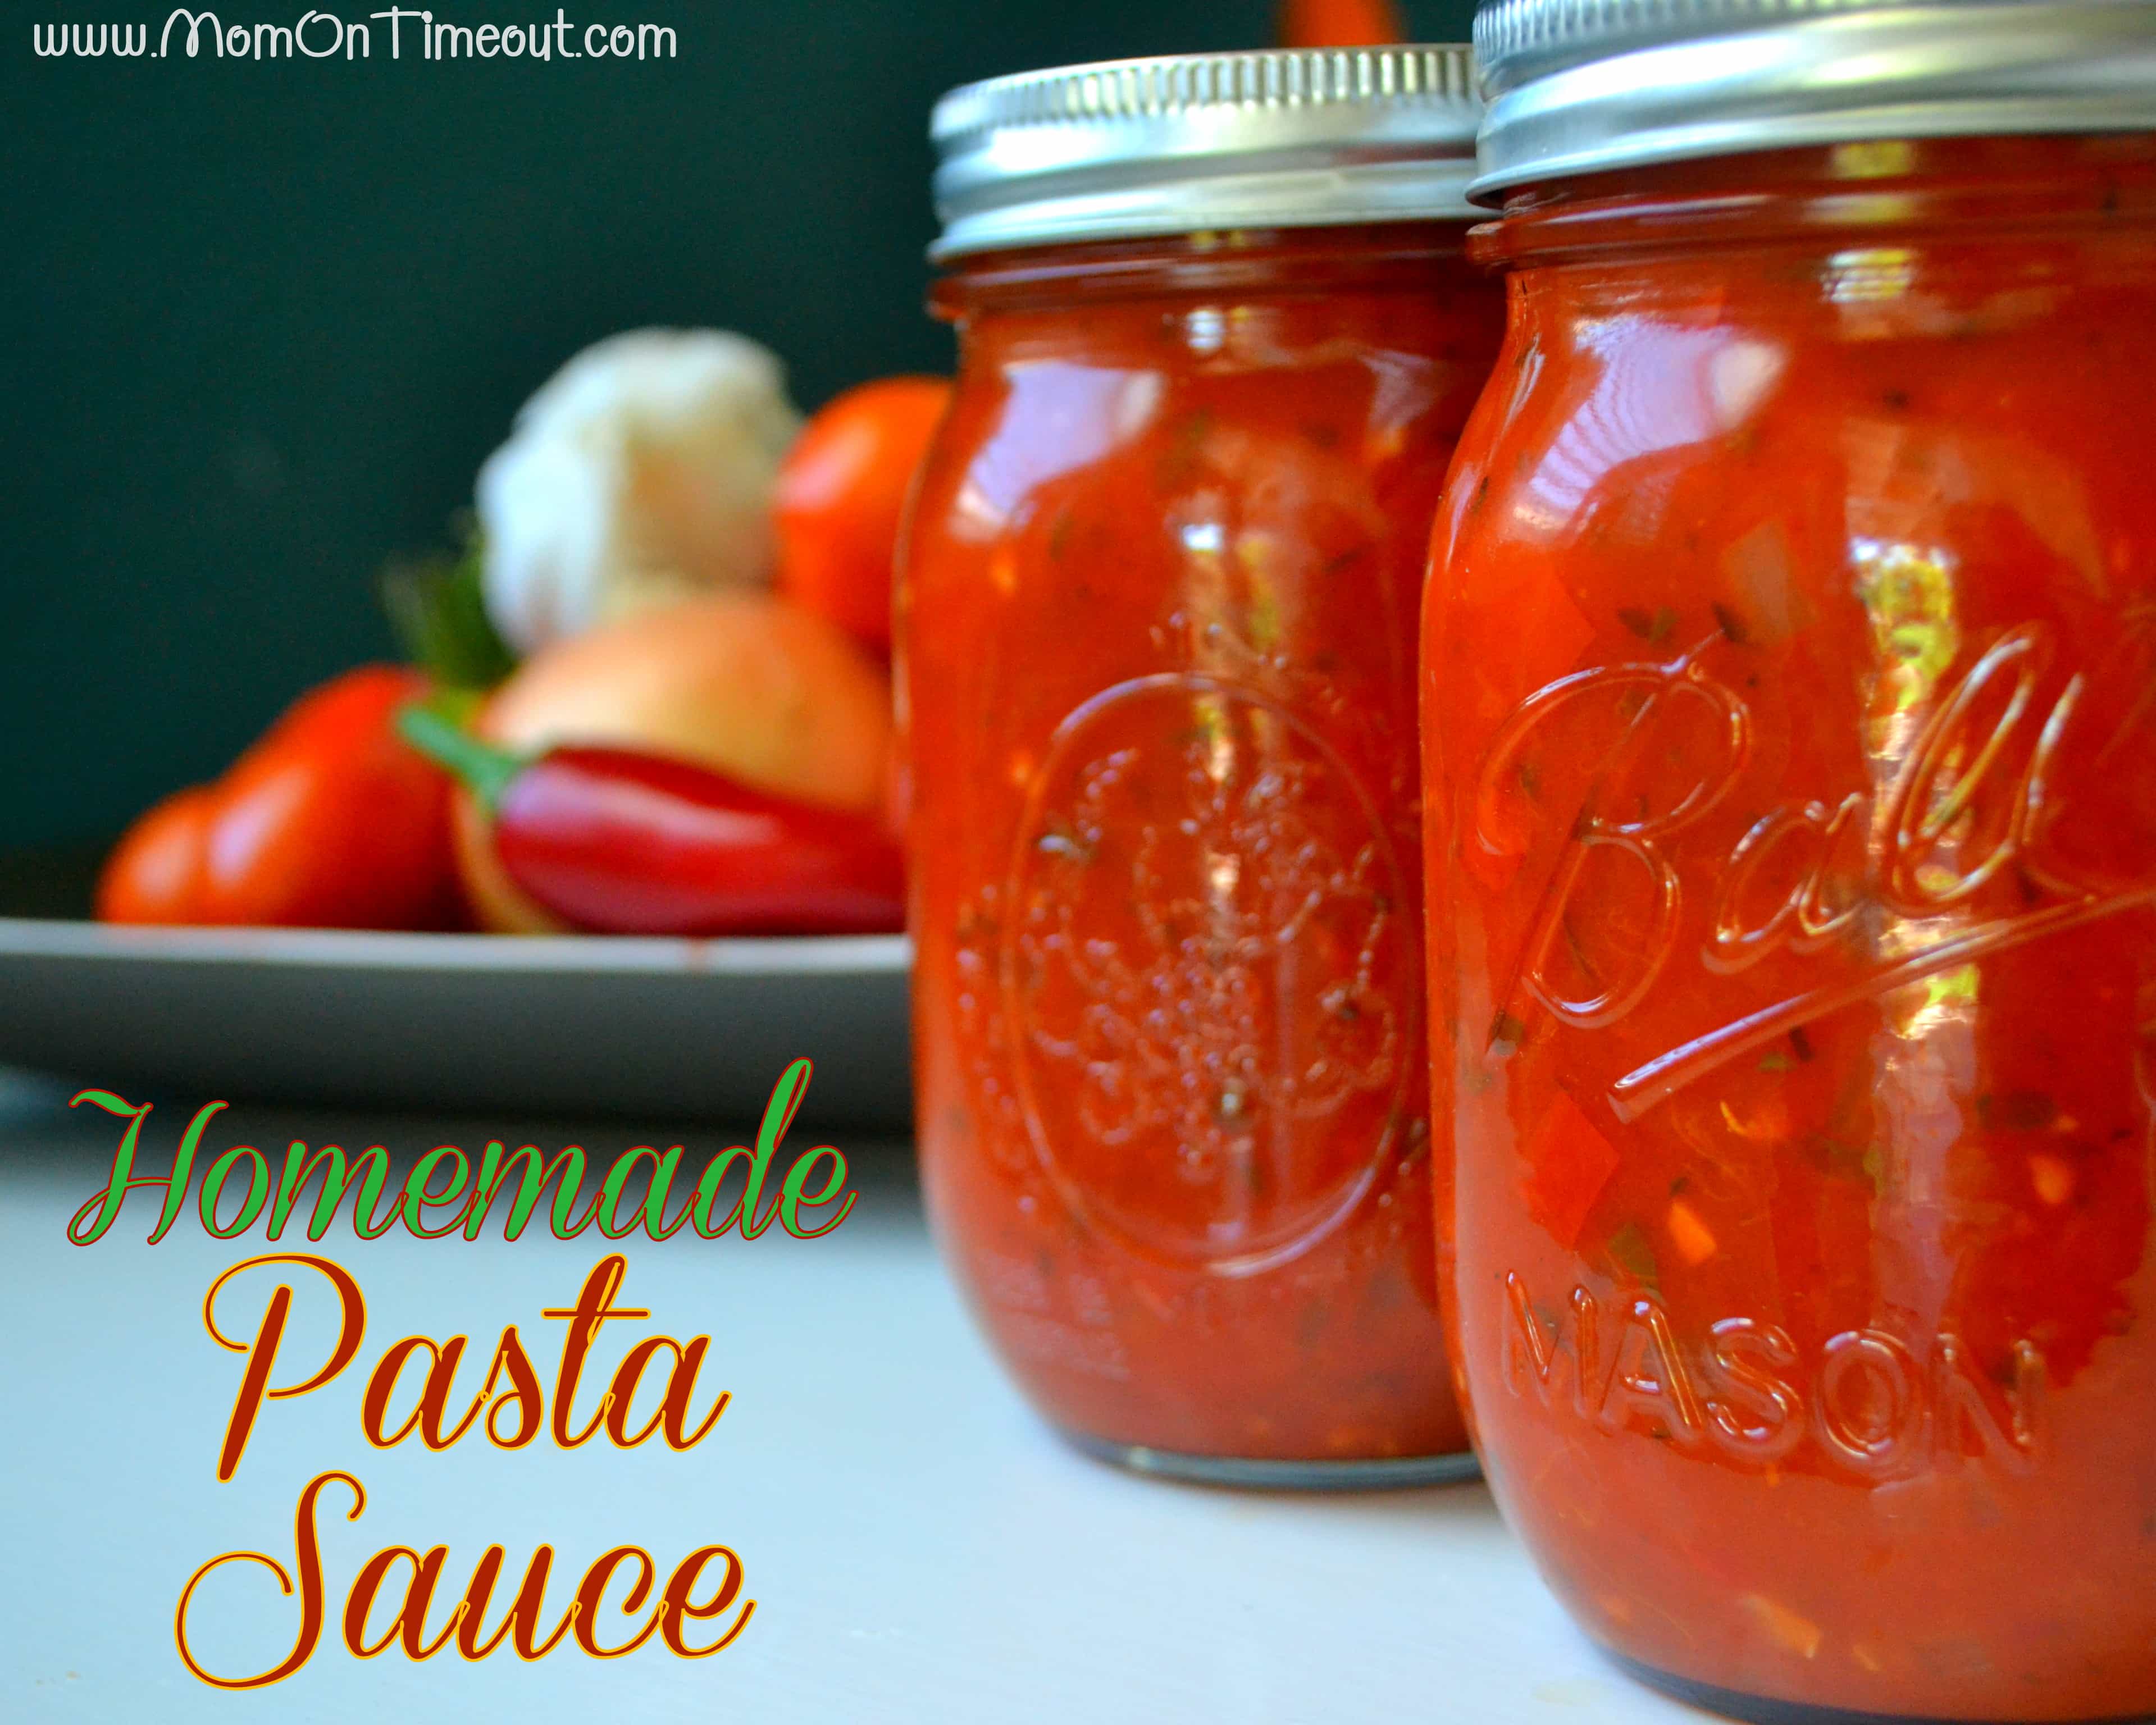
Homemade Pasta Sauce
Your folders
Your folders
Prep Time: 60 minutes
Cook Time: 45 minutes
Total: 105 minutes
Servings: 5
Author : Trish - Mom On Timeout

Ingredients
Export 13 ingredients for grocery delivery
Instructions
Step 1
First we are going to remove the skins. Get a pot of water boiling and prepare an ice bath {a large bowl filled with ice and water}. Submerge the tomatoes {5-6 at a time} in the boiling water for about 45 seconds. Immediately remove to the ice bath. The skin can now be removed very easily - most of my tomato skins just slid right off!
Step 2
Next up is removing the seeds and excess tomato juice. I'm sure there is a more technical way to do this, such as cutting open the tomatoes and scraping the seeds out, but how I actually did it was to use my hands to open the tomato up and shake those seeds out. Once I removed the seeds and squeezed the tomatoes to get rid of the juice, I placed the tomatoes into a colander so more tomato juice could drip out. Why get rid of the tomato juice? Because we're looking for a nice thick sauce and the longer you cook the tomatoes letting the juices evaporate, the more vitamins we lose from the tomatoes. By ridding the tomatoes of excess liquids early on, we actually cut down on the cooking time and increase the nutritional value of the sauce. Pretty smart huh?
Step 3
Saute the onions and peppers in the oil in a large pot for several minutes until they are translucent and soft. Add in the garlic and saute for another few minutes.
Step 4
Add the tomatoes and let them cook for 10-15 minutes before adding all the other ingredients. Stir to combine and let simmer until the sauce has cooked down to your desired thickness. If you want to use a masher to speed the break-down of the tomatoes that's totally fine. Mine took a little over an hour to get nice and thick but it will totally depend on the type of tomatoes you are using and the amount of liquid you start with.
Step 5
Before canning it's important to sterilize every utensil, jar, and lid you will be using. I read a lot about people using their dishwasher but I like to see my water boiling so I know it's really doing what it's supposed to. I used my canning bath to sanitize my jars and then it was ready to go for the actual canning process.
Step 6
Once everything has been sterilized you will want to set up your jars and funnel. The jars should still be warm/hot and the sauce going into it should be hot as well. Get the canning bath up to a full boil while you are filling your jars. I found the funnel to be indispensable. It made the process so easy and kept the mess to a minimum. {Trust me, there is enough of a mess with all those tomato skins!} Note: If you are freezing your sauce, just let the sauce cool and ladle into freezer bags, remove all the air, and freeze.
Step 7
Once the jars have been filled to within 1/4 inch from the top, wipe the top of the jar with a towel to remove any sauce that may get in the way of a tight seal. Place the lid on and hand-tighten the ring. Now the filled jars go into the canner where they need to be covered with at least 1 inch of water - the more the better! Keep that water boiling for the entire duration of the process. For pints you need to have the jars in a boiling water bath for 35 minutes and 40 minutes for quarts. If at any time the water stops boiling for any reason, start your time over again.
Step 8
When the time is up lift the jars out of the water using jar tongs and let them cool. DO NOT touch the jars, bump the jars, move the jars, for 24 HOURS. The rings can then be removed or loosened so they do not rust in place. Once the jars have cooled you can verify that they have sealed properly by checking to see if the lid has been sucked down. Press lightly in the center and if the lid pops up and down - it did not seal. Put the jar immediately into the fridge and you can still use it. All of mine successfully sealed so you shouldn't have a problem.