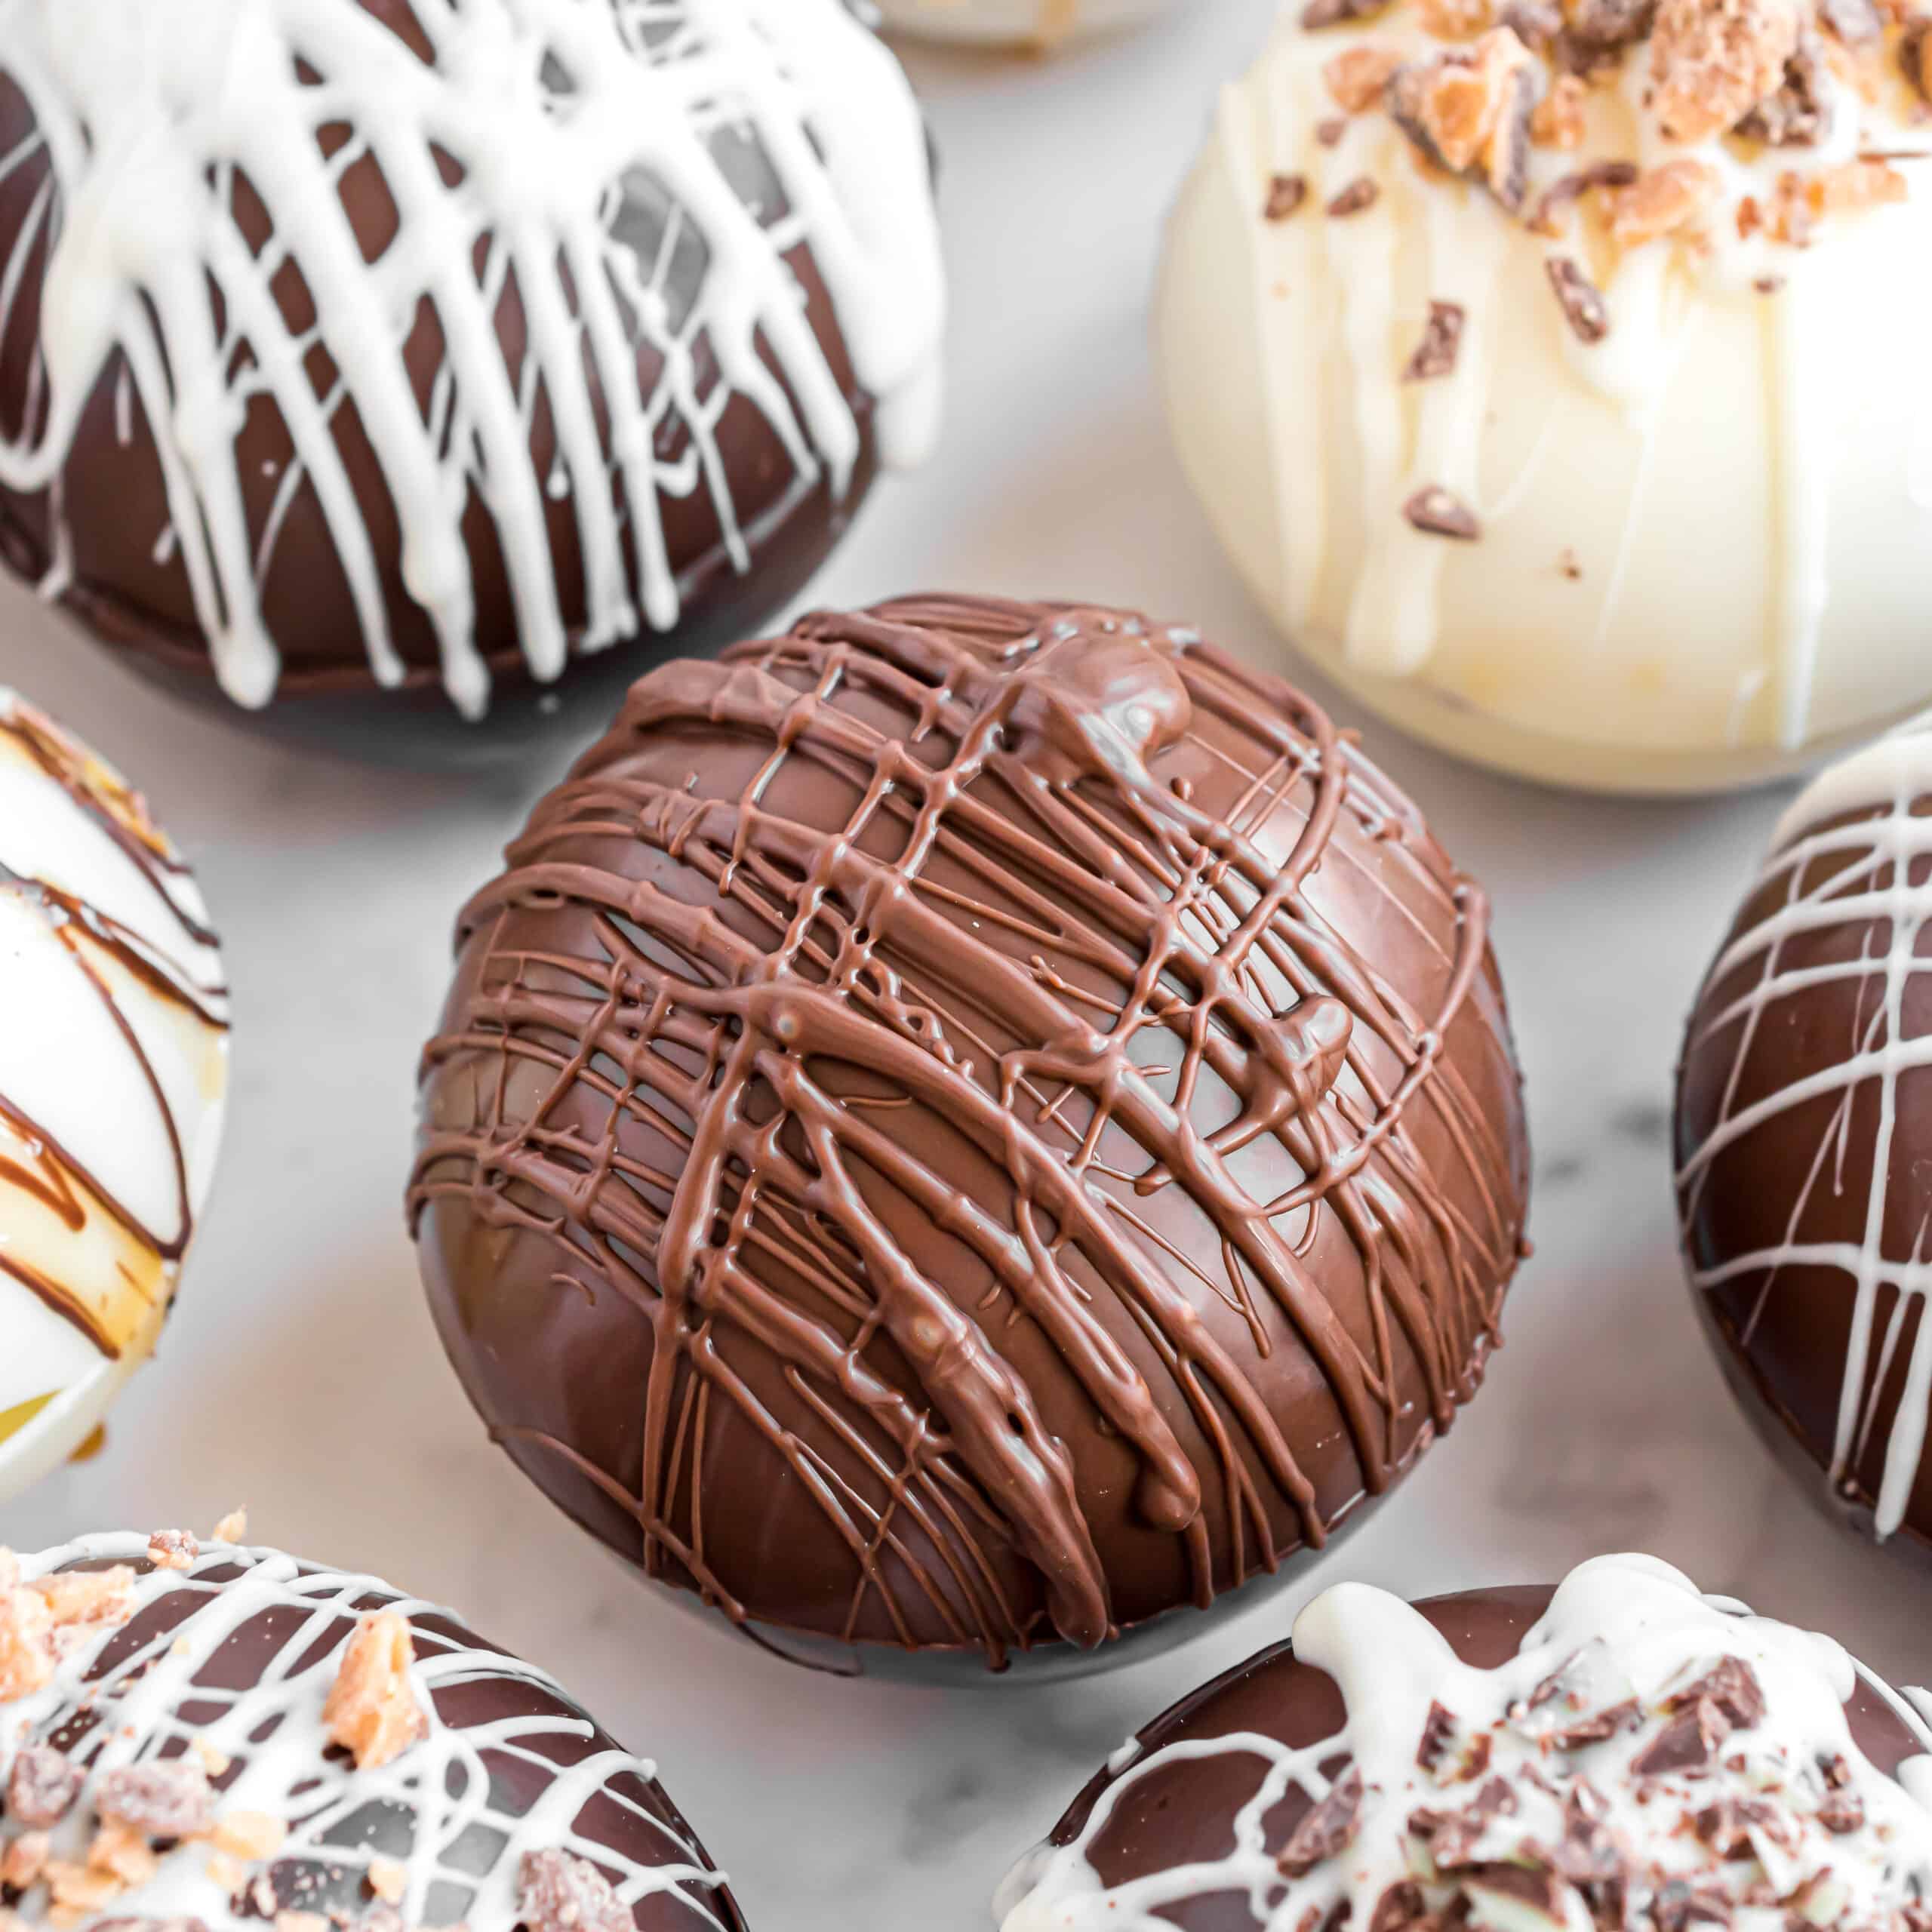
Hot Cocoa Bombs
5.0
(18)
Your folders
Your folders
Prep Time: 60 minutes
Total: 60 minutes
Servings: 6

Ingredients
Export 4 ingredients for grocery delivery
Instructions
Step 1
In a microwave safe bowl, melt chocolate according to the package. Stir until smooth.
Step 2
Place the silicone mold on a cookie sheet, jelly roll pan, or something that will support your mold and can be placed into the freezer.
Step 3
Put about ½-1 Tablespoon of melted chocolate into the well of the silicone mold. Using the back of a spoon, push the chocolate up the sides until the entire mold is covered with a layer of chocolate. (When I was doing this step, I thought of the circle like a clock face and I pushed the chocolate up to each number. This helps make sure the sides get covered.) Pay special attention to the sides making sure the chocolate completely covers the mold. You can even tilt the mold slightly as you are using the back of the spoon to coat the mold - it helps with the visibility of the mold.
Step 4
Transfer the baking sheet to the freezer for about 10 minutes.
Step 5
Remove the tray from the freezer and make sure there is chocolate going all the way up the side of the mold. If the chocolate layer seems thin at the edge, add a little more chocolate to thicken the edge using a spoon, small spatula or food-safe paintbrush. It is better to do 2 thin coats. If you try to put too much chocolate in on the first layer, it all runs down and makes a very thick layer on the bottom. Don’t worry about how the shell looks from the inside - it won’t be visible when the bomb is complete. Return to the freezer for 5 minutes.
Step 6
Remove the mold from the freezer and flip the mold over, rounded side facing up.
Step 7
Gently press the center of each well and peel the silicone mold back from the edge of the chocolate sphere to remove the hardened chocolate. If you press too hard on the center of the mold, it can cause the shell to crack on the edges.
Step 8
Heat a small skillet, saucepan or plate until it is warm. Place one half of the chocolate shell, rounded side up, on the hot surface, just until the edge begins to melt and creates an even edge for sealing the bomb. Keep your hot surface away from the other shells, as they are very heat sensitive and can begin to soften.
Step 9
Place this half of the chocolate bomb on a cookie sheet and fill with 1 Tablespoon of hot chocolate mix and 10-12 mini marshmallows.
Step 10
Place the other half of the chocolate bomb on the heated skillet, saucpan or plate. Place it gently on the filled shell. The melted chocolate edges will meet and act as a “glue” to hold the 2 halves together.
Step 11
Decorate by drizzling melted chocolate that matches the shell or contrasting melted chocolate to make a pretty design.
Step 12
Add hot chocolate bomb to mug.
Step 13
Pour 6-8oz. of hot milk over bomb. Stir to dissolve and enjoy!