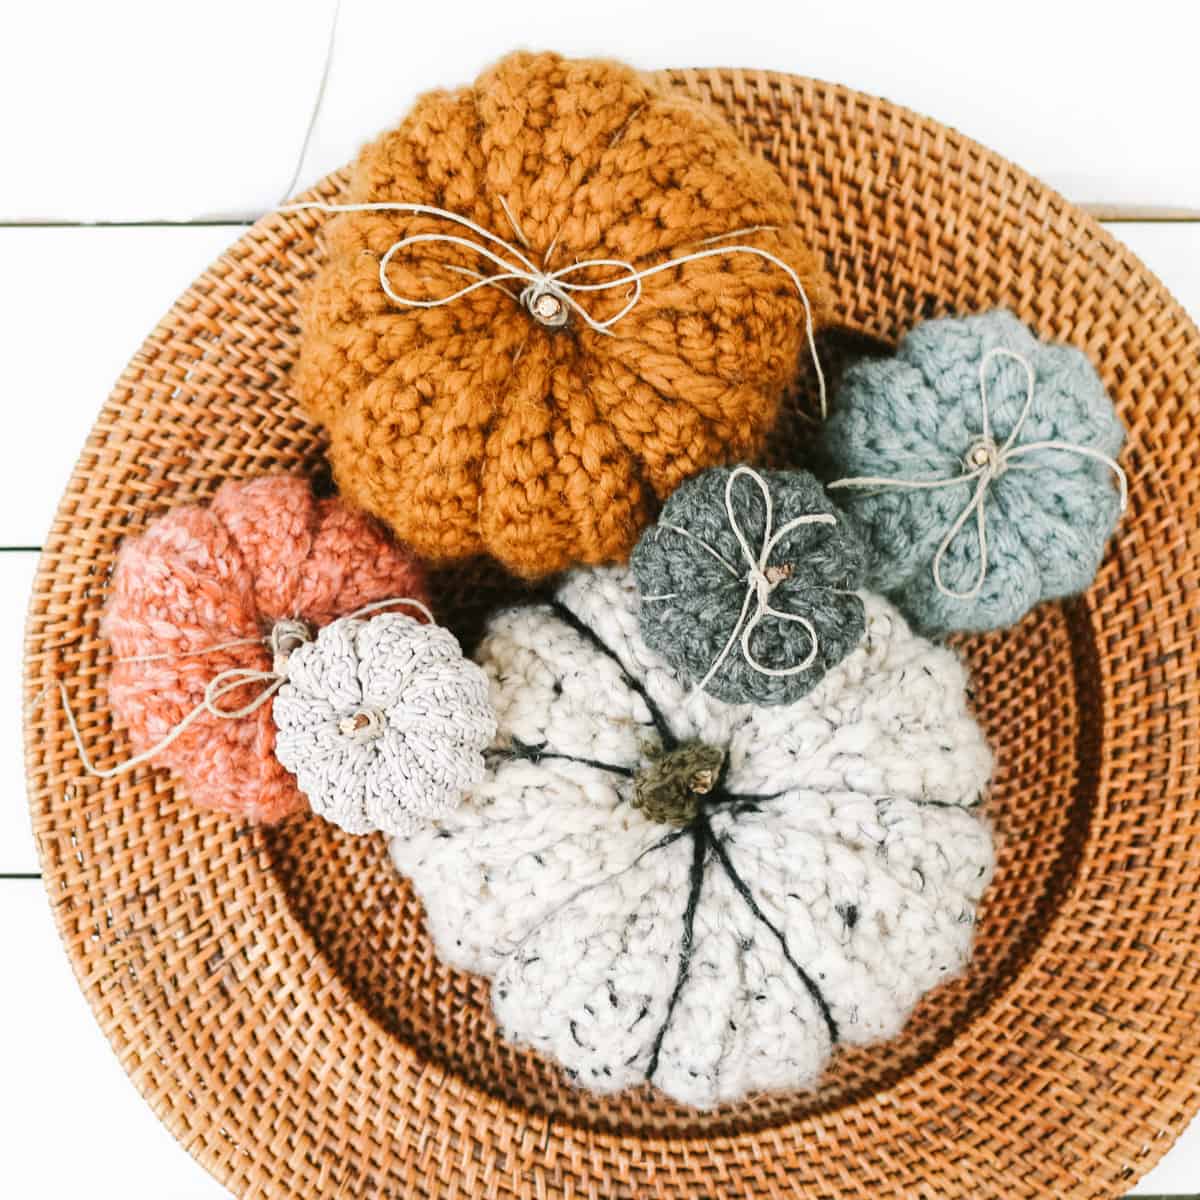
How to Crochet a Pumpkin - So Easy
Your folders
Your folders
Total: 30
Ingredients
Export 4 ingredients for grocery delivery
Instructions
Step 1
Because these pumpkins are made from a crochet rectangle, you can easily crochet a pumpkin any size you wish.
Step 2
Here’s the basic formula:
Step 3
Step 1: Make a crochet chain slightly longer than you’d like the rectangle width to be. (Making this chain longer or shorter will result in a taller or shorter pumpkin.)
Step 4
Step 2: Crochet in back and forth in rows until your rectangle height is 2.5 times as tall as the width.
Step 5
The number of chains in the foundation and the number of total rows will vary based on how thick your yarn is.
Step 6
* For a wider, squattier pumpkin, aim for a length about 3 times the width.
Step 7
* For a taller, slimmer pumpkin, aim for a length about 2-2.25 times the width.
Step 8
Foundation Row: Leaving an extra long tail at beginning of slip knot, ch any number of stitches.
Step 9
Row 1 (RS): Skip first ch, sc in each ch to end of row; turn.
Step 10
Row 2 (WS): Ch 1, sc through the back loop only of each st to end of row; turn.
Step 11
Rep Row 2 until rectangle height measures approximately 2.5 times the width of the foundation row. End with a right side row, meaning the working yarn should be on the same edge as the tail from the foundation chain. Fasten off leaving an extra long tail (approximately 3x rectangle length).
Step 12
Joining rectangle into tube: Fold rectangle into a tube by placing final row of rectangle over foundation row. Thread tail from fastening off onto a tapestry needle. Use a basting stitch (also known as a running stitch) to seam each stitch of the final row to the corresponding stitch in the foundation row. At end of row, tie a locking stitch to secure yarn before moving onto closing pumpkin ends.
Step 13
Closing tube: With attached yarn and tapestry needle, use a basting/running stitch to sew around edge of tube. Keep tapestry needle attached and pull yarn to tighten tube until closed. Sew a few extra whip stitches to disguise any slight opening at center. Fasten off. Tail can just be hidden inside pumpkin.
Step 14
Stuffing pumpkin: Fill tube with fiber fill until it’s packed pretty full.
Step 15
Closing opposite side of tube: Thread tapestry needle with remaining yarn tail. Repeat step 2 to close tube. Tie a locking stitch, but do not fasten off. Insert tapestry needle through center of pumpkin to opposite side of tube. Pull yarn tightly to “flatten” pumpkin a bit, then return yarn back through pumpkin one more time. Tie off with several locking stitches and hide yarn tail inside pumpkin before fastening off.
Step 16
Creating sections: This step is optional. Thread a long strand of yarn or jute on a tapestry needle. Insert needle through center of pumpkin and pull through until an 8-10” remains outside pumpkin. Loop yarn around pumpkin and reinsert needle in center of pumpkin. Repeat this process 6-8 times to create even “slices” around pumpkin. Finish by pulling yarn out top and tying in a knot to beginning tail.
Step 17
Stem: Cut a small twig or cinnamon stick to the desired length of your step. Place a dollop of hot glue in center of pumpkin top and insert stem in glue. Carefully wrap yarn/jute around stem a few times and press down to disguise any hot glue. Tie in a bow if desired.
Step 18
This step is optional.
Step 19
Foundation Row: Ch 6.
Step 20
First Side of Leaf: Sk first ch, sc, hdc, dc, hdc, sc, slst into side of sc, slst in first ch to transition yarn to opposite side of foundation chain..
Step 21
Second Side of Leaf: Continue by working into opposite side of foundation chain. Sc in first ch, hdc, dc, hdc, sc, slst to first sc of first side of leaf. Fasten off and weave in end.
Step 22
Use tail from foundation chain and tapestry needle to attach leaf to pumpkin near the stem.
Top similar recipes
Curated for youYour folders

 151 views
How to Crochet a Headband
blog.treasurie.com
Your folders
 231 views
How to Crochet a Basket
blog.treasurie.com
Your folders
 153 views
How to Crochet A Skull
joyofmotioncrochet.com
Your folders
 122 views
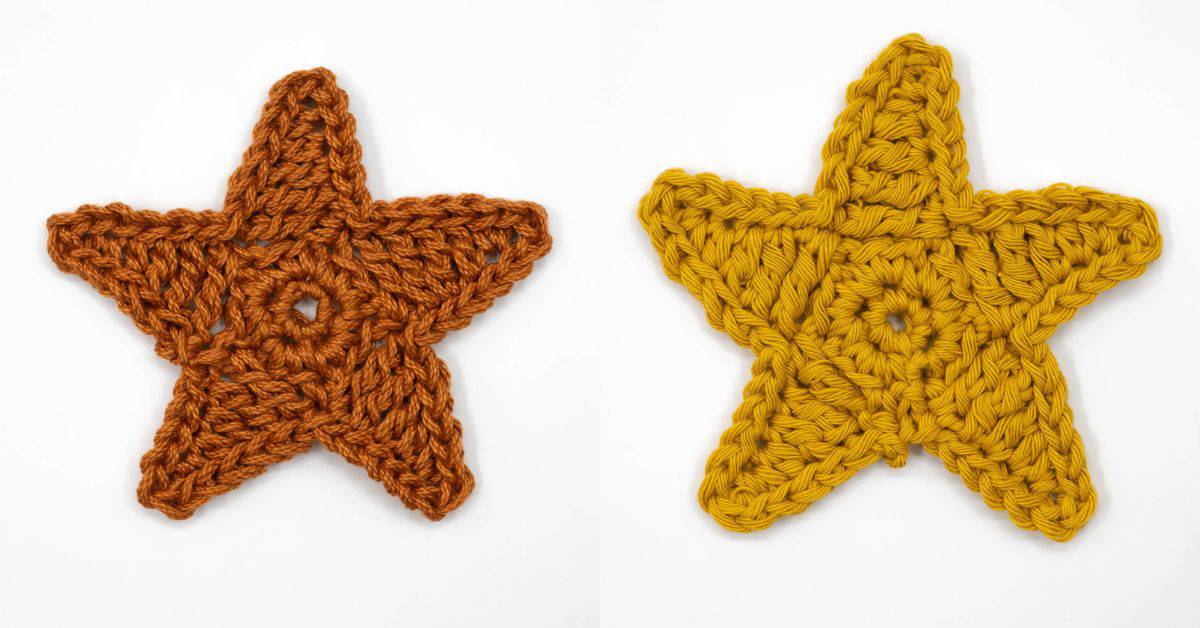
How to Crochet a Star
joyofmotioncrochet.com
Your folders
 189 views
How to Crochet a Baby Hat
blog.treasurie.com
Your folders
82 viewsHow to Crochet a Chevron Blanket
makeanddocrew.com
Your folders
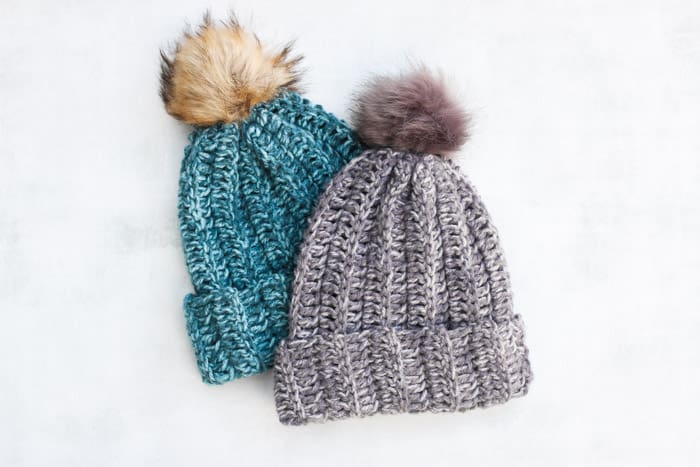 222 views
How to Crochet a Beanie for Beginne...
makeanddocrew.com
Your folders
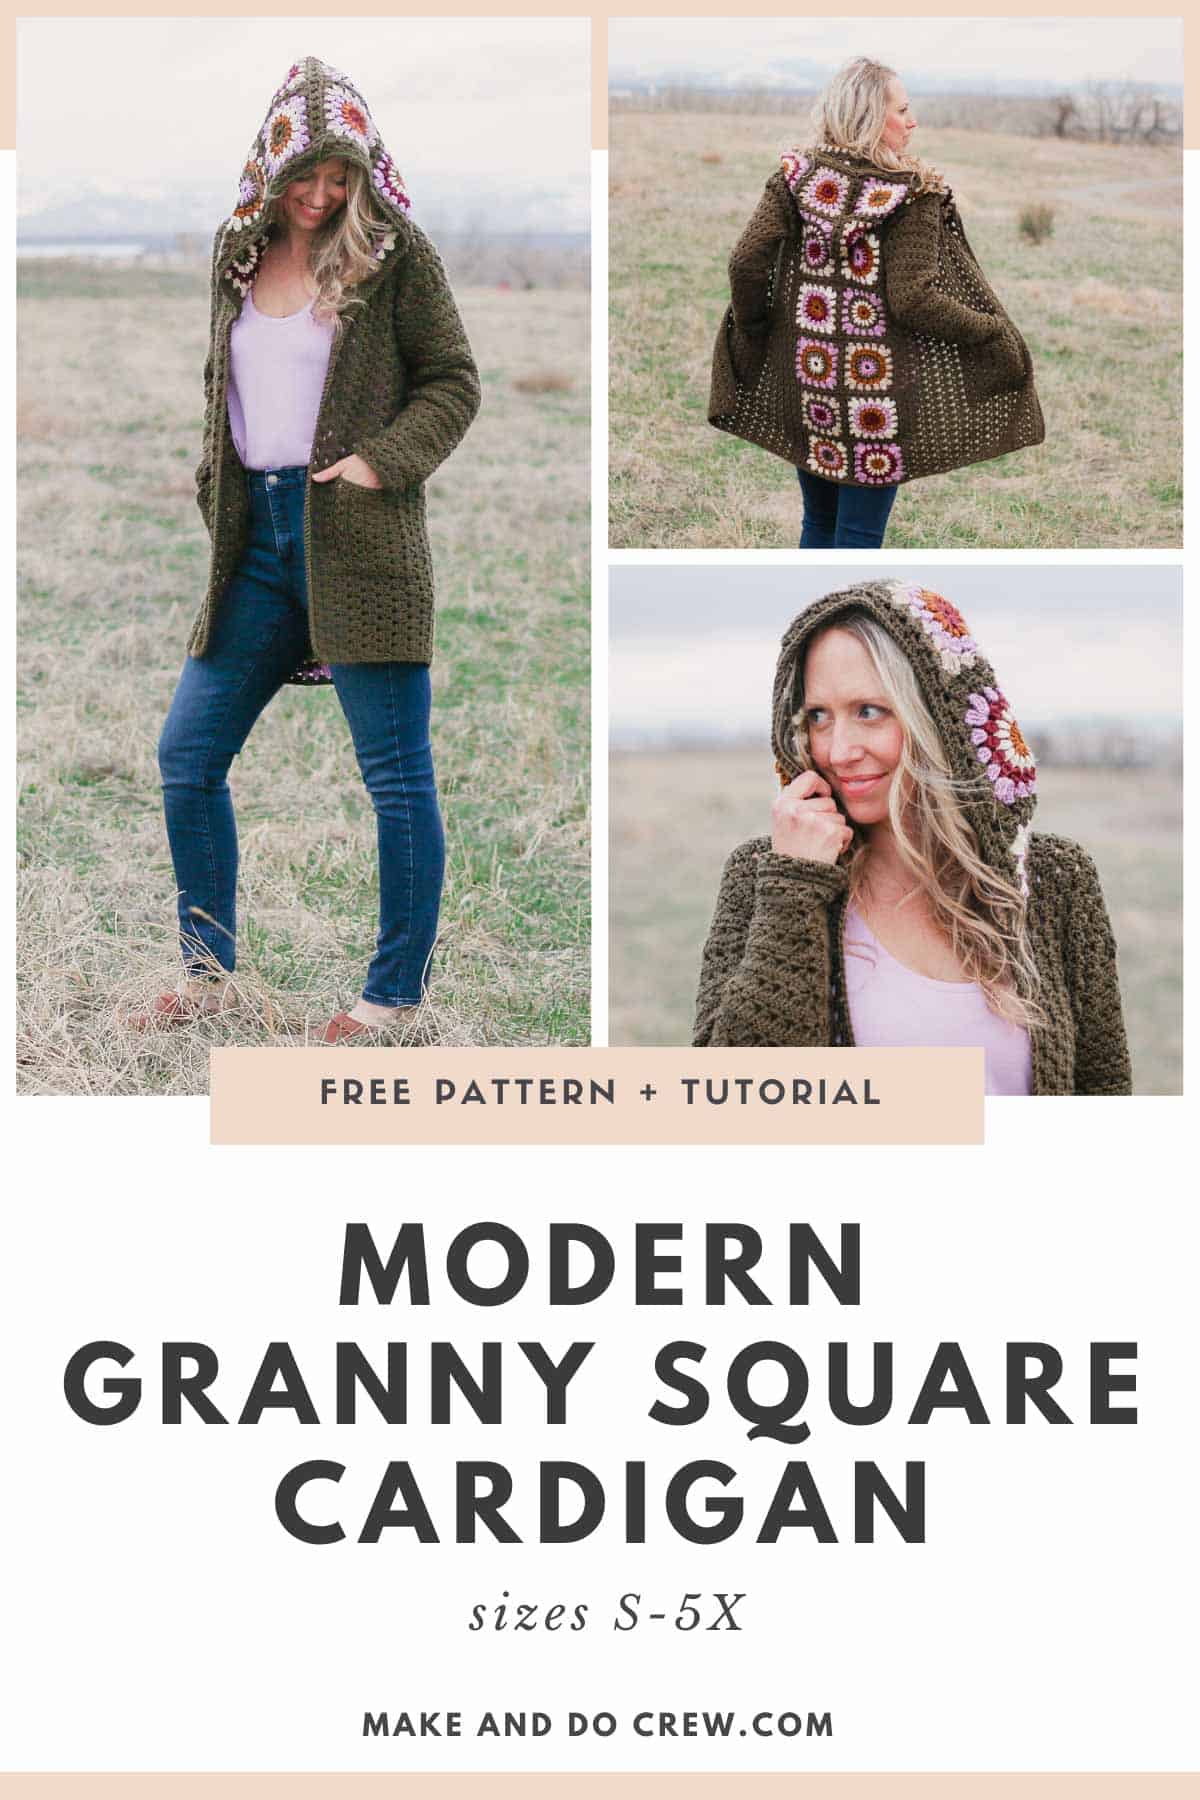 119 views
How to Crochet a Granny Square Card...
makeanddocrew.com
Your folders
 57 views
How To Crochet a Solid Granny Squar...
joyofmotioncrochet.com
Your folders
 283 views
How to crochet Sunflower
hookok.com
Your folders
 167 views
How to Crochet a Sweater for Beginn...
makeanddocrew.com
Your folders
 64 views
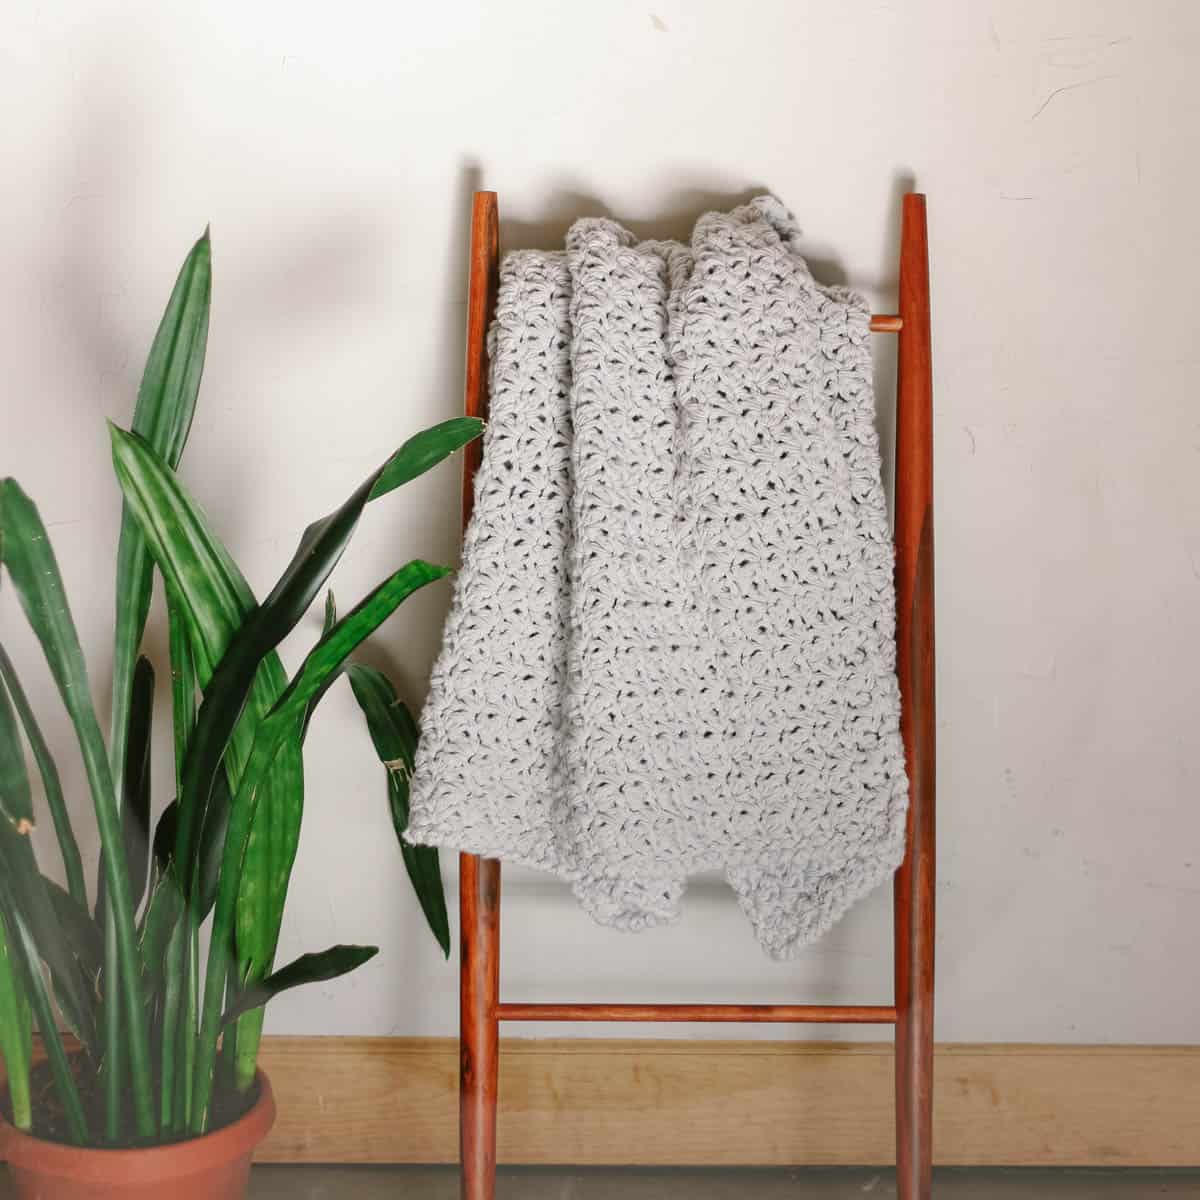
How to Make a Chunky Crochet Blanke...
makeanddocrew.com
Your folders
 69 views
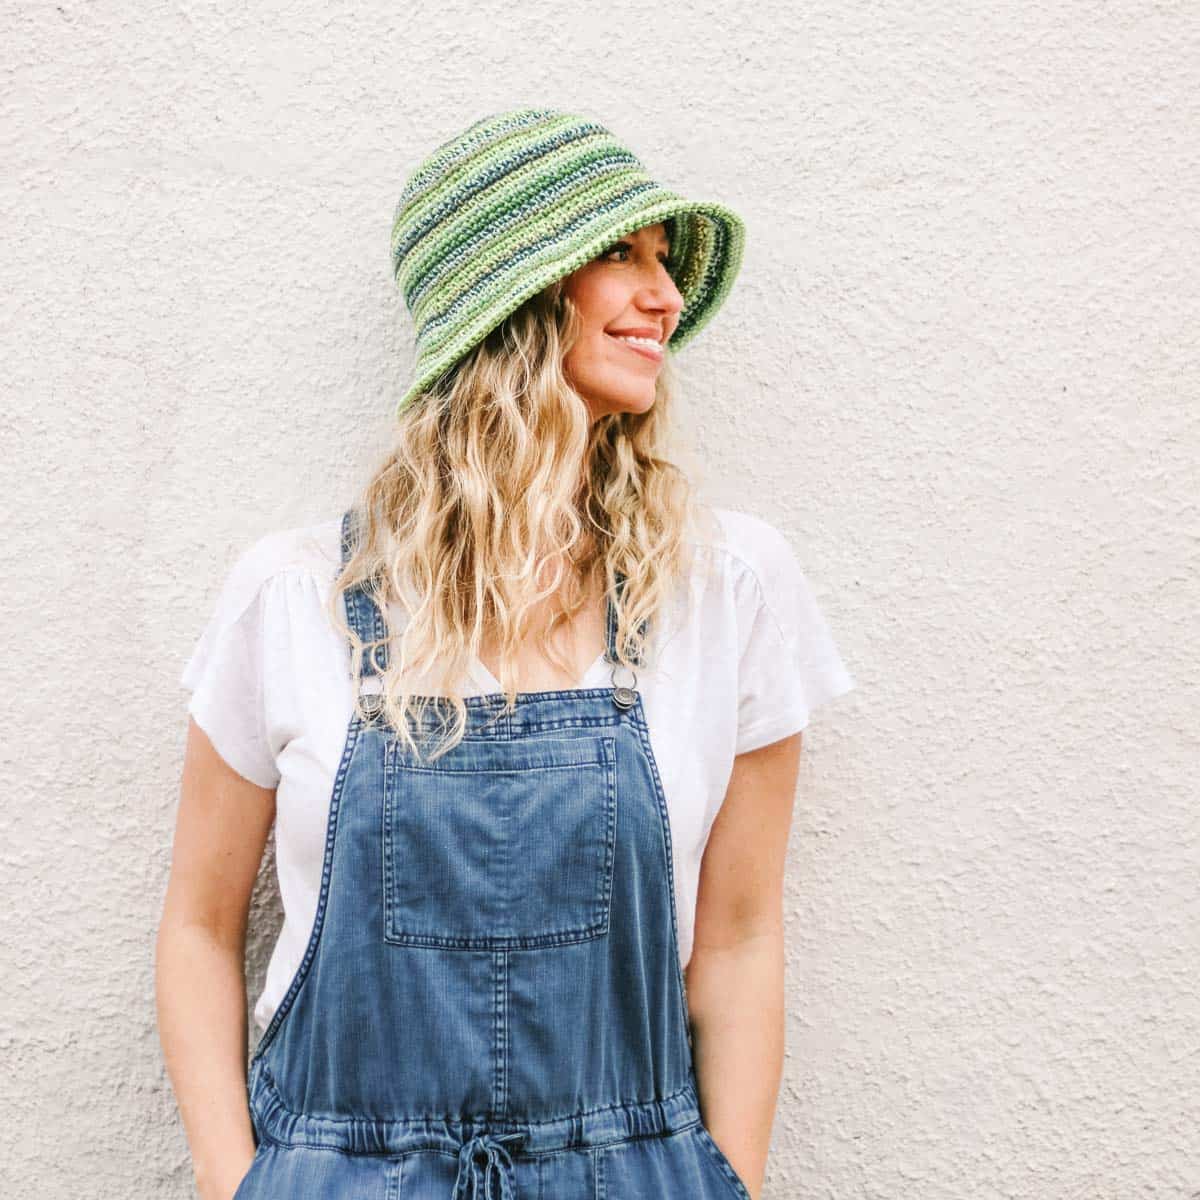
How To Crochet a Bucket Hat – Tips ...
makeanddocrew.com
Your folders
 90 views
How to Crochet a Blanket in One Day
makeanddocrew.com
Your folders
 152 views
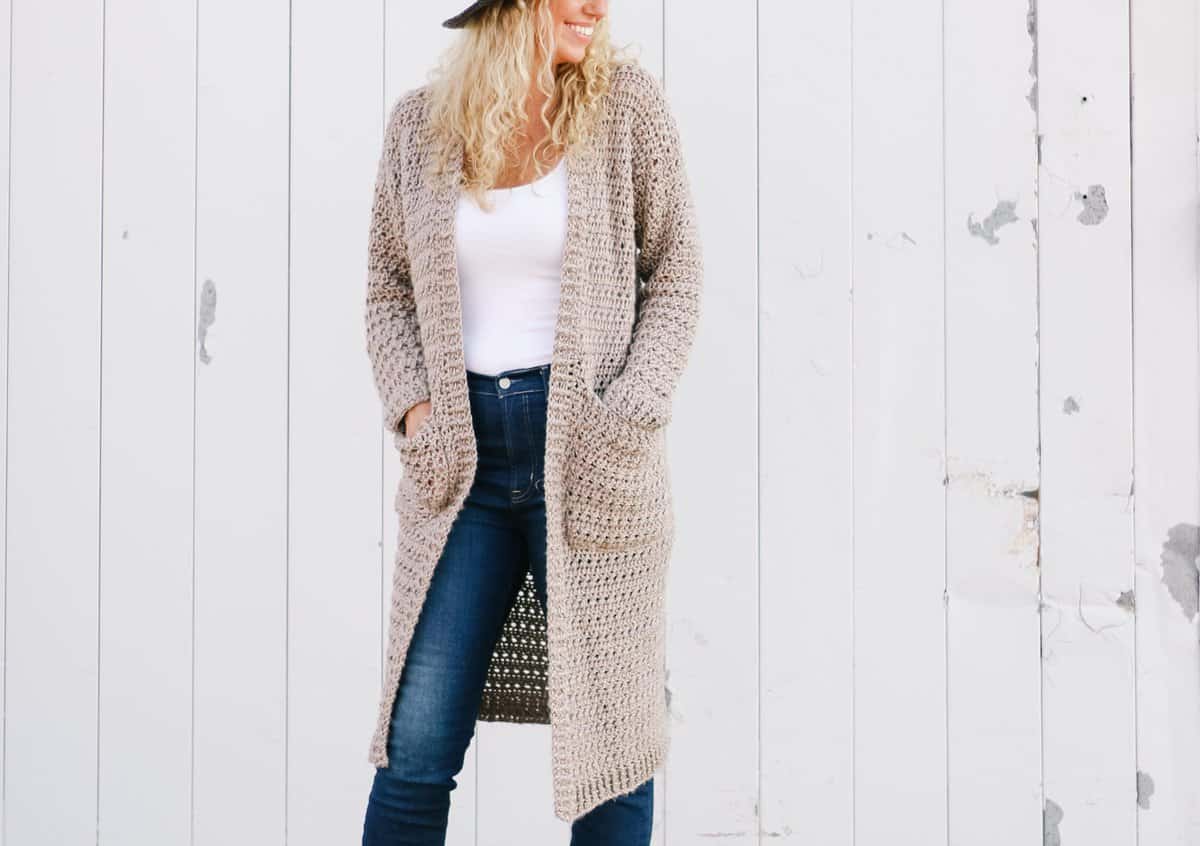
How to Crochet Duster Cardigan
makeanddocrew.com
Your folders
 160 views
The How to Crochet Easy Mittens - A...
makeanddocrew.com
Your folders
 156 views
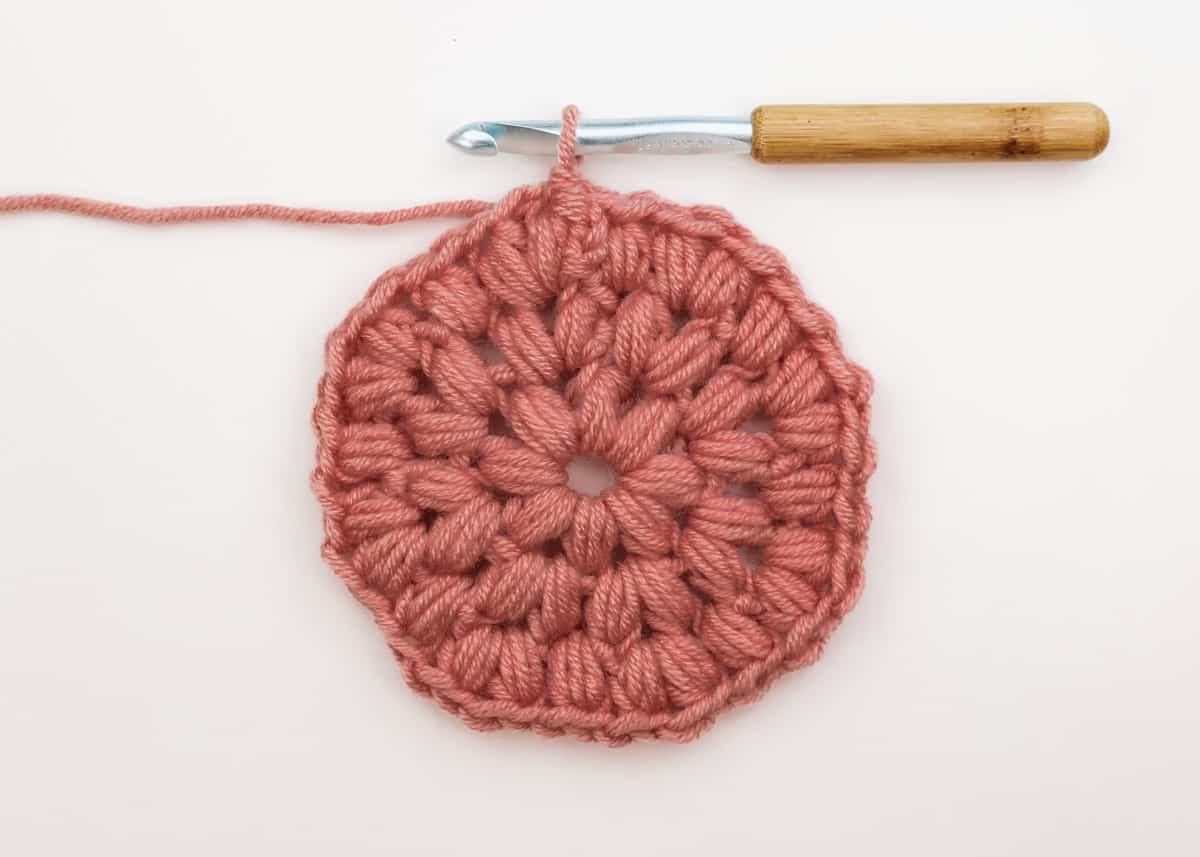
How To Crochet a Puff Stitch Circle...
makeanddocrew.com
Your folders
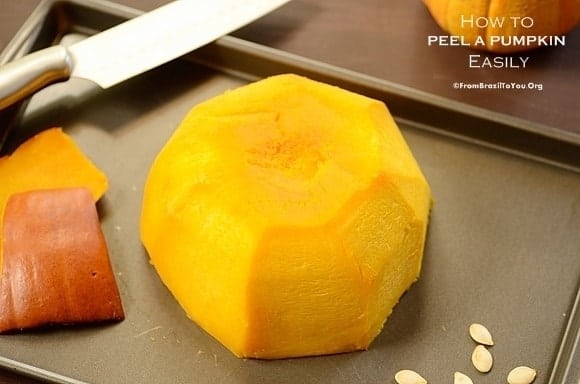 284 views
How to Peel a Pumpkin Easily
easyanddelish.com
5.0
(5)
Your folders
 99 views
How to Make Crochet Bag Handles.mp4
crochetncrafts.com