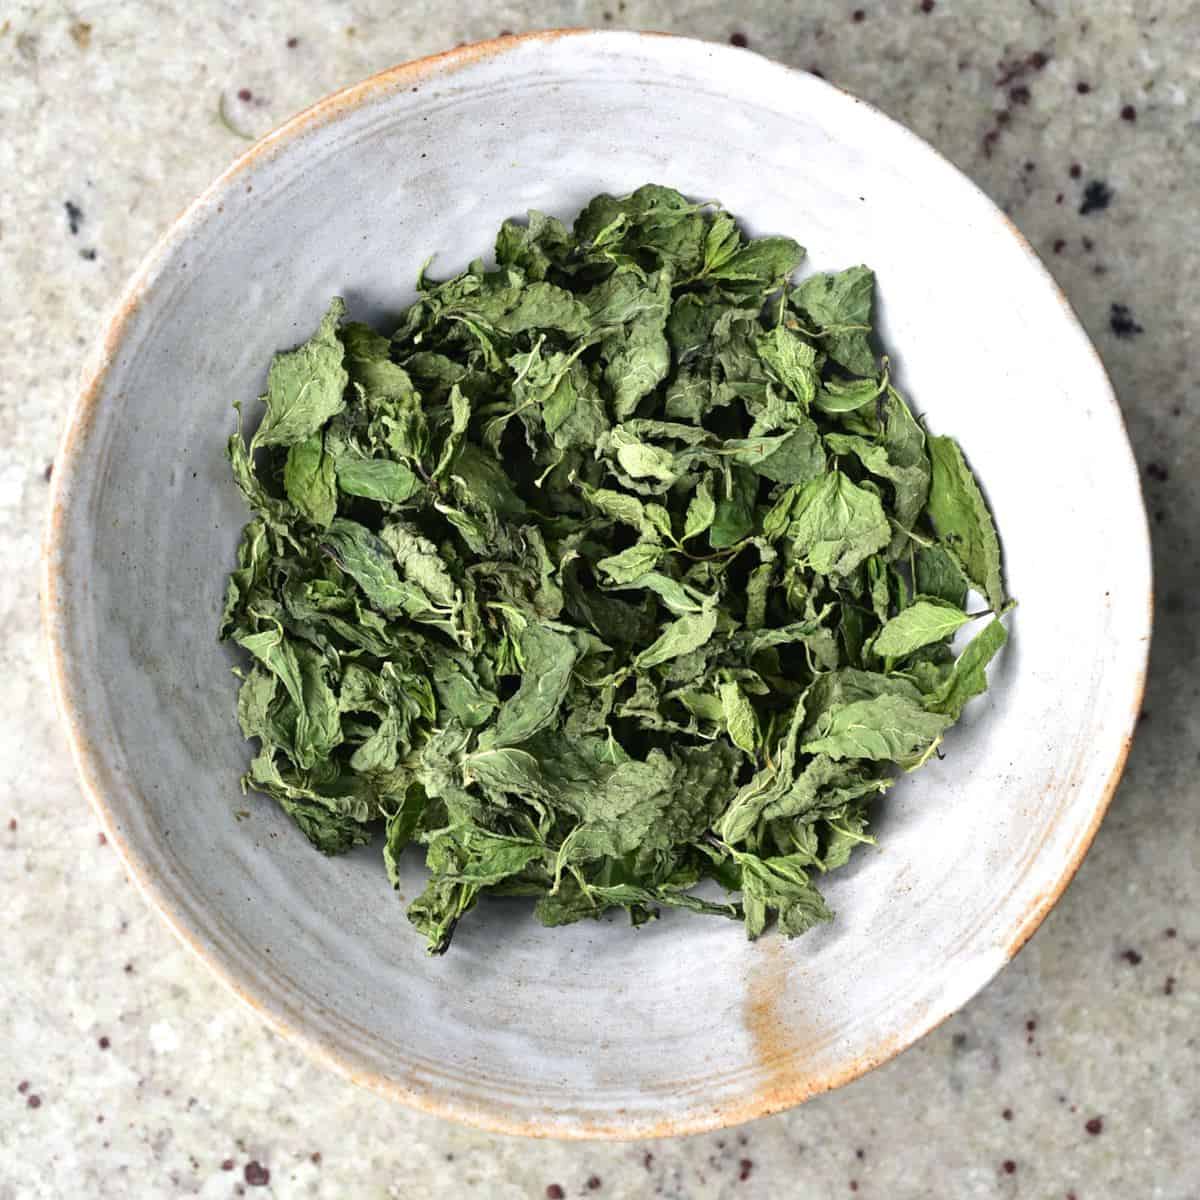
How To Dry Mint (3 Methods for Dried Mint)
5.0
(2)
Your folders
Your folders
Prep Time: 5 minutes
Total: 125 minutes
Author : Samira

Ingredients
Export 1 ingredients for grocery delivery
Instructions
Step 1
It's important to wash and carefully dry any mint before drying it - to get rid of any critters and germs.Add the mint to a bowl of water and swish it carefully. After rinsing, you could use a salad spinner to get rid of as much excess water first before patting dry or go straight to patting dry.It's important to get rid of ALL the excess moisture before drying the mint to it can be a good idea to let it air-dry for an extra 30-60 minutes, pat dry once more, before using the oven or dehydrator methods.
Step 2
Once rinsed and dried, remove the mint leaves from the stems (you can dry the stems separately if you want).Lay the leaves in a single layer across your dehydrator tray/s, making sure to leave space in-between for the air to circulate.
Step 3
Dry the mint at 40°C/105°F for between 2-5 hours, until they are brittle and crumble to pieces rather than bending.The time will vary based on your machine, how much you're drying, the climate you live in, etc. It's best to check on them after 2 hours and then again every 15-20 minutes.
Step 4
After rinsing and drying the mint, remove the leaves from the stems (or leave them, for now) and lay them out on a parchment-lined baking tray/s with space between for air to circulate.Place the tray in the oven at its lowest temperature, best to be under 200ºF/95ºC (higher temperatures can cause the mint to brown and "cook"). Depending on the temperature, this process will take a different amount of time.For example, 120ºF/50Cº may take between 1.5-4 hours. 180ºF/80ºC may take 1-2.5 hours.It can be a good idea to slightly prop the oven door open using a heat-proof wooden spoon or potholder to release the steam and dry the leaves faster (as well as avoid overheating them). You can also flip the mint leaves after 1 hour to allow for faster even drying.
Step 5
After rinsing and pat-drying the fresh mint, you can gather it into a bouquet and tie it together with a piece of twine/string at the bottom of the stems.Hang the bouquet in a warm, well-ventilated area away from any direct sunlight. You can do this by creating a hanging apparatus with strings, drying the bouquet of mint from a hanger, or even using a herb drying rack.Use this method if you live in a warm, dry climate to avoid your mint becoming moldy. Also, make sure to dry them away from sunlight as the sun causes the leaves to brown and destroys the mint essential oils.
Step 6
Allow the mint to hang dry for between a couple of days up to 1-2 weeks until dry and 'crumbly' to the touch.Due to the long drying time, it can be a good idea to cover the herbs with a ventilated 'protective covering' like a paper bag - to avoid dust settling on the herbs (and little critters).
Step 7
Once dried, no matter which method, the dry mint leaves should still be green in color and have a strong minty aroma. If it's significantly darkened, then it's likely 'cooked'/burnt. Also, allow the leaves to cool completely before transferring so there's no risk of 'steam'.You can store the dry mint leaves whole, crumbled (by hand or food processor), or as a powder (using a coffee/spice grinder or food processor for longer). Store in airtight glass containers and avoid anything porous boxes (like cardboard and certain plastics) that will absorb the oils.Store the dried mint in a cool, dark area for up to 12 months for optional freshness. After that, it will begin to deteriorate in quality.Top Tip: in the immediate days after drying the mint, check on the leaves for any sign of moisture in the container. If there is then repeat the drying process for a little longer. Otherwise, the entire batch will become moldy.