How to Ferment Chili Peppers (Pepper Mash Recipe)
4.9
(19)
Your folders
Your folders
Prep Time: 15 minutes
Cook Time: 10080 minutes
Servings: 1
Ingredients
Export 1 ingredients for grocery delivery
Instructions
Step 1
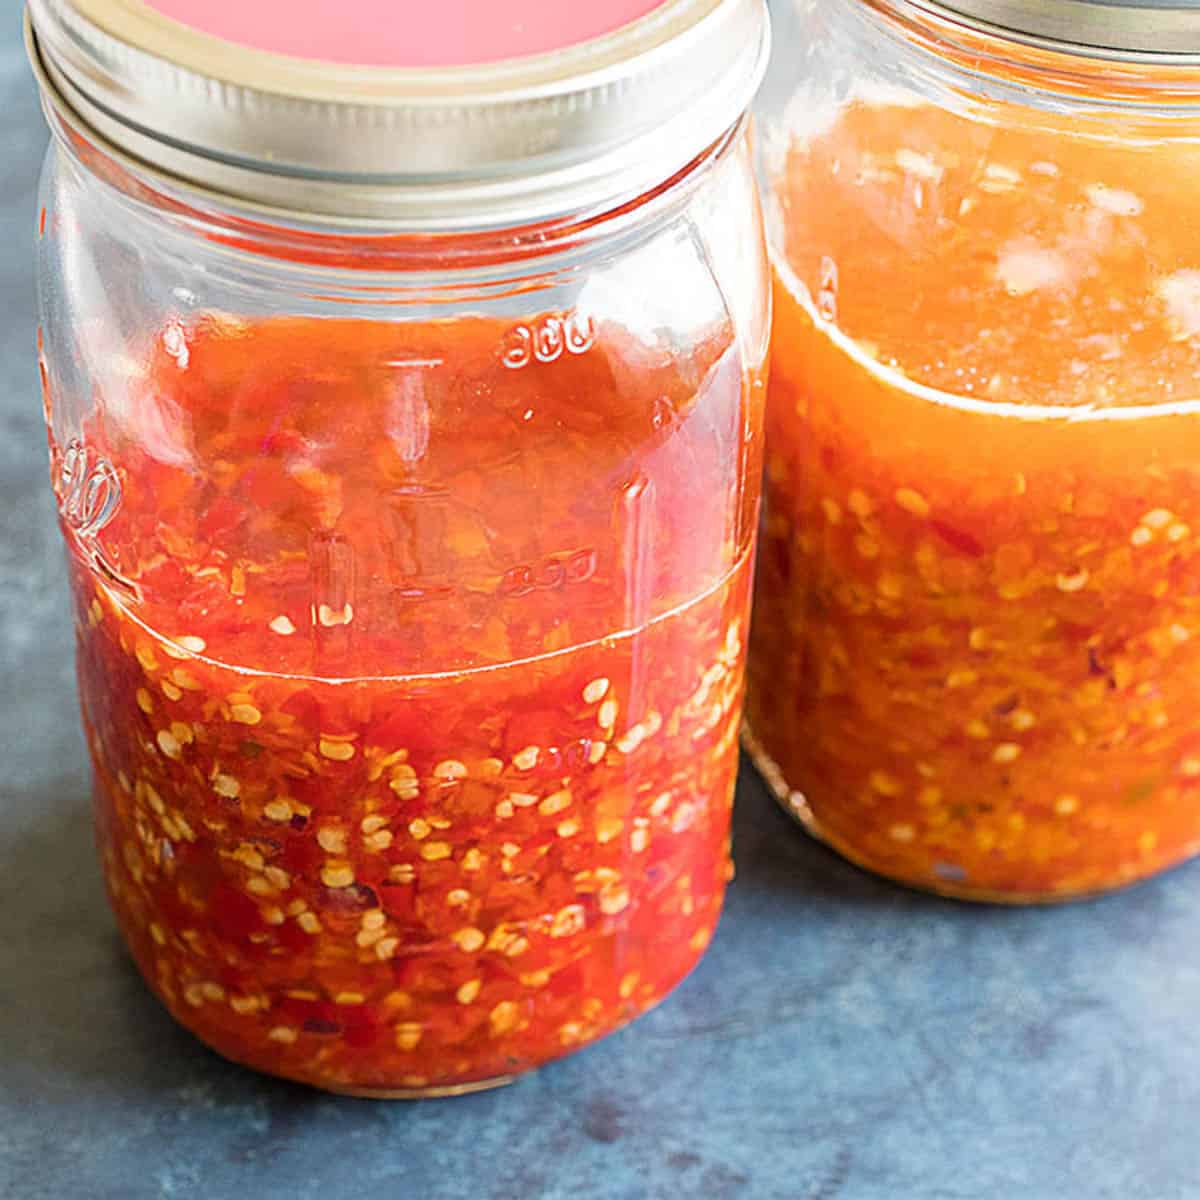
Finely chop your peppers. You can blend them to fit more into jars, but this can make it harder to keep below the brine.
Step 2
Next, mix in salt. You should use 1 teaspoon salt (5.69 g) per pound (.45 kg) of peppers. 1 pound of peppers should process down to about 1 cup of mash. So, use 1 teaspoon of salt per cup of mash, which is roughly 2.3% salt by weight.
Step 3
The peppers will begin to release their moisture right away.
Step 4
Place your mash into a jar and press it down to remove any air pockets. Leave at least 1 inch (2.54 cm) of headspace. The peppers may rise a bit when fermenting. The brine will rise up and cover the peppers. It is important to keep the peppers covered with brine to avoid spoilage. Check this daily.
Step 5
Screw on the lid and set the jar away from direct sunlight to ferment for at least 1 week. Ideal temperatures are between 55-75 degrees F (12.78-23.89 C). The most active fermentation period is between 1-2 weeks, so be sure to monitor it during this time. “Burp” the jars often by unscrewing the lid a bit to let out some of the accumulating gases. Or, use an airlock or membrane for easier fermenting. See below for what I like to use.
Step 6
After 1-2 weeks, the fermenting activity will diminish. Move it to a pantry where you can let it ferment longer if you’d like, or use it right away. You can ferment for months or even longer to allow the flavors to more fully develop.
Step 7
Once it is ready, store it in the refrigerator where it will last for a year or longer.
Step 8
Finely chop your fresh peppers. You can blend them to fit more into jars, but this can make it harder to keep below the brine. Pack them into a jar, leaving at least 1 inch of head space. The peppers may rise a bit when fermenting.
Step 9
Next, mix 1 quart (.95 liter) unchlorinated water with 3 tablespoons (54 g) sea salt. Pour just enough brine over the peppers to cover them, pressing them down a bit as you go. It is important to keep the peppers covered with brine to avoid spoilage. Use a glass weight or a baggie filled with water on top if needed to press the peppers down below the brine. Check this daily.
Step 10
Screw on the lid and set the jar away from direct sunlight to ferment for at least 1 week. Ideal temperatures are between 55-75 degrees F (12.78-23.89 C). The most active fermentation period is between 1-2 weeks, so be sure to monitor it during this time. “Burp” the jars often by unscrewing the lid a bit to let out some of the accumulating gases. Or, use an airlock or membrane for easier fermenting.
Step 11
After 1-2 weeks, the fermenting activity will diminish and the brine will turn cloudy and taste acidic. Move it to a pantry where you can let it ferment longer if you’d like, or use it right away. You can ferment for months or even longer to allow the flavors to more fully develop.
Step 12
Once it is ready, process it with a food processor. You can use it right away to make hot sauce or store it in the refrigerator where it will last for a year or longer.
Step 13
I personally like to add a bit of vinegar at this stage before storage.