How to Freeze Apples (Fast!)
5.0
(4)
Your folders
Your folders
Prep Time: 5 minutes
Total: 5 minutes
Servings: 2
Ingredients
Export 1 ingredients for grocery delivery
Instructions
Step 1
Line a large baking sheet with parchment paper, and set it aside. Make sure the pan you use will fit in your freezer, sitting flat. If you have a narrow freezer, you might want to use a large plate, instead.
Step 2
Slice the apples into thin, 1/8-inch slices, or into 1-inch chunks. How you slice them is determined by what you plan on using them for later. For an apple pie or baked apple dessert, I recommend slicing them into the thin, 1/8-inch slices. You might want to peel the apples first, in those cases, too. For applesauce or smoothies, the 1-inch chunks will work just fine, and you don't have to peel them for a blended recipe.
Step 3
Arrange the cut apples into a single layer on the prepared pan. Ideally, you don't want the pieces to touch, so they won't freeze together in a clump, but it's okay if a few do. Freeze until firm, about 2 hours, or up to 8 hours.
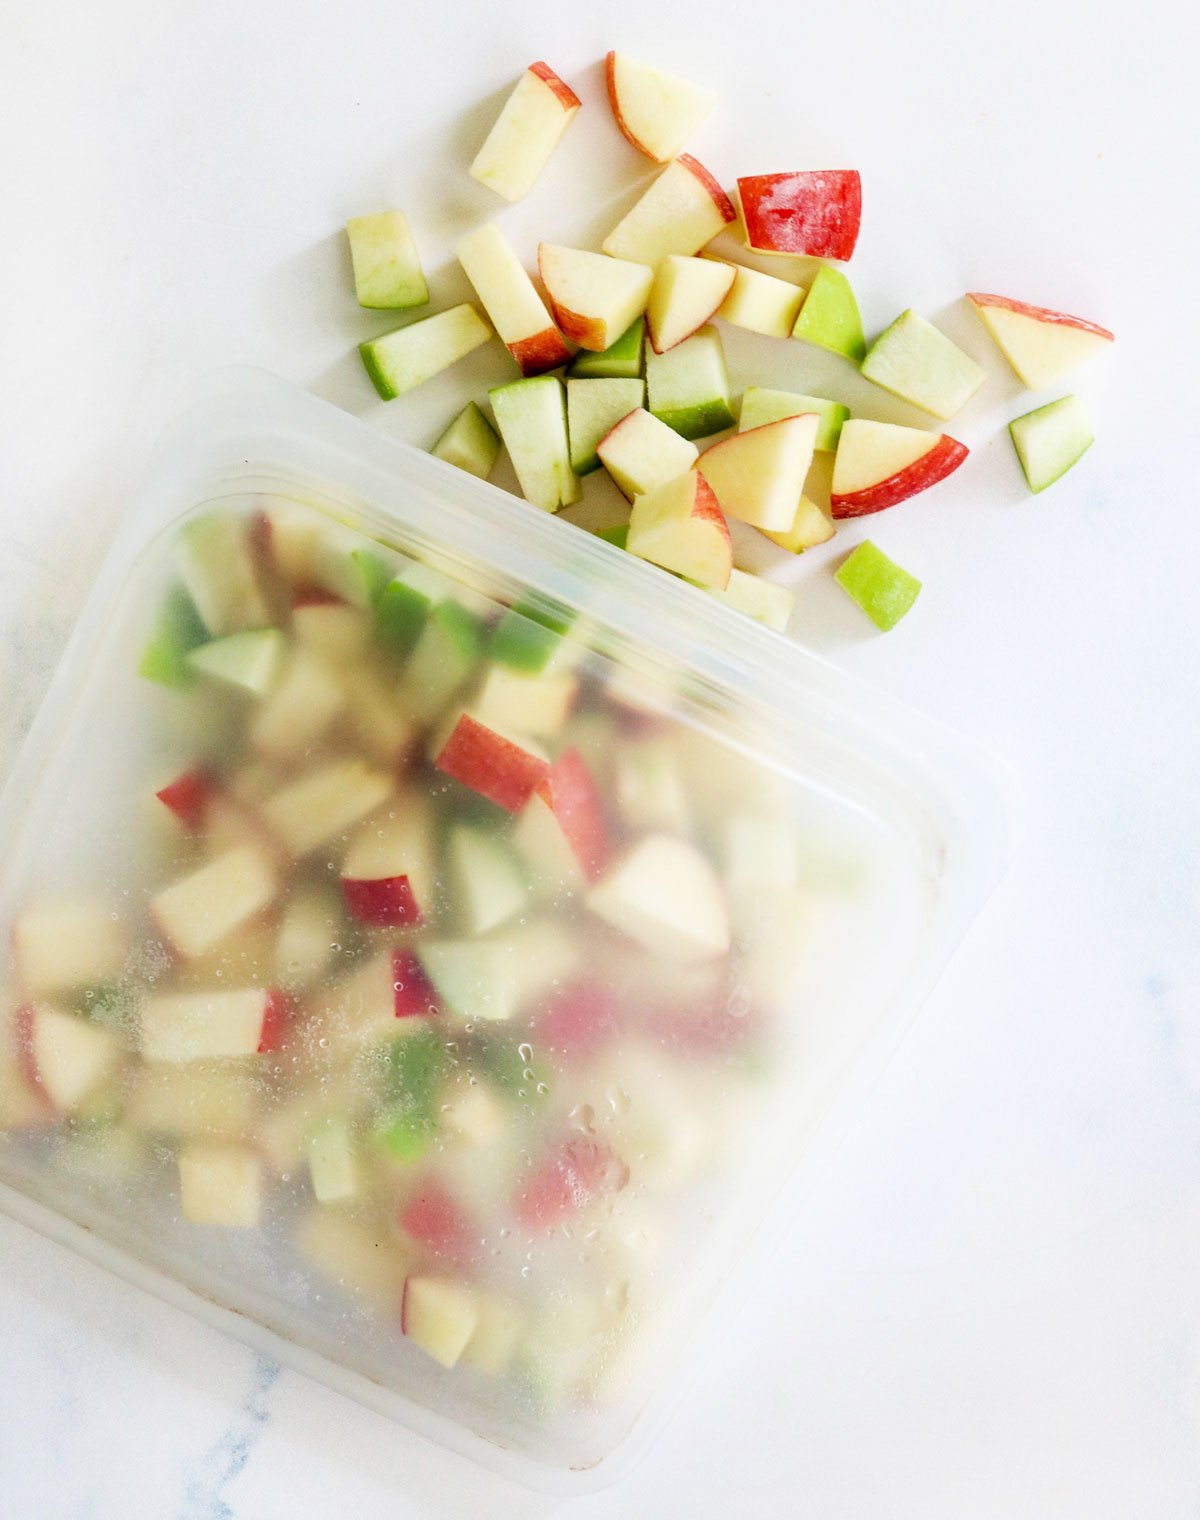
Step 4
Transfer the apples to an airtight container, and keep them stored in the freezer for up to 6 months. They should have their best flavor if you use them up within 3 to 6 months, but techincally they should be fine to eat for up to 1 year.