How to Make a Kid’s ApronHow to Make a Kid’s Apron
Your folders
Your folders
Total: 240

Ingredients
Export 4 ingredients for grocery delivery
Instructions
Step 1
Download the Free apron pattern in the kid size desired. Assemble the pattern.
Step 2
Cut out 2 of the apron bodice pattern. 1 of the front and 1 of the liner (note they are different sizes)
Step 3
Cut out the following with a rotary cutter: 2 pieces that are 5 inches by 20 inches. Then cut a large rectangle that is 40 inches ( the width of the cloth by the length you desire – this way you can make either a long or short kids apron – it's up to you.
Step 4
All Seam allowances are 1/2 inch. Make the apron ties by folding them in half (so they are 2.5 inches by 20 inches) turn right side out. Press. Tuck in one end and sew it shut. repeat with other tie.
Step 5
Finish off three sides of the apron skirt with a baby or a rolled hem. Make a basting stitch at the top of the skirt ( the side that is not finished).
Step 6
Gather the apron skirt to match the bottom of THE FRONT apron bodice. Sew the gathered skirt to the front bodice.
Step 7
Finish by adding the bodice lining, ties and button as seen above.
Step 8
Download the Free apron pattern in the kid size desired. Assemble the pattern.
Step 9
Cut out 2 of the apron bodice pattern. 1 of the front and 1 of the liner (note they are different sizes)
Step 10
Cut out the following with a rotary cutter: 2 pieces that are 5 inches by 20 inches. Then cut a large rectangle that is 40 inches ( the width of the cloth by the length you desire – this way you can make either a long or short kids apron – it's up to you.
Step 11
All Seam allowances are 1/2 inch. Make the apron ties by folding them in half (so they are 2.5 inches by 20 inches) turn right side out. Press. Tuck in one end and sew it shut. repeat with other tie.
Step 12
Finish off three sides of the apron skirt with a baby or a rolled hem. Make a basting stitch at the top of the skirt ( the side that is not finished).
Step 13
Gather the apron skirt to match the bottom of THE FRONT apron bodice. Sew the gathered skirt to the front bodice.
Step 14
Finish by adding the bodice lining, ties and button as seen above.
Top similar recipes
Curated for youYour folders

 267 views
How to Make an ApronHow to Make an ...
blog.treasurie.com
Your folders
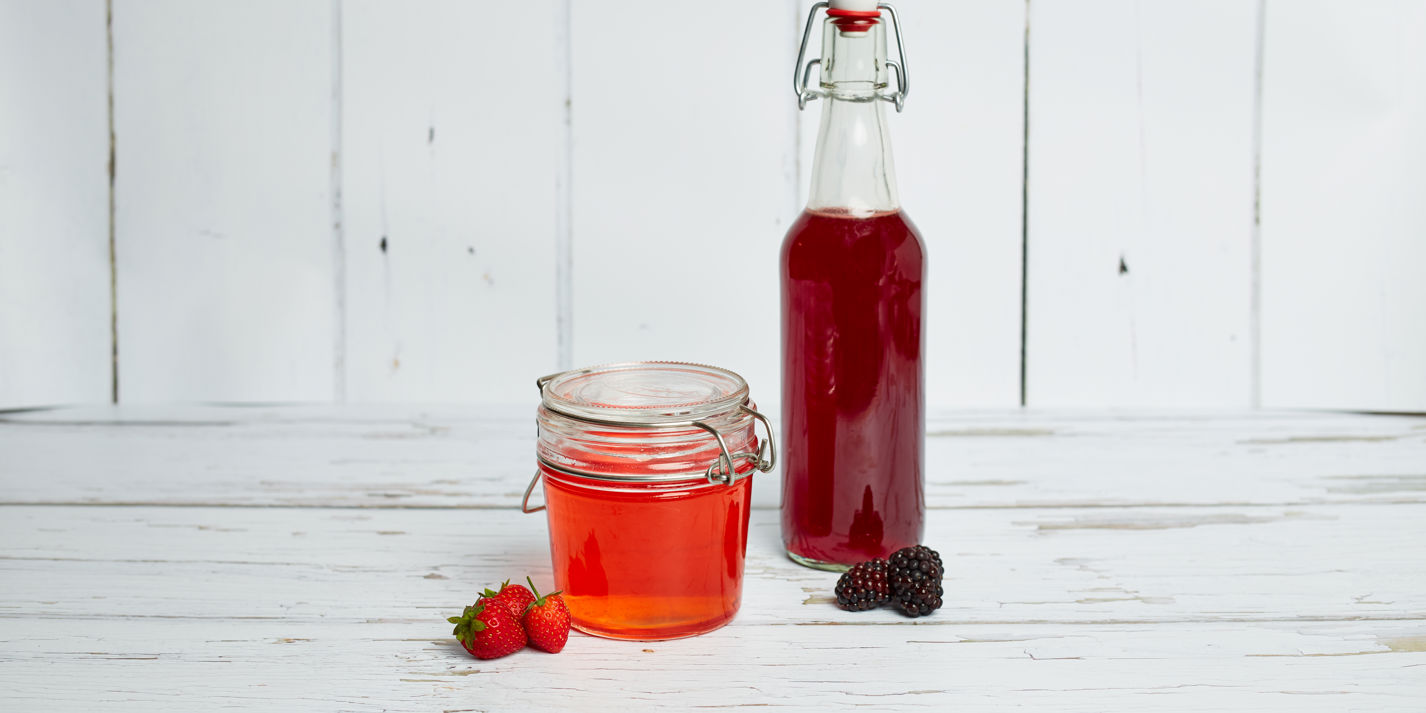
 539 views
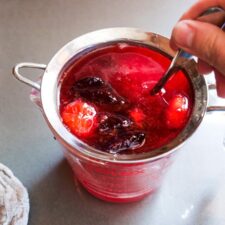
How to make a Shrub!
feastingathome.com
5.0
(2)
24 hours
Your folders
 1205 views
How To Make A Mojito
gimmesomeoven.com
Your folders
 585 views
How to Make a Highball
esquire.com
Your folders
 621 views
How to Make a Milkshake
spendwithpennies.com
5.0
(27)
Your folders
 658 views
How To Make a Frittata
thekitchn.com
4.3
(43)
Your folders
 357 views
How To Make A Cortado
roastycoffee.com
4.8
(6)
5 minutes
Your folders
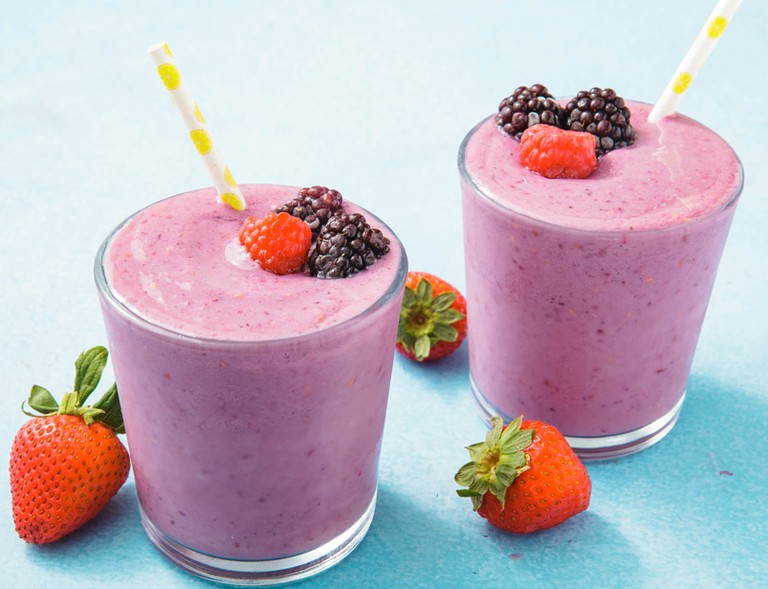 482 views
How to Make a Smoothie
delish.com
4.6
(44)
Your folders
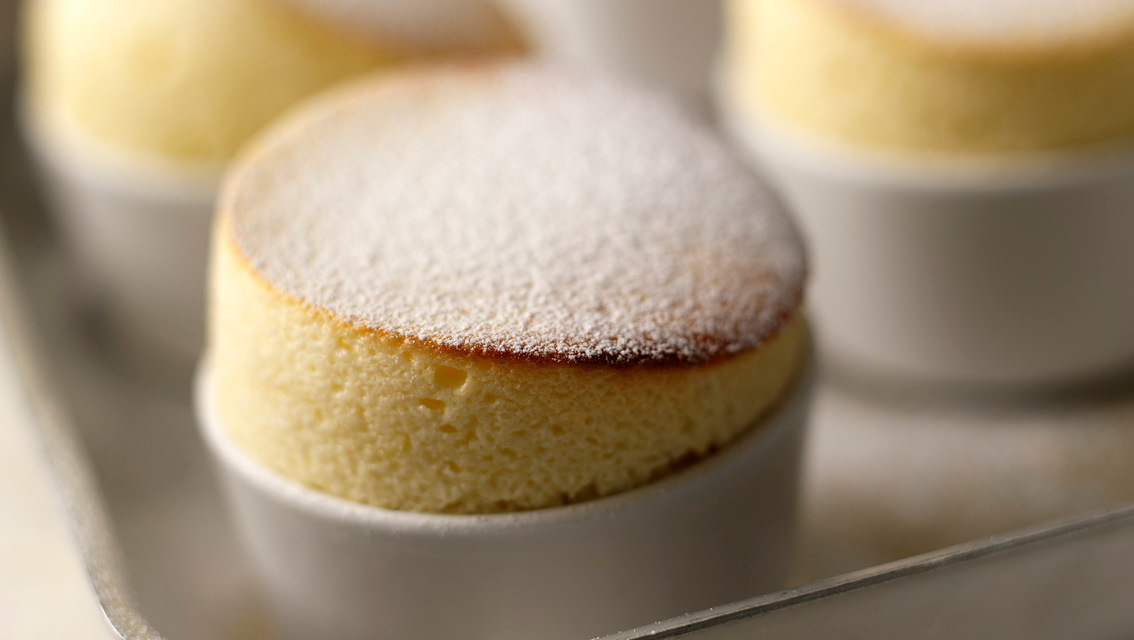 495 views
How to make a soufflé
bbc.co.uk
4.0
(11)
30 minutes
Your folders
 310 views
How To Make a Lanyard
blog.treasurie.com
Your folders
 217 views
How to make a shrub
greatbritishchefs.com
Your folders
 357 views
How to Make a Milkshake
preppykitchen.com
5.0
(45)
Your folders
 315 views
How to Make a Milkshake
bakingmischief.com
5.0
(2)
Your folders
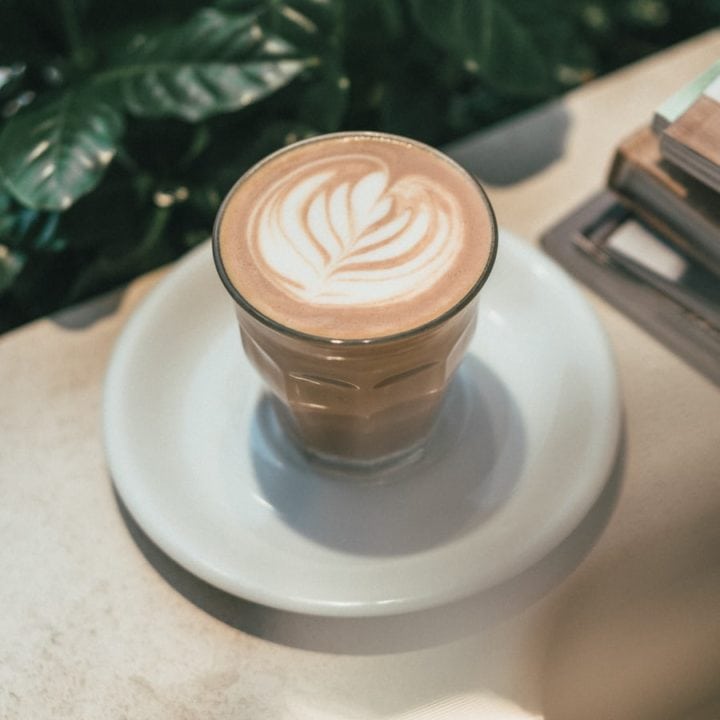
 248 views
How to Make a Macchiato
acouplecooks.com
4.0
(4)
Your folders
 469 views
How To Make a Mojito
drinksmixer.com
Your folders
 92 views
How to make a Sidecar
stevethebartender.com.au
2.9
(144)
Your folders
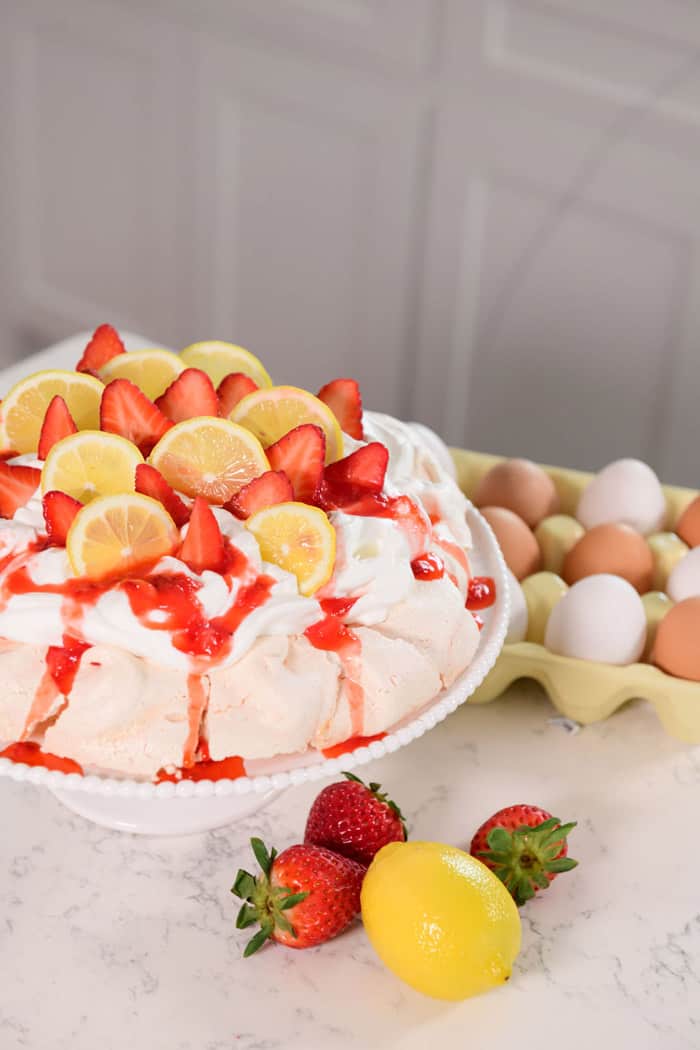 455 views
How To Make A Pavlova
grandbaby-cakes.com
5.0
(7)
80 minutes
Your folders
 392 views
How to Make a Pillowcase
polkadotchair.com
Your folders
111 viewsHow to Make a Pillowcase
polkadotchair.com