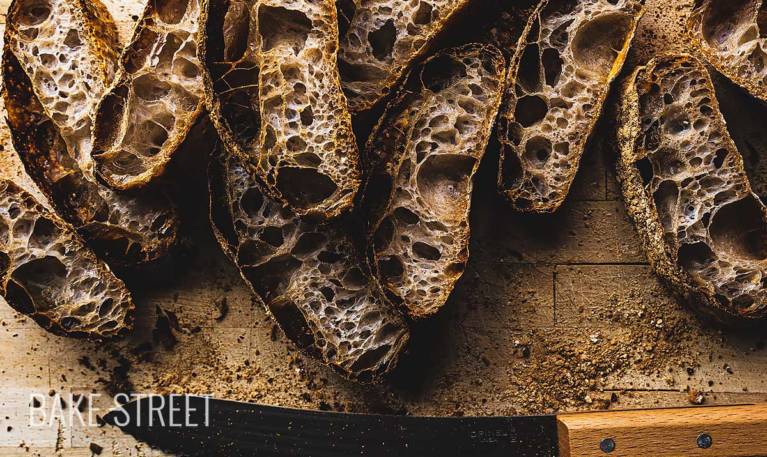
How to make Glass Bread with yeast – Pan de Cristal
Your folders
Your folders
Prep Time: 18 hours
Cook Time: 28 minutes
Servings: 2

Ingredients
Export 3 ingredients for grocery delivery
Instructions
Step 1
Mix the flour with 310 g of water. Reserve the rest.
Step 2
We can do it in the KitchenAid. Knead with the help of the hook or do the process by hand, if you prefer.
Step 3
Mix until there is no more flour left, it can take about 2 minutes.
Step 4
Cover it with a film or shower cap and make autolysis for 2 hours.
Step 5
After this time, incorporate the yeast dissolved in 15 g of water. Mix with the dough to integrate it and start kneading.
Step 6
To knead the glass bread I do the whole process manually and carrying out the Rubaud method. It is a type of kneading that does not hit the dough, it is a kneading process that develops the gluten mesh without stressing or being rough with the dough.
Step 7
Once it has been integrated, dissolve the salt in 15 g of water and add it to the dough. We continue kneading with the same technique.
Step 8
Add 15 g more water and knead again. At this point we have a total of 355 g of water incorporated into the dough. At this point we have to work the dough very well to obtain a perfect development of the gluten.
Step 9
When the dough has developed perfectly, start to add the rest of the water little by little. I recommend adding 10-12 g each time and kneading it until it is completely integrated into the dough. You will notice that once the gluten has developed, it has no problem integrating the rest of the water into the dough.
Step 10
Once we have added the 400 g of water and have a perfectly developed dough, add the olive oil. We carefully integrate and knead it until it becomes part of the dough. It won't take any effort, it integrates very well.
Step 11
Grease a tupperware or recipient with olive oil and put the dough inside.
Step 12
Fold the dough, cover and leave to rest for 45 minutes at 75ºF/24ºC. Make the coil fold, as I show you in the video. Cover again and leave to rest for another 45 minutes.
Step 13
In total we will make 5 coil folds, one every 45 minutes, and after making the last one, we keep it in the cold until the next day. In my case it was 14 hours at 39ºF/4ºC.
Step 14
Take the dough out of the fridge and let it rest for 1 hour at room temperature.
Step 15
Prepare a board/tray, line with baking paper and sprinkle with flour. Set aside.
Step 16
Sprinkle a work surface very generously with flour and dump the dough over. It is very, very important to handle the dough correctly so as not to damage the structure and, consequently, the internal alveoli.
Step 17
With the help of a metal scraper, divide the dough into two equal pieces or as similar as possible in size.
Step 18
If you want it to have a more defined shape, you can cut the ends to give it a rectangular finish. But I do not advise it, we will be wasting bread just to have a "prettier or more attractive" shape.
Step 19
With the help of two scrapers, or in case we don't have any with our hands, we will pass the dough from the table to the board. Place the scrapers/hands underneath, close them as if it was an accordion and arrange them on the table/tray while we stretch the dough.
Step 20
Preheat the oven 30 minutes before baking at 482ºF/250º C with a steel or stone sheet and a bowl/tray with volcanic stones that we will place inside from the moment we turn on the oven, in this way they will also take the temperature.
Step 21
If you don't have a steel sheet, a perforated trays work very well. Remember to preheat the oven with it inside.
Step 22
Five minutes before putting the bread in the oven we heat water (more than half a cup), we can do it in the microwave.
Step 23
Put glass breads in the oven at the bottom. Slide the bread with the help of the wood board on the tray or steel plate.
Step 24
Pour the water on the stones, close and bake for 8 minutes with steam.
Step 25
After this time remove the tray with volcanic stones, close, reduce to 464ºF/240 º C and bake 10 minutes.
Step 26
Lower the heat to 446ºF/230ºC and bake 3 more minutes. We finish the cooking by baking to 446ºF/230ºC fan for 5 more minutes. This last baking step is very important to help the crust stay crisp.