How to Make Large Scale Artwork with Canvas for Less than $15
Your folders
Your folders
Total: 120
Servings: 1
Ingredients
Export 6 ingredients for grocery delivery
Instructions
Step 1
Cut a large piece of unprimed canvas slightly larger than you want the end dimensions of your DIY wall art to be. The sides will remain raw (unfinished) for this project, while the top will loose a few inches to finish the edge (and possibly the bottom as well, if you like that look).**Iron out any wrinkles in the canvas that may be visible, once the canvas has been cut to size.
Step 2
Then, decide on the color or colors you want to use for your artwork. Create a paint wash, which is one part acrylic and three parts water. And paint the piece of canvas that you plan to use for the shapes part of the project.I kept the background canvas piece raw and painted the shapes piece in a peachy pink wash. You'll also see a mauve pink color in some of the step photos. I originally was thinking that would be my background piece, but opted for a higher contrast with the plain, raw canvas.**If your canvas is wrinkled at all, once the paint dries, iron it out before moving onto the next steps.
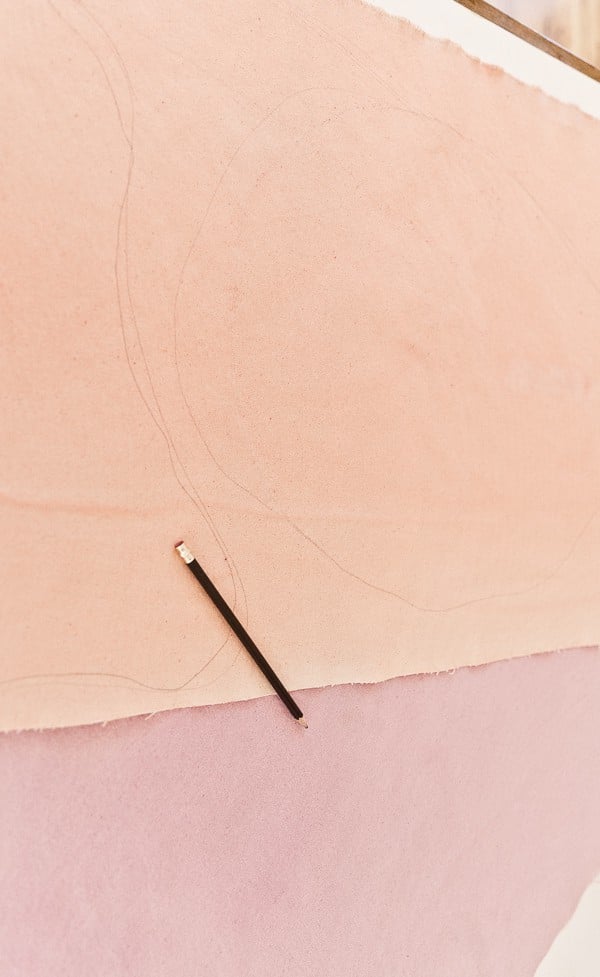
Step 3
Once the paint is dry, draw the desired shapes with a pencil.
Step 4
Cut the shapes out with a strap pair of scissors and erase any pencil lines that are still visible on the shape once it's cut.
Step 5
Next, decide the placement you want for each shape on the background canvas. The pin everything together with straight pins (pin shapes down to background canvas).
Step 6
Then, carefully sew the pieces together on your sewing machine. Just make sure to keep the same distance from the perimeter of the shape while sewing, as much as possible. We went with less than 1/4 inch from the outer edge, all the way around each shape.Note: This method of sewing means that the abstract shapes that are sewn on will have a raw edge all the way around. I really like the look personally because it adds more texture. But if that's not your thing, you may want to approach this step a little differently.
Step 7
Once all the shapes have been sewn on, it's time to finish the top edge. You can do this several ways:1. Create a 1-2 inch pocket in the back to slide a dowel rod through for hanging, similar to what I did for my woven wall hanging project.2. Just fold the top over by 1-2 inches and sew a straight line across the top and nail or thumbtack your piece directly to the wall. That's what I did temporarily for this piece, but then never got around to doing one of the other two methods. Haha. And it's been hanging in this spot for almost two years with no problems.3. Or fold the canvas over the top by 1-2 inches and sew a straight line across the top, and add 3 grommets to top of the canvas for hanging that way. similar to how the grommets were done for the hanging wall organizer.
Step 8
If desired, you can also finish the bottom edge, by folding the end underneath 1-2 inches and sewing a straight line across the bottom about 1/2 inch from the edge.Originally, the bottom part of my wall art was sewn up for a finished look. But ultimately, I took a seam ripper to the bottom after a few days because I wanted the extra length and I liked the slightly undone look better. Plus, it was going behind a huge plant, so I knew it wouldn't bother me later, if I decided I no longer liked the bottom.