How to Make Miso Paste (Kome Miso/ Shinshu miso)
5.0
(3)
Your folders
Your folders
Prep Time: 30 minutes
Cook Time: 180 minutes
Total: 1170 minutes
Servings: 70
Author : Samira
Ingredients
Export 4 ingredients for grocery delivery
Instructions
Step 1
Lightly rinse the soybeans and then leave them to soak overnight (between 12-16 hours. I recommend the full 16!) in a large bowl of water. During this time, they will double in size (2.2lb/1kg of dried beans yields 5lb/2.3kg soaked), so make sure to use plenty of water.
Step 2
After soaking, drain and rinse them once more.
Step 3
Transfer the soaked beans to a large pot with plenty of water. Bring the water to a boil and then simmer the beans for between 2-3 hours. They need to become soft and tender during this time until a bean is easily crushed between two fingers.Alternatively, you can use a pressure cooker for between 40-45 minutes.
Step 4
During the cooking process, you'll likely need to top up the water, as needed, to ensure the beans stay submerged during the process.
Step 5
Once cooked and tender, drain the beans again, this time saving 1 ¼ cup (300ml) of the cooking liquid to use at a later stage.
Step 6
During the last 10-15 minutes of cooking the soybeans, add the warm water (as listed in the recipe - make sure it’s warm) to the rice koji and set it aside to soak for 30 minutes.
Step 7
Combine the warm soybean cooking liquid with the smaller amount of salt and mix well. Then set it aside.
Step 8
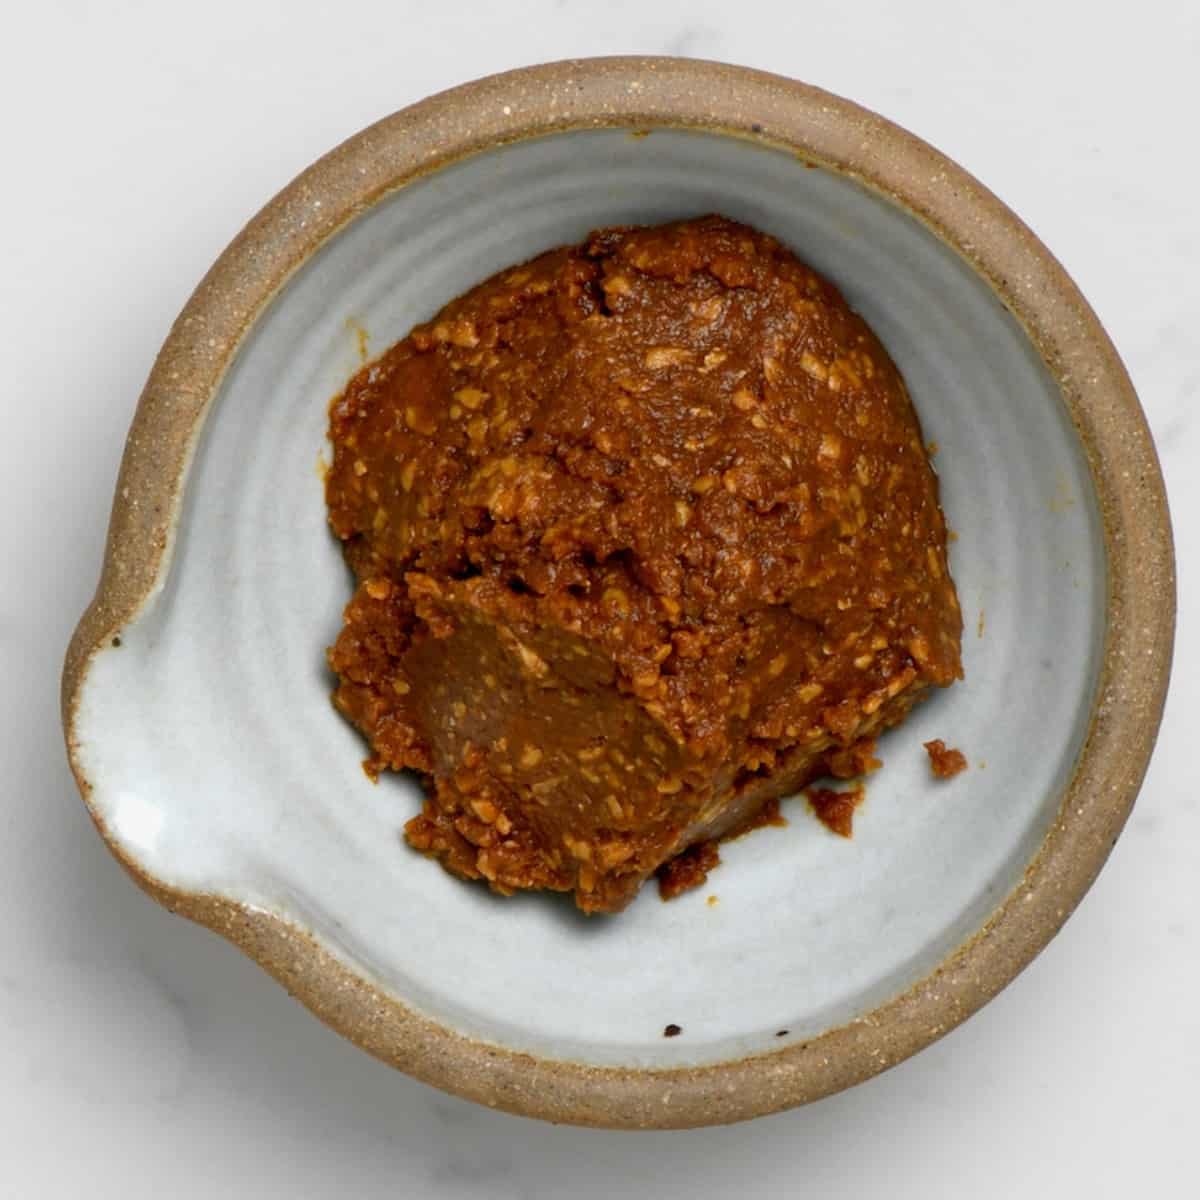
Add the still-warm beans to a food processor or blender and blend them into a smooth paste. You could use a potato masher for a machine-free option or place them in a large bag (or just on a flat surface) and roll/smash with a rolling pin. However, the food processor method is much, much faster.
Step 9
Whatever container you plan to use when fermenting the miso paste needs to be thoroughly sterilized. First, rinse it with soapy boiling water.
Step 10
Dip a clean cloth into the alcohol and wipe the container's inside walls, rim, and lid. This is important to reduce the risk of contamination during the long fermentation process.
Step 11
Allow the container to dry, making sure it's 100% dry before starting the next step.
Step 12
Place half of the miso starter at the bottom of your container of choice, spreading it into a thin layer across the bottom of the container.
Step 13
In a large bowl, combine the soaked rice koji with the remaining salt and rub well with your hands to make sure it is thoroughly incorporated/mixed.
Step 14
Add the mashed soybeans to the bowl and use your hands (make sure they're clean) to mix the ingredients, kneading them along with the remaining miso starter until everything is thoroughly mixed.It's okay if the paste is still a little warm or at room temperature when combining it with the rice koji, but make sure it's not hot (below 104ºF/40ºC is OK) - otherwise, it can kill the cultures in the koji.
Step 15
Add the salted cooking liquid to the paste, around 1-2 Tbsp at a time, incorporating it well into the paste. It's ready when the paste is soft enough to dip a pinkie into it easily, and it retains its shape.You may not need all the salted liquid, which is why it's essential to do this step a little at a time (as the more liquid you add, the higher chance of mold). I used around half of the liquid this time, but it can vary based on your beans, how you mashed them, etc.
Step 16
Transfer the paste to your container. I use the tennis-ball method. First, make the paste into several tennis-ball-sized balls, squeezing them tightly so there are no air pockets in the balls. Then transfer a layer of the balls to the container and press them to flatten them, releasing any air from between the balls. Repeat with further layers until the paste is entirely in the container and pushed down, with no air bubbles.It's essential to get rid of the excess air to avoid mold growth during the fermentation process. You can also keep some of the salt aside (about 20% of the larger portion) to sprinkle over the top of the miso mixture, which can help avoid mold growth during the fermentation process.
Step 17
Before sealing the jar, I like to use an alcohol-dipped cloth to clean the container's rim to make sure there is no paste smudged across it.
Step 18
Add a layer of plastic wrap to the top of the paste. Ensure it's right up against the top of the paste with no air in-between and cover the entire surface.
Step 19
Place your "weight" over the plastic wrap. I used dried beans in a reusable Ziplock bag.
Step 20
Add the lid to your container and wrap it in a newspaper or something material – like a pillowcase. This is especially important if you are using a clear glass jar.
Step 21
Place the container in a cool, dark location for up to six months to allow the paste to ferment. You can leave it up to 12 months for a deeper fermented bean paste.
Step 22
It's best not to interact with the miso too much during the fermentation - although some methods recommend you "turn over" the miso every three months (which I've never done, so I can't guarantee results). However, if you happen to check it and notice a little mold (gray, green, or blue mold usually) on the top of the miso paste, you can simply remove that bit, cover it well and continue the fermentation process. Using a glass jar that you can easily see into can help with this, so you don't need to open the lid to check that it's alright.The longer you leave the paste to ferment, the darker and more developed the flavor will become. I recommend trying it at the 6-month mark and increasing if needed. Once the homemade miso paste has your desired flavor profile, it's time to transfer it to the fridge (no weights necessary, you can even distribute it in smaller jars and just seal them with a lid).
Step 23
Store: as soon as your miso reaches your desired flavor profile, it's best to transfer it to a refrigerator. This will slow the fermentation (almost to a stop). Once in the fridge, the homemade miso will last up to a year! Just make sure to use clean utensils whenever removing any from the jar.