How To Make Sourdough Bread
4.5
(225)
Your folders
Your folders
Prep Time: 24 hours
Cook Time: 45 minutes
Servings: 2
Author : Emma Christensen
Ingredients
Export 3 ingredients for grocery delivery
Instructions
Step 1
Make sure your sourdough culture is active. If your sourdough has been in the refrigerator, take it out 2 to 3 days before you plan to bake. Feed it daily to make sure it's strong and very active before you make the bread.
Step 2
Make the leaven and let it sit overnight. The night before you plan to make the dough, place all the leaven ingredients in a large bowl and mix thoroughly to form a thick batter. Cover and let stand at room temperature overnight, about 12 hours.
Step 3
Test that the leaven is ready. Generally, if the surface of the leaven is very bubbly, it's ready to be used. To double check, drop a small spoonful of the leaven in a cup of water; if the leaven floats, it's ready.
Step 4
Dissolve the salt. Place 50 grams (about 1/4 cup) of the water and the salt for the dough in a small bowl. Set aside, stirring occasionally to make sure the salt dissolves.
Step 5
Mix the leaven and water. Add the remaining 475 grams (2 cups) of water for the dough to the bowl of leaven. Stir with a spatula or use your hands to break up and dissolve the leaven into the water. It's OK if the leaven doesn't fully dissolve and a few clumps remain.
Step 6
Add the flour. Add the flour and stir with a rubber spatula until there are no more bits of dry flour and it forms a very shaggy dough.
Step 7
Rest the dough (30 minutes, or up to 4 hours). Cover the bowl with plastic wrap or a clean kitchen towel. Let the dough rest for at least 30 minutes or up to 4 hours. This is the autolyse stage where the flour is fully absorbing the water and enzymes in the flour begin breaking down the starches and proteins.
Step 8
Mix in the salt. Pour the dissolved salt over the dough. Work the liquid and salt into the dough by pinching and squeezing the dough. The dough will feel quite wet and loose at this point.
Step 9
Begin folding the dough (2 1/2 hours). To fold the dough, grab the dough at one side, lift it up, and fold it over on top of itself. Fold the dough four times, moving clockwise from the top of the bowl (or giving the bowl a quarter turn in between folds). Let the dough rest 30 minutes, then repeat. Do this a total of 6 times, every half hour, for a total of 2 1/2 hours. The dough will start out shaggy and very loose, but will gradually smooth out and become tighter as you continue folding.
Step 10
Let the dough rise undisturbed (30 to 60 minutes). Once you've finished the folds, cover and let the dough rise undisturbed for 30 to 60 minutes, until it looks slightly puffed. This dough won't double in size the way regular, non-sourdough breads will; it should just look larger than it did when you started.
Step 11
Divide the dough. Sprinkle some flour on a work surface and turn the dough out on top. Work gently to avoid deflating the dough. Use a pastry scraper to divide the dough in half.
Step 12
Shape the dough into loose rounds. Sprinkle a little flour over each piece of dough. Use your pastry scraper to shape each one into loose rounds — this isn't the final shaping, just a preliminary shaping to prep the dough for further shaping. Shape them into rounds by slipping your pastry scraper under the edge of the dough and then scraping it around curve of the dough, like turning left when driving. Do this a few times to build the surface tension in the dough (it makes more sense to do it than to read about it!). Flour your pastry scraper as needed to keep it from sticking to the dough.
Step 13
Rest the dough (20 to 30 minutes). Once both pieces of dough are shaped, let them rest for 20 to 30 minutes to relax the gluten again before final shaping.
Step 14
Prepare 2 bread proofing baskets, colanders, or mixing bowls. Line 2 bread proofing baskets, colanders, or clean mixing bowls with clean kitchen towels. Dust them heavily with flour, rubbing the flour into the cloth on the bottom and up the sides with your fingers. Use more flour than you think you'll need — it should form a thin layer over the surface of the towel.
Step 15
Shape the loaves. Dust the top of one of the balls of dough with flour. Flip it over with a pastry scraper so that the floured side is against the board and the un-floured, sticky surface is up. Shape the loaf much like you folded the dough earlier: Grab the lip of the dough at the bottom, pull it gently up, then fold it over onto the center of the dough. Repeat with the right and left side of the dough. Repeat with the top of the dough, but once you fold it downward, use your thumb to grab the bottom lip again and gently roll the dough right-side up. If it's not quite a round or doesn't seem taut to you, cup your palms around the dough and rotate it against the counter to shape it up. Repeat with the second ball of dough.
Step 16
Transfer to the proofing baskets. Dust the tops and sides of the shaped loaves generously with flour. Place them into the proofing baskets upside down, so the seams from shaping are on top.
Step 17
Let the dough rise (3 to 4 hours, or overnight in the fridge). Cover the baskets loosely with plastic wrap, or place them inside clean plastic bags. Let them rise at room temperature until they look billowy and poofy, 3 to 4 hours. Alternatively, place the covered basket in the refrigerator and let them rise slowly overnight, 12 to 15 hours. If rising overnight, bake the loaves straight from the fridge; no need to warm before baking.
Step 18
Heat the oven to 500°F. Place two Dutch ovens or other heavy-bottomed pots with lids in the oven, and heat to 500°F. (If you don't have two pots, you can bake one loaf after the next.)
Step 19
Transfer the loaves to the Dutch ovens. Carefully remove one of the heated Dutch ovens from the oven and remove the lid. Tip the loaf into the pot so the seam-side is down. Repeat with the second loaf. (See Recipe Note if your loaf sticks to the basket.)
Step 20
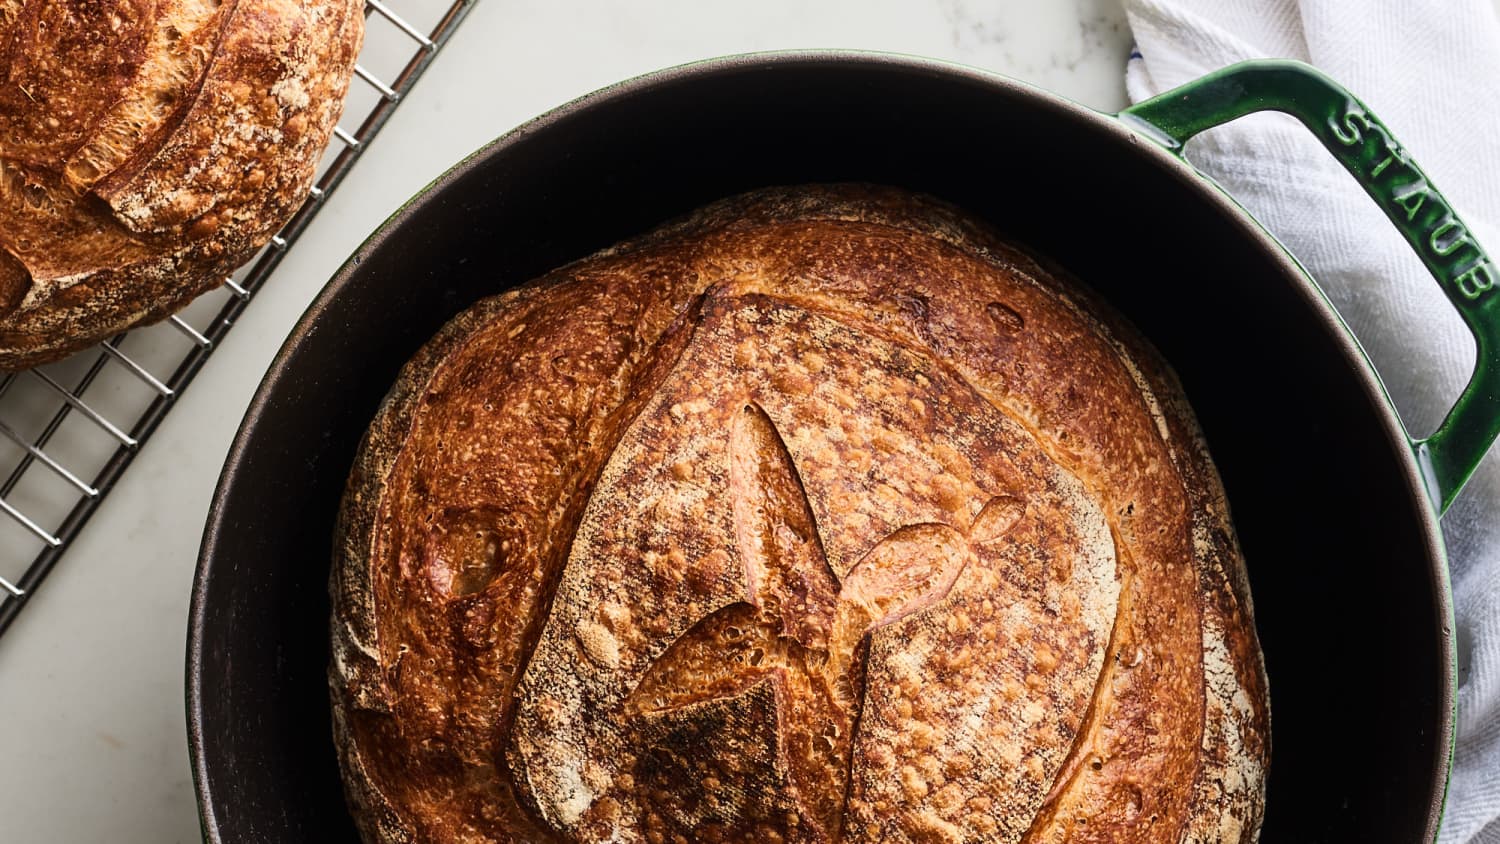
Score the top of the loaf. Use a lame, sharp knife, or serrated knife to quickly score the surface of the loaves. Try to score at a slight angle, so you're cutting almost parallel to the surface of the loaf; this gives the loaves the distinctive "shelf" along the score line.
Step 21
Bake the loaves for 20 minutes. Cover and bake for 20 minutes.
Step 22
Reduce the oven temperature to 450°F and bake another 10 minutes. Resist the temptation to check the loaves at this point; just reduce the oven temperature to 450°F. Bake another 10 minutes.
Step 23
Remove the lids and continue baking 15 to 25 minutes. Uncover the pots to release any remaining steam. At this point, the loaves should have "sprung" up, have a dry surface, and be just beginning to show golden color.
Step 24
Bake another 15 to 25 minutes. Continue baking uncovered until the crust is deeply browned; aim for just short of burnt. It might feel a bit unnatural to bake loaves this fully, but this is where a lot of the flavor and texture of the crust comes in.
Step 25
Cool the loaves completely. When done, lift the loaves out of the pots using a spatula. Transfer them to wire racks to cool completely. Wait until they have cooled to room temperature before slicing.