How To Make Your Own Kombucha Scoby
4.4
(14)
Your folders
Your folders
Servings: 1
Author : Emma Christensen
Ingredients
Export 2 ingredients for grocery delivery
Instructions
Step 1
Make the sweet tea. Bring the water to a boil. Remove the pan from heat and stir in the sugar until it is completely dissolved. Add the tea and allow to steep until the tea cools to room temperature. Remove and discard the tea. (Alternatively, boil half the amount of water, dissolve the sugar and steep the tea, then add the remaining water to cool the tea more rapidly.)
Step 2
Combine the sweet tea and kombucha in a jar. Pour the sweet tea into the jar. Pour the kombucha on top — if you see a blobby "baby scoby" in the bottom of your jar of commercial kombucha, make sure this gets transferred. (But if you don't see one, don't worry! Your scoby will still form.) Stir to combine.
Step 3
Cover and store for 1 to 4 weeks. Cover the mouth of the jar with a few layers of tightly-woven cloth, coffee filters, or paper towels secured with a rubber band. (If you develop problems with gnats or fruit flies, use a tightly woven cloth or paper towels, which will do a better job keeping the insects out of your brew.) Place the jar somewhere at average room temperature (70°F), out of direct sunlight, and where it won't get jostled. Sunlight can prevent the kombucha from fermenting and the scoby from forming, so wrap the jar in a cloth if you can't keep it away from sunlight.
Step 4
First, bubbles will gather on the surface. For the first few days, nothing will happen. Then you'll start to see groups of tiny bubbles starting to collect on the surface.
Step 5
Then, the bubbles will collect into a film. After a few more days, the groups of bubbles will start to connect and form a thin, transparent, jelly-like film across the surface of the tea. You'll also see bubbles forming around the edges of the film. This is carbon-dioxide from the fermenting tea and a sign that everything is healthy and happy!
Step 6
The film will thicken into a solid, opaque layer. Over the next few days, the layer will continue to thicken and gradually become opaque. When the scoby is about 1/4-inch thick, it's ready to be used to make kombucha tea — depending on the temperature and conditions in your kitchen, this might take anywhere from 1 to 4 weeks.
Step 7
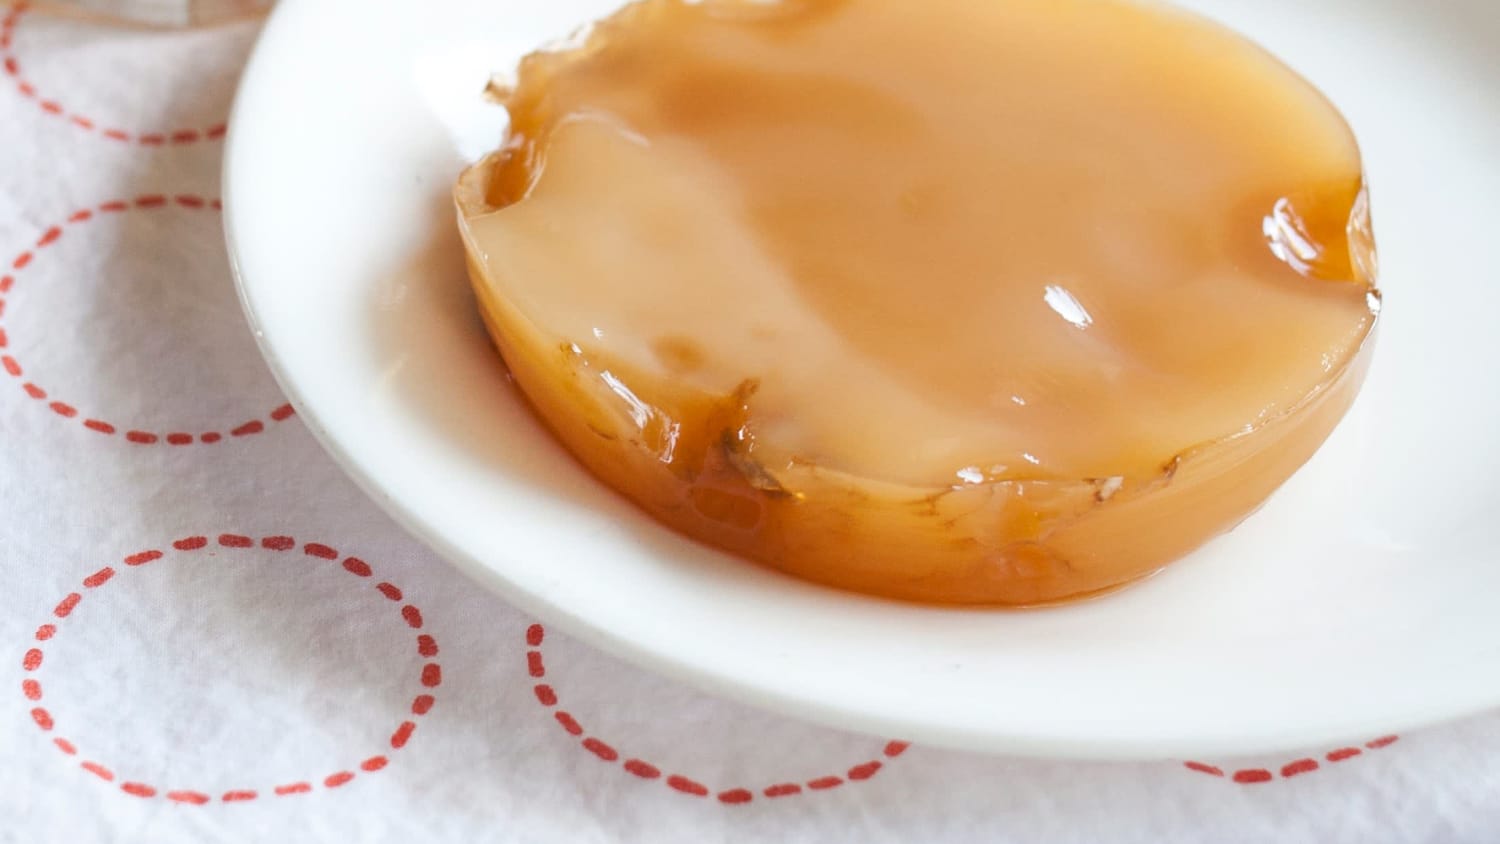
The finished scoby: Your finished scoby might look a little nubbly, rough, patchy, or otherwise "not quite like a grown-up scoby." It's ok! Your scoby will start to smooth out and take on a uniform color over the course of a few batches of kombucha — take a look a the before and after pictures of a baby and grown-up scoby in the gallery above.
Step 8
Using the liquid used to grow the scoby: The liquid used to grow the scoby will likely be too strong and vinegary to drink (and if you're not used to drinking kombucha or very vinegary beverages, it can give you a stomach ache). You can use it to start your first batch of kombucha, or you can use it as a cleaning solution on your counters.