How to Put Glitter on Glass
Your folders
Your folders
Total: 30
Ingredients
Export 5 ingredients for grocery delivery
Instructions
Step 1
This method is my favorite, however, it is also easy and less messy than more traditional methods. That definitely makes it a winner in my book. You want to start with glass that is clean and dry. I like to clean my glass with rubbing alcohol and allow to dry before starting. Please remember to NOT TOUCH the glass after you clean it. The oils from your hands can affect the paint adhesion.
Step 2
You can put the paint on the outside or the inside of your glass. I tend to like the look on the inside better. If you are putting paint on the inside of the glass, start with the glitter paint coats. If you are putting paint on the outside of the glass, start with the regular paint instead.
Step 3
Here I am adding my first coat of glitter paint to the inside of this simple glass bowl. Remember this method will work on any clear glass surface. Don’t have clear glass? Pick a glitter paint in the same color as your glass and apply to the outside of your surface instead.
Step 4
Depending on the glitter paint that you use, you will need several coats of paint. The photo below is after just one coat. You don’t want to be able to see through the glass at the end and you want a REALLY good coat of glitter.
Step 5
Depending on the brand of paint you use and the color, you may need 2 to 4 coats of just the glitter paint. Apply each coat, allow to dry, then apply another coat. Remember to read all instructions on the bottle of paint to ensure you are following those completely. You want to just barely be able to see through the glass once you have applied your last coat of glitter paint.
Step 6
Then you can start adding coats of the solid color paint inside of your project. This will REALLY make the glitter pop and your project look professional. I find that 1 to 2 coats of this paint is enough depending on the brand and color of paint. Again, be sure to allow to dry in between coats and follow all directions on the package.
Step 7
To finish your project, you will want to read on your paint bottles if baking is required. Some paints for glass require baking after application to make them permanent. Other brands do not have the same requirement. If yours does, just add to your oven and bake for the recommended time and the recommended temperature.
Step 8
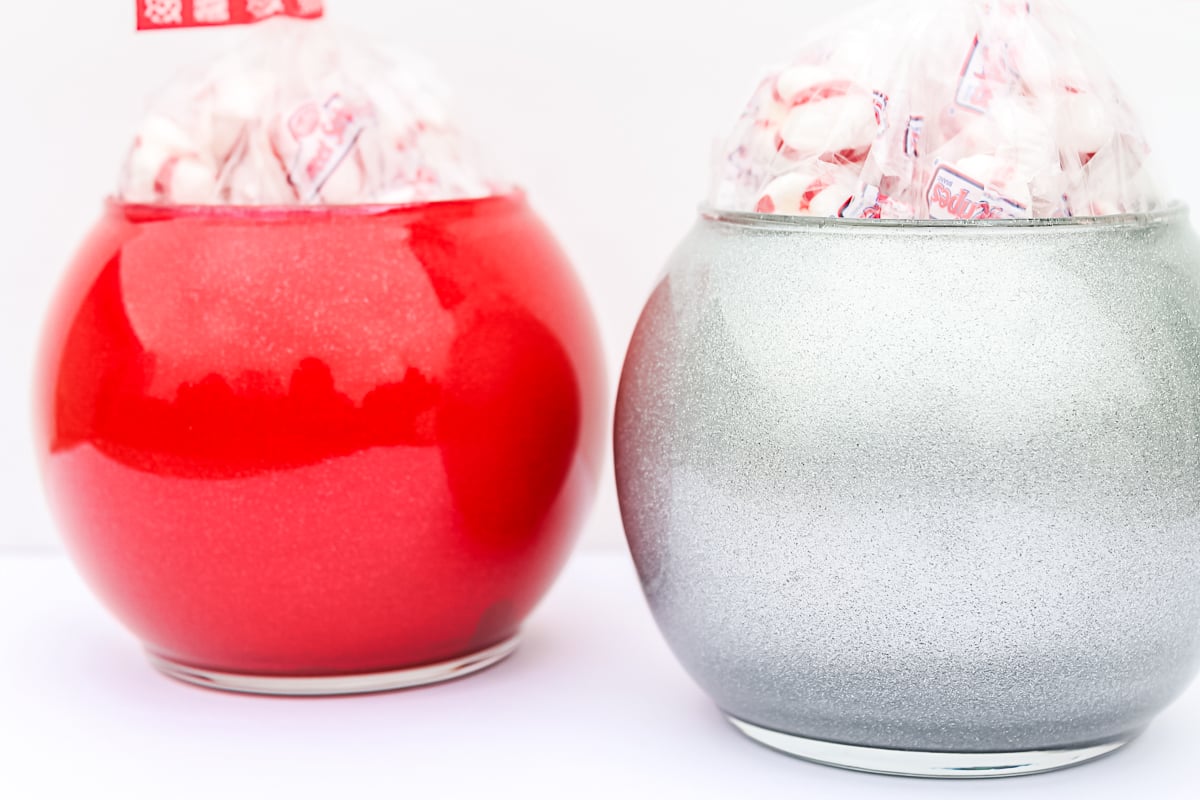
In this case, I finished off the project with some candy in a bag and some washi tape. This makes a great hostess gift for any holiday parties you may be attending.