Instant Pot Bone Broth
4.9
(243)
Your folders
Your folders
Prep Time: 30 minutes
Cook Time: 210 minutes
Total: 240 minutes
Servings: 10
Ingredients
Export 11 ingredients for grocery delivery
Instructions
Step 1
Blanch the bones (optional). Add your bones to a large stockpot and cover with cold water. Bring to a boil over high heat and simmer for 10-15 minutes before draining and rinsing with water.
Step 2
Sauté vegetables (optional). As the bones are blanching, set your Instant Pot to Sauté Mode on HIGH heat. Once your pot is hot, add 1 tablespoon of olive oil and add the vegetables. Brown the vegetables, approximately 3-4 minutes on each side. Remove and set aside.
Step 3
Sauté blanched bones (optional). Set your Instant Pot to Sauté Mode on HIGH heat. Once hot, add an additional tablespoon of olive oil and transfer beef bones in a single layer (you may need to do this in 2 batches) to the Instant Pot. Cook each side for 3-4 minutes or until brown.
Step 4
Turn off sauté mode.
Step 5
Add all ingredients to Instant Pot. Transfer all bones and vegetables back to the Instant Pot. Add the cinnamon sticks, star anise, bay leaf, black peppercorns, salt, and apple cider vinegar. Fill your Instant Pot with water so that it reaches approximately 1-inch below the MAX fill line.
Step 6
Pressure cook bone broth. Lock the lid onto your Instant Pot and set the steam release knob to "sealing" position. Select "manual" HIGH PRESSURE for 3 hours (180 minutes). It takes approximately 20 minutes for the Instant Pot to come to full pressure at which point the timer will start to countdown.
Step 7
Natural release. Once the three hours is complete, allow the pressure to release naturally (this will take approximately 20-30 minutes).
Step 8
Strain. Carefully strain your cooked broth through a cheesecloth or fine mesh strainer and add a couple of handfuls of ice to your beef broth to expedite cooling, if needed.
Step 9
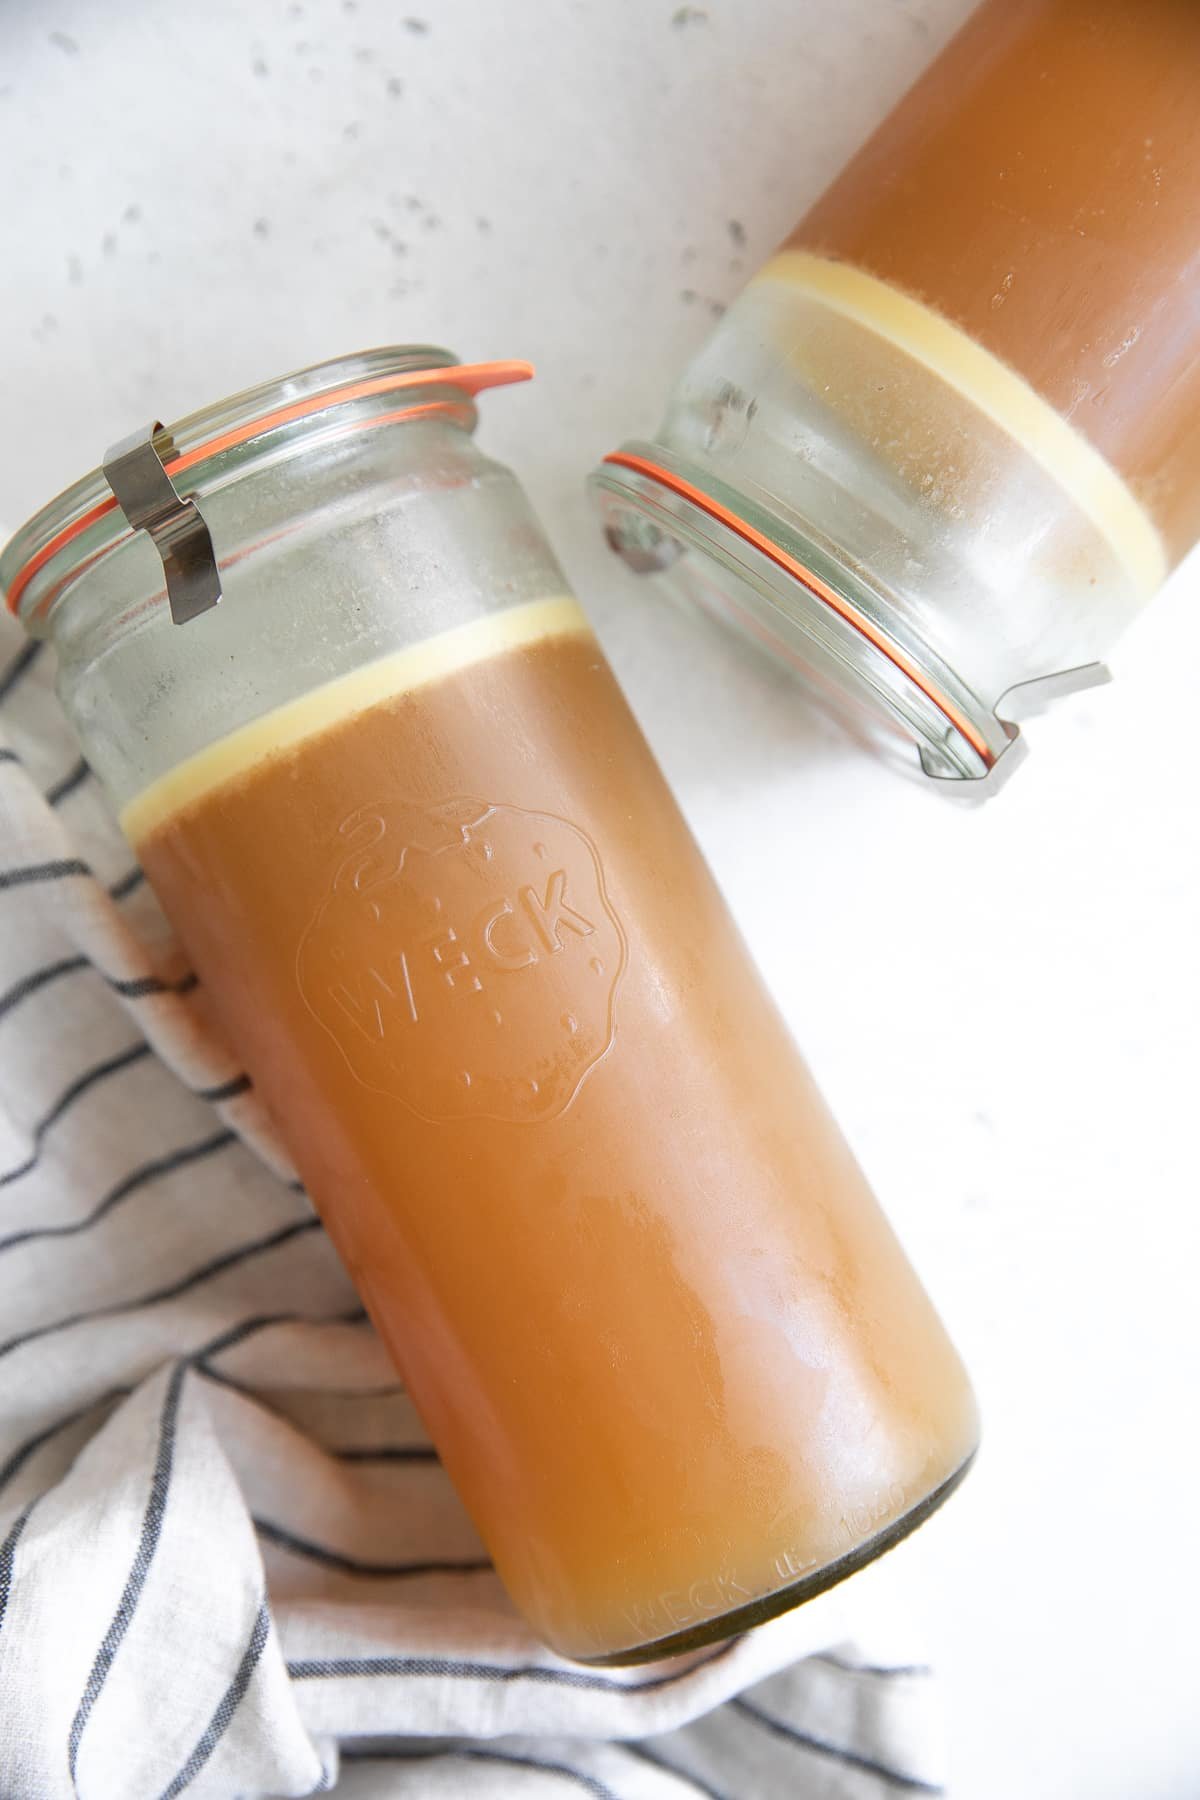
Skim the fat from your broth (optional). Transfer broth to the refrigerator and allow the broth to cool fully. The result will be a hard, thick layer of fat and a bottom layer that is your bone broth (which should look like gelatinous brown jello). If desired use a fork to scoop off the top layer of fat. This will leave behind the healthy bone broth, minus the fat.
Step 10
Store your bone broth. Bone broth stores well in the refrigerator for approximately 5 days. If you make a large batch, I recommend freezing smaller batches in the freezer for up to 6 months (it reheats perfectly!).