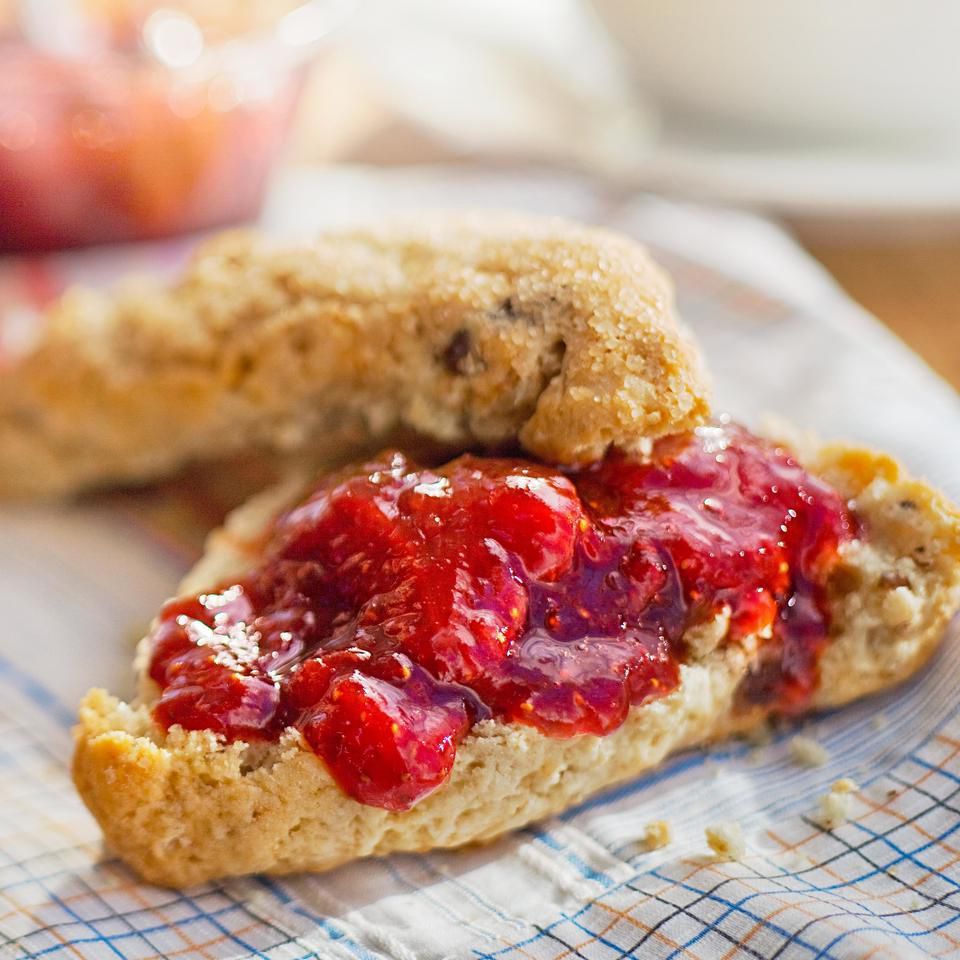
Intense Strawberry Preserves
5.0
(1)
Your folders
Your folders
Total: 5 hours, 30 minutes
Author : April McGreger

Ingredients
Export 2 ingredients for grocery delivery
Instructions
Step 1
Before starting the recipe, gather the needed equipment (see Tips).
Step 2
Hull strawberries and cut any large ones in half. Combine with sugar and lemon juice in a large, nonreactive bowl (see Tips). Cover and let stand for 4 hours at room temperature or refrigerate overnight.
Step 3
When you are ready to cook, prepare 5 half-pint (1-cup) jars and lids: Wash in hot soapy water and rinse well. Place the rack in the pot and place the jars, right side up, on the rack. Add enough water to fill and cover the jars by at least 1 inch. Cover the pot and bring to a boil; boil, covered, for 10 minutes, then turn off the heat. Keep the jars in the hot water (with the pot covered) while you prepare the recipe.
Step 4
Meanwhile, place the new lids in a small saucepan, cover with water and bring to a gentle simmer. Very gently simmer for 10 minutes (taking care not to boil). Turn off the heat and keep the lids in the water until ready to use.
Step 5
Place a saucer and 4 small spoons in the freezer for testing the consistency of the preserves later.
Step 6
Stir the strawberries to evenly distribute the sugar and transfer to a heavy 6- to 8-quart nonreactive pot. Place over medium heat and cook, stirring frequently, until the sugar has melted completely and the strawberries begin to foam, 5 to 15 minutes.
Step 7
Increase the heat to high and boil rapidly, stirring frequently and scraping the bottom with a heatproof spatula to prevent sticking, until the mixture looks thick, shiny and darker, 15 to 20 minutes. If the jam begins to boil close to the top of the pot or scorch on the bottom, immediately reduce the heat.
Step 8
To test if the preserves are ready, remove from heat and place a little of the preserve liquid on one of the spoons from the freezer. Rest it on the saucer and return to the freezer for 3 to 4 minutes. Drop the sample from the spoon onto the saucer: if it's thick enough to stay mounded without running or spreading, the preserves are ready. If it's too runny, return the pot to a boil and cook for about 5 minutes before testing again. When the preserves are done, skim excess foam from the surface.
Step 9
Remove the sterilized jars from the water and place on a clean towel (if they're placed on a cold surface, the jars could crack). Using a funnel, fill jars to within 1/4 inch of the rim. (Any extra preserves can be stored in a small container in the refrigerator.) Run a chopstick around the inside of the jar to release air bubbles. Wipe the rim with a clean cloth. Use a lid wand (or tongs) to remove the lids from the hot water. Place lids and dry rings on the jars. Tighten until just finger-tight (won't move with gentle pressure) but don't overtighten.
Step 10
To process the filled jars: Using a jar lifter, return jars to the pot with the warm water, placing them on the rack without touching one another or the sides of the pot. If the water does not cover the jars by 1 to 2 inches, add boiling water as needed. Cover the pot and bring to a boil; boil 5 minutes, then turn off the heat, uncover the pot and leave the jars in the water for 5 minutes. Use the jar lifter to transfer the jars to a towel, with some space between each jar. Let stand, without moving, for 24 hours. (If you do not want to process the jars in a boiling-water bath, you can refrigerate the preserves for up to 2 months.)
Step 11
After 24 hours, unscrew the rings and test the seals by pressing lightly on the center of each lid. They should have a slight concave indentation and neither yield to your pressure nor pop back. If a seal is not complete, you can process again in boiling water or store any unsealed jars in the refrigerator.