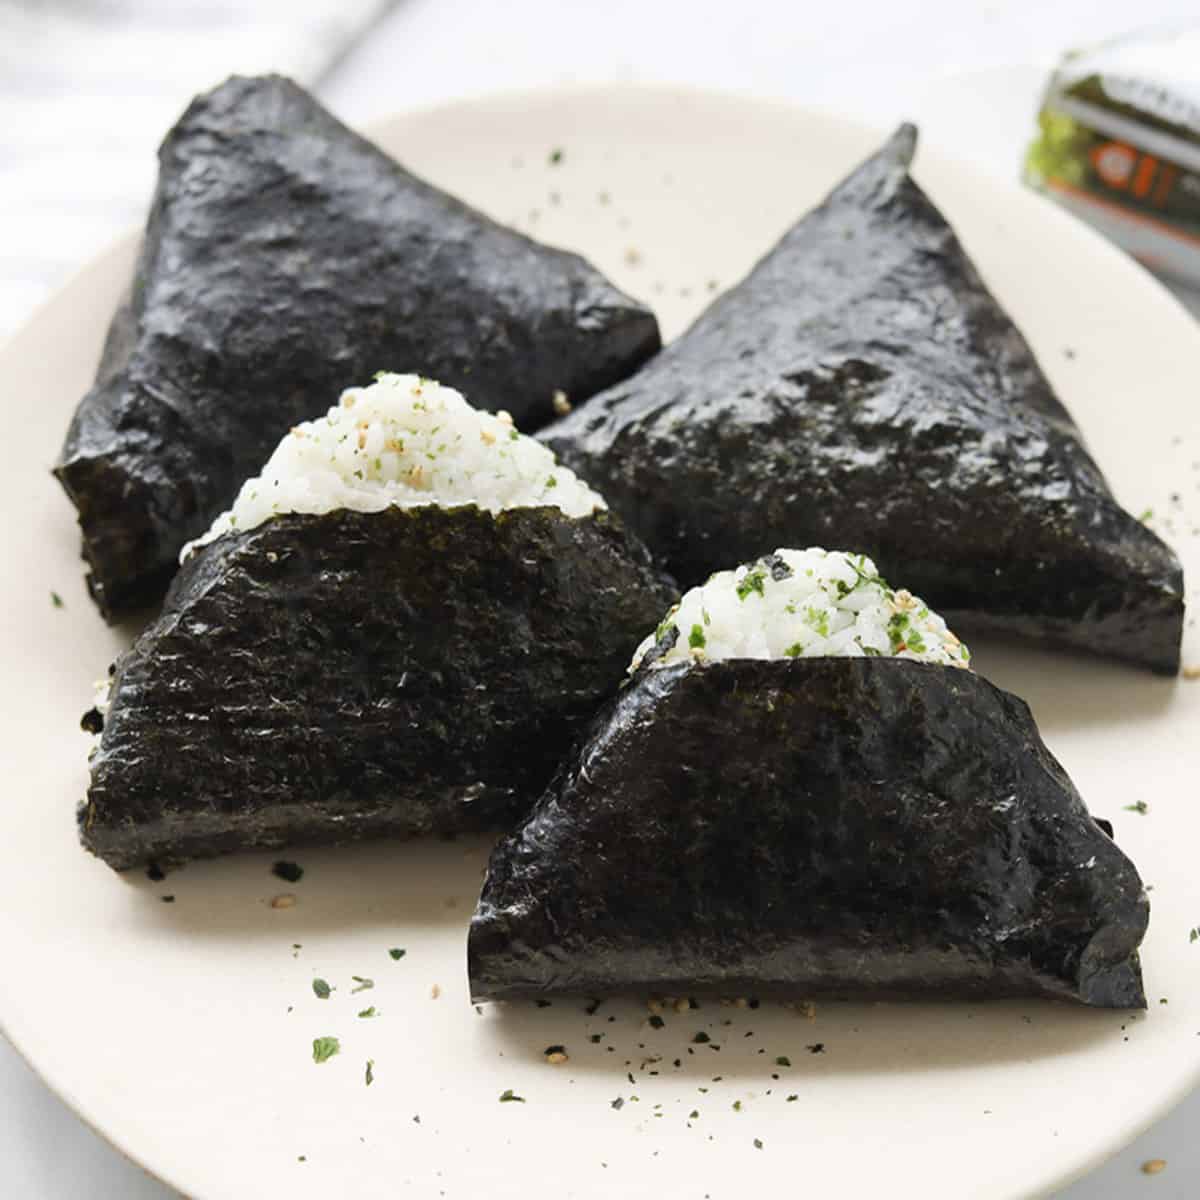
Japanese Onigiri Rice Triangles (Rice Wrapped in Seaweed)
5.0
(2)
Your folders
Your folders
Prep Time: 5 minutes
Cook Time: 30 minutes
Total: 45 minutes
Servings: 4
Cost: $2.67 /serving
Author : Kaylie
Ingredients
Export 4 ingredients for grocery delivery
Instructions
Step 1
Add the rice to a bowl or rice cooker pot. Add water and wash the rice by lightly swishing it around with your fingers, then drain. Repeat 3 times and drain the water well. Add 1 cup of water to the rice and cook per rice cooker or stovetop directions.
Step 2
Optional: for furikake rice seasoning, add it to the cooked rice and mix evenly with a spoon.
Step 3
Lightly wet your hands in a bowl of water, and rub it together with a sprinkle of salt.
Step 4
Scoop about 3/4 cup of rice in your hands. If you are adding a filling, flatten the rice out and add about 1 tablespoon of filling to the middle then fold the rice over.
Step 5
Start molding the rice into a triangular shape with your hands. Cup your fingers in a "c" shape to form the edges of the rice, while patting the rice together to pack it.
Step 6
Fold the seaweed in half, then cut or evenly tear along the fold.
Step 7
Add the rice on to the seaweed. Place the tip part of the triangle at the end of the seaweed paper (nearest to you).
Step 8
Fold the two edges of the seaweed onto the rice. The rice should help the seaweed stick in place.
Step 9
Next fold the whole triangle rice away from you and onto the seaweed.
Step 10
If there is excess seaweed paper at the end, you can trim it with scissors to better fit the onigiri, or if you like some of the rice exposed at the tip.
Step 11
Place a few grains of rice on the two ends of the seaweed.
Step 12
Fold the ends of the seaweed in to form a triangle.
Step 13
You’ll notice the onigiri packaged wrapper has instructions printed on one side, and a plain side. Turn the wrapper, instructions side facing down with the pull tab pointing towards the far side.
Step 14
Add the rice, tip part of the triangle touching the end of the seaweed paper (nearest to you). Fold the two edges of the seaweed onto the rice.
Step 15
Next fold the whole triangle rice away from you and onto the seaweed.
Step 16
Fold the two corner ends onto the wrapper to form a triangle.
Step 17
Use the sticker included in the wrapper package to secure ends in place.
Step 18
When ready to eat, pull the tab part of the wrapper off and pull the two sides of the wrap off to enjoy!