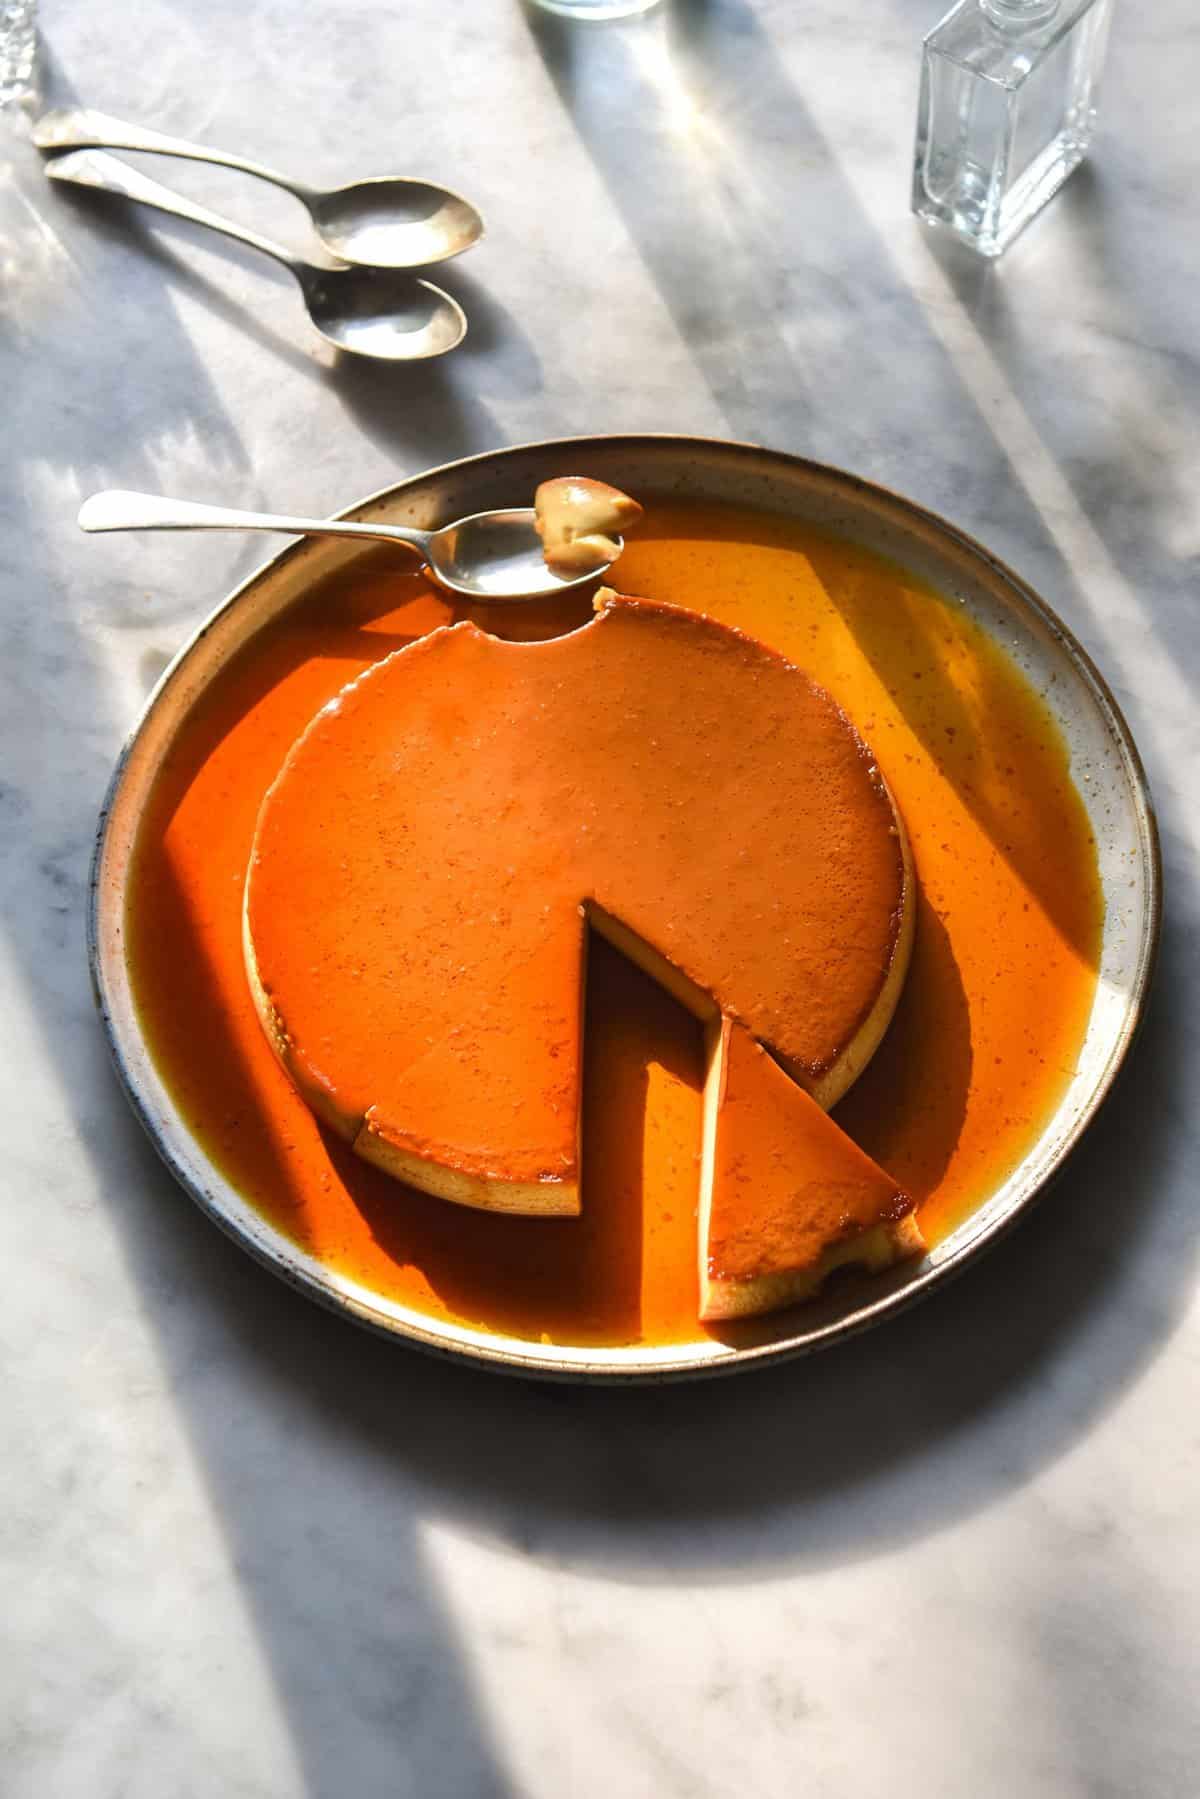
Lactose free creme caramel
5.0
(2)
Your folders
Your folders
Author : Georgia McDermott
Ingredients
Export 4 ingredients for grocery delivery
Instructions
Step 1
Make sure all mould/moulds are clean, dry and ready to go. Place a tea towel in the base of a large baking tin, big enough for your crème caramel/s to be in a water bath.
Step 2
Combine the sugar and water for the caramel in a medium saucepan and stir to combine. Place the saucepan over a medium heat, and cook, stirring intermittently, until the sugar has dissolved. The mixture should be clear, but you can double check this by tilting the saucepan to check if there are remaining granules on the bottom.
Step 3
Once the sugar has dissolved, put the spoon away. From here on in, simply swirl the saucepan to evenly distribute the heat. Do this intermittently until the sugar begins to brown, after which watch it like a hawk. How dark you like your caramel is up to you – I like mine a light mahogany. Once it is cooked to your liking, remove it immediately from the heat.
Step 4
Pour the caramel very carefully into the prepared tin or tins – it is molten sugar and could cause a nasty burn. Working quickly, tilt your pan to swirl the caramel around the base and up the sides a little, so that the caramel is a little lip when the dessert is inverted. It should harden as you work. Note that the tins will heat up very quickly, so you might like to use gloves.
Step 5
Allow the caramel to harden in the tin at room temperature. Don’t worry if you hear the caramel crack – it won’t affect the final product. During this time, we can work on the custard. Preheat the oven to 160 degrees Celsius, so it’s ready to go.
Step 6
Place the milk in a medium saucepan over a medium heat, and stir intermittently until the milk is scalding. Remove any skins if they begin to form.
Step 7
While the milk is heating, very gently whisk together eggs for the custard in a medium mixing bowl. The idea for whisking here is to completely combine the eggs and break up the egg whites without whipping air and bubbles into the mixture. Once the eggs are combined, add the sugar, salt and vanilla (if you’re using it) and gently whisk until combined.
Step 8
Once the milk is ready, decant it into a large pouring jug with a lip. Pour a tiny drizzle at a time into the egg mixture, very gently whisking while you do so. The idea here is to gently heat the egg mixture (by adding the hot milk) without making scrambled eggs. Take your time and pour slowly so that doesn’t happen.
Step 9
Once all the milk has been incorporated, give the mixture a couple of minutes to cool off. Some recipes suggest allowing the mixture to rest for 30 minutes to discourage textural anomalies. Do with that information what you will.
Step 10
When you’re ready, take a fine mesh sieve and very gently pour the milk mixture into your caramel lined tin or tins. Use a spoon to scrape any new bubbles off the surface and discard.
Step 11
Gently place the crème caramels into the baking dish you have lined, and carefully cover them with alfoil, if you’re using it. Pour enough water into the dish to come up 3/4 of the side of the tin, and then very carefully place in the oven.
Step 12
How long to cook them depends on the tin you’re using, but also on your oven and a whole plethora of factors. Have your wits about you and use the jiggle and touch tests to ascertain when the crème caramel is done. The mixture should jiggle without looking too unstable. You should be able to lightly touch the surface of the caramel without taking a piece of it with you. It should be bouncy to the touch, kind of like a softer set jelly.
Step 13
As a rough guide,one extra large crème caramel should take around 80-90 minute. Two medium should take about an hour. And for individual sizes, I’d recommend checking in at 30 minutes and assessing from there. Note that covering the caramel bases with foil can slow the cooking time.
Step 14
Once cooked, remove from the oven and allow to cool completely. For best results, give your caramel a little time in the fridge – it melts the caramel so that you’re not left with a hard caramel shell in the base of your tin. To serve, run a very thin knife around the caramel, flush with the tin. Carefully invert and serve immediately.
Step 15
Crème caramels can be stored in the fridge prior to being inverted for a couple of days. Note that the longer they are in the fridge, the more liquid and less defined the caramel base becomes.