Lavender Soap RecipeLavender Soap Recipe
Your folders
Your folders

Ingredients
Export 9 ingredients for grocery delivery
Instructions
Step 1
At least one month before making soap, mix the alkanet root with the olive oil in a mason jar and leave it in a dark but warm place to infuse. Shake the jar every couple of days. You'll get a good extraction of color after a month, but if you can wait for longer, the color will be much deeper. Up to a year for good deep color! Keep an eye on the best-by date of the olive oil if you plan on a longer infusion period, though.
Step 2
Alternatively, and for a quicker infusion, measure the alkanet and olive oil into a mason jar and place it in a slow cooker set on a tea towel. Fill the slow cooker up to the level of the oil in the jar, and heat on low for eight to twelve hours or overnight. Then turn it off, remove the jar from the water, and allow the oil inside to cool to room temperature. Strain the oil through a cheesecloth. Make sure to squeeze the alkanet in the cheesecloth to get every last drop.
Step 3
The dark purple soap color you see in this soap recipe's images is from oil that was double-infused. To replicate this, infuse the oil in a warm but dim place for three months. After then, strain the oil through a cheesecloth and discard the alkanet pieces. Add fresh alkanet root to the oil and let it infuse for another three months before straining and using it to make soap.
Step 4
Measure the amount of olive oil needed for the soap recipe. You may have a little leftover that you can save for another batch.
Step 5
Get everything prepared and measured before starting to make soap. Get the equipment set out and measure out all the ingredients, including the distilled water in the heat-proof jug, sodium hydroxide into a jar, and solid oils into the pan.You should also be wearing closed-toe shoes, a long sleeve shirt, hair pulled back, and wearing eye protection, and rubber/latex/vinyl gloves.
Step 6
Work in an airy place, such as near an open window, and pour the sodium hydroxide into the water and stir well. There will be heat and steam, so be careful. Try not to breathe it in. Leave the jug of lye solution to cool in the kitchen sink shallowly filled with cold water.
Step 7
Place the pan of oils on low heat and stir and break up the oils to speed the melting time up. When there are just a few small pieces that are unmelted, take the pan off the heat and continue stirring on the side.
Step 8
When fully melted, pour the liquid oils into the pan: the alkanet-infused olive oil and the castor oil. Save the essential oil for later. One tip for reducing air bubbles in your final soap bars is to pour the liquid oils against a spatula or immersion blender placed in the pan. It helps the liquid oils to flow in rather than splash in. Air bubbles aren't necessarily bad, just something that soapmakers try to avoid for aesthetic reasons.
Step 9
When making this small soap recipe, aim to cool both the oils and lye solution to around 120°F (49°C). They don't need to be bang on but should be around that mark. An infrared thermometer makes quick work of this task but a digital meat thermometer or glass thermometer work too.
Step 10
When the temperatures are around 110°F (43°C), pour the lye solution into the pan of oils through a sieve. It will catch any bits of undissolved lye. You could also pour the lye through the sieve and against a spatula or immersion blender to again reduce the chance of air bubbles forming in your soap. This is optional, though.
Step 11
Next, dip the stick blender into the pan and press it to the bottom of the pan. With it turned off, stir the mixture, keeping the head of the immersion blender against the bottom. Next, bring it to the center of the pan, still pressing down, and blitz it for just a couple of seconds. Turn it off and stir the soap batter, using the blender as a spoon. The color of the soap batter can be anything from blue to gray to purple at this point.
Step 12
Repeat until the mixture thickens up to a light Trace. This is when the batter leaves a distinguishable trail on the surface. The consistency will be like thin custard. The batter may also look gray or blue right now, and that is completely normal.
Step 13
Now, at light trace, pour in the essential oil. Stir it in quickly but thoroughly. You will notice the soap getting thicker as time goes on, and you'll probably be at medium trace now. It will be more like pudding.
Step 14
When the essential oil is completely mixed in, pour the batter into the molds, using that spatula to get every last bit of soap. It should fill up the 1-lb loaf mold well but have a heaping top. That's fine, and what I've done here is create swirls on top with a skewer. Just use small circular motions up and down the soap. This is optional though, and you can use whatever texture or non-texture you'd like.
Step 15
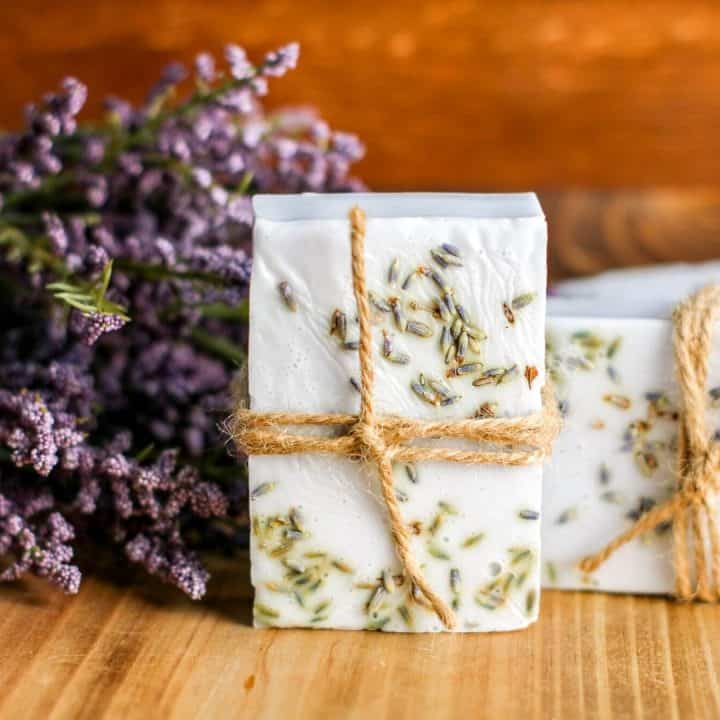
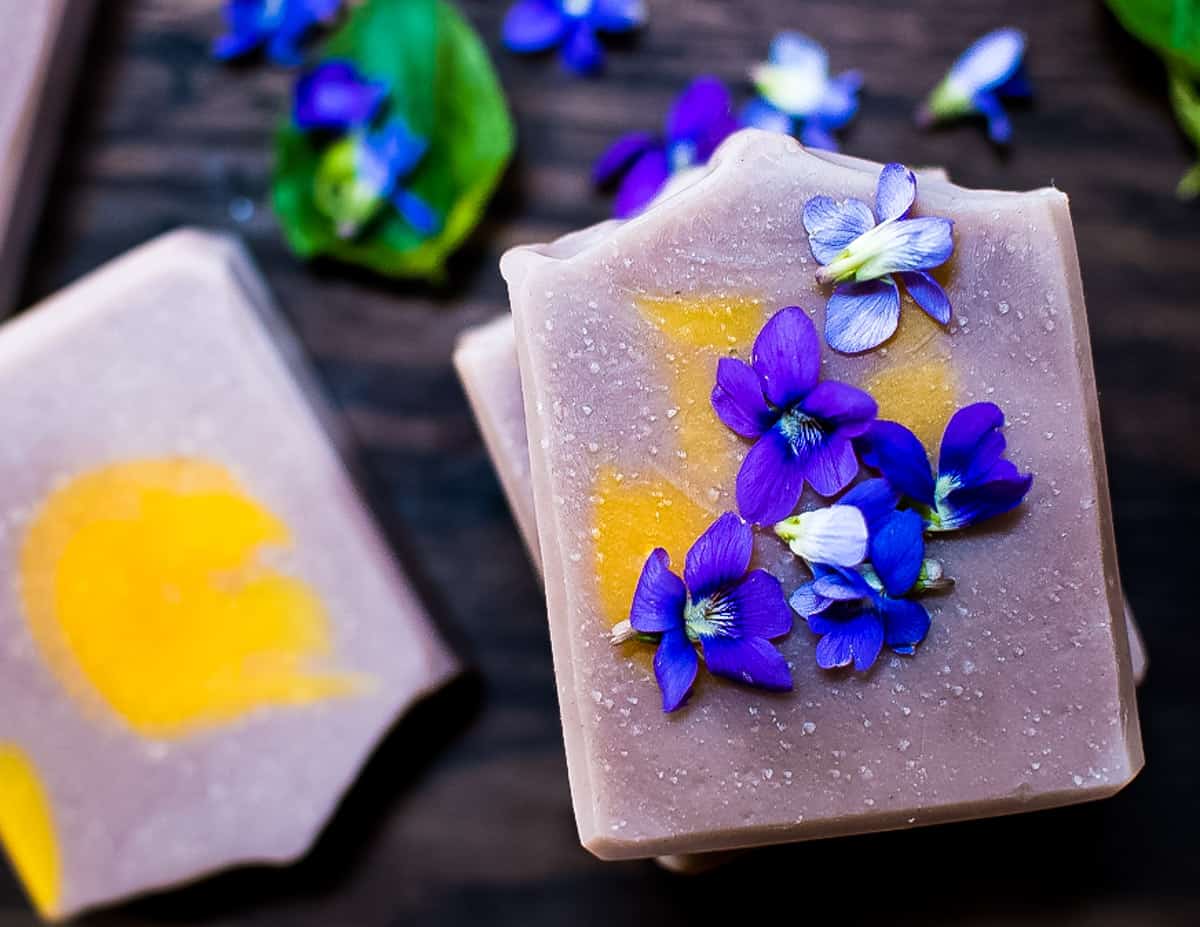
Another optional step is decorating the tops of the bars with lavender flower heads. I've only lightly pressed them in, being mindful that the buds will turn brown anywhere it touches the soap. I've placed them so that one flower head will be at the top of each bar of soap.
Step 16
Once the soap is in the mold, it helps to force the soap into gel phase. This is a period of prolonged but gentle heat that can deepen the color of the soap. It's always a good idea to do with alkanet soap recipes. There are two main ways to go about this, with the first being to wrap the soap mold up in a towel, protecting the top surface of the soap with cling film, and leave it overnight. The second way is to oven process it.
Step 17
Oven processing is very easy. Heat the oven to 170°F (77°C) and place the soap inside. I tend to place the soap mold on a square of baking paper or cardboard. Turn the oven off, close the oven door, and leave the soap in for twelve hours or overnight. Take the soap out afterward and leave it on the counter for another day.
Step 18
After two full days have passed, saponification is mostly complete, and you can pop the soap out of the mold(s). Cut it into bars with a sharp knife, if using a loaf mold, and cure the soap for four weeks before using it. The purple color will fully develop during this time, and depending on the strength of the alkanet and the length of time it was infused into the olive oil, the bars will be light to dark purple.
Step 19
To cure the soap, place the bars in an airy but dim place with plenty of air flow. Leave them there, undisturbed, for at least four weeks before using it. You should also store handmade lavender soap in the open in a dim and airy place. Doing this helps keep the soap dry and in good condition for years.
Step 20
At least one month before making soap, mix the alkanet root with the olive oil in a mason jar and leave it in a dark but warm place to infuse. Shake the jar every couple of days. You'll get a good extraction of color after a month, but if you can wait for longer, the color will be much deeper. Up to a year for good deep color! Keep an eye on the best-by date of the olive oil if you plan on a longer infusion period, though.
Step 21
Alternatively, and for a quicker infusion, measure the alkanet and olive oil into a mason jar and place it in a slow cooker set on a tea towel. Fill the slow cooker up to the level of the oil in the jar, and heat on low for eight to twelve hours or overnight. Then turn it off, remove the jar from the water, and allow the oil inside to cool to room temperature. Strain the oil through a cheesecloth. Make sure to squeeze the alkanet in the cheesecloth to get every last drop.
Step 22
The dark purple soap color you see in this soap recipe's images is from oil that was double-infused. To replicate this, infuse the oil in a warm but dim place for three months. After then, strain the oil through a cheesecloth and discard the alkanet pieces. Add fresh alkanet root to the oil and let it infuse for another three months before straining and using it to make soap.
Step 23
Measure the amount of olive oil needed for the soap recipe. You may have a little leftover that you can save for another batch.
Step 24
Get everything prepared and measured before starting to make soap. Get the equipment set out and measure out all the ingredients, including the distilled water in the heat-proof jug, sodium hydroxide into a jar, and solid oils into the pan.You should also be wearing closed-toe shoes, a long sleeve shirt, hair pulled back, and wearing eye protection, and rubber/latex/vinyl gloves.
Step 25
Work in an airy place, such as near an open window, and pour the sodium hydroxide into the water and stir well. There will be heat and steam, so be careful. Try not to breathe it in. Leave the jug of lye solution to cool in the kitchen sink shallowly filled with cold water.
Step 26
Place the pan of oils on low heat and stir and break up the oils to speed the melting time up. When there are just a few small pieces that are unmelted, take the pan off the heat and continue stirring on the side.
Step 27
When fully melted, pour the liquid oils into the pan: the alkanet-infused olive oil and the castor oil. Save the essential oil for later. One tip for reducing air bubbles in your final soap bars is to pour the liquid oils against a spatula or immersion blender placed in the pan. It helps the liquid oils to flow in rather than splash in. Air bubbles aren't necessarily bad, just something that soapmakers try to avoid for aesthetic reasons.
Step 28
When making this small soap recipe, aim to cool both the oils and lye solution to around 120°F (49°C). They don't need to be bang on but should be around that mark. An infrared thermometer makes quick work of this task but a digital meat thermometer or glass thermometer work too.
Step 29
When the temperatures are around 110°F (43°C), pour the lye solution into the pan of oils through a sieve. It will catch any bits of undissolved lye. You could also pour the lye through the sieve and against a spatula or immersion blender to again reduce the chance of air bubbles forming in your soap. This is optional, though.
Step 30
Next, dip the stick blender into the pan and press it to the bottom of the pan. With it turned off, stir the mixture, keeping the head of the immersion blender against the bottom. Next, bring it to the center of the pan, still pressing down, and blitz it for just a couple of seconds. Turn it off and stir the soap batter, using the blender as a spoon. The color of the soap batter can be anything from blue to gray to purple at this point.
Step 31
Repeat until the mixture thickens up to a light Trace. This is when the batter leaves a distinguishable trail on the surface. The consistency will be like thin custard. The batter may also look gray or blue right now, and that is completely normal.
Step 32
Now, at light trace, pour in the essential oil. Stir it in quickly but thoroughly. You will notice the soap getting thicker as time goes on, and you'll probably be at medium trace now. It will be more like pudding.
Step 33
When the essential oil is completely mixed in, pour the batter into the molds, using that spatula to get every last bit of soap. It should fill up the 1-lb loaf mold well but have a heaping top. That's fine, and what I've done here is create swirls on top with a skewer. Just use small circular motions up and down the soap. This is optional though, and you can use whatever texture or non-texture you'd like.
Step 34
Another optional step is decorating the tops of the bars with lavender flower heads. I've only lightly pressed them in, being mindful that the buds will turn brown anywhere it touches the soap. I've placed them so that one flower head will be at the top of each bar of soap.
Step 35
Once the soap is in the mold, it helps to force the soap into gel phase. This is a period of prolonged but gentle heat that can deepen the color of the soap. It's always a good idea to do with alkanet soap recipes. There are two main ways to go about this, with the first being to wrap the soap mold up in a towel, protecting the top surface of the soap with cling film, and leave it overnight. The second way is to oven process it.
Step 36
Oven processing is very easy. Heat the oven to 170°F (77°C) and place the soap inside. I tend to place the soap mold on a square of baking paper or cardboard. Turn the oven off, close the oven door, and leave the soap in for twelve hours or overnight. Take the soap out afterward and leave it on the counter for another day.
Step 37
After two full days have passed, saponification is mostly complete, and you can pop the soap out of the mold(s). Cut it into bars with a sharp knife, if using a loaf mold, and cure the soap for four weeks before using it. The purple color will fully develop during this time, and depending on the strength of the alkanet and the length of time it was infused into the olive oil, the bars will be light to dark purple.
Step 38
To cure the soap, place the bars in an airy but dim place with plenty of air flow. Leave them there, undisturbed, for at least four weeks before using it. You should also store handmade lavender soap in the open in a dim and airy place. Doing this helps keep the soap dry and in good condition for years.
Top similar recipes
Curated for youYour folders
 144 views
Homemade Lavender Soap
feastforafraction.com
4.5
(109)
Your folders
 226 views
Homemade Lavender SoapHomemade Lave...
happymoneysaver.com
Your folders
 336 views
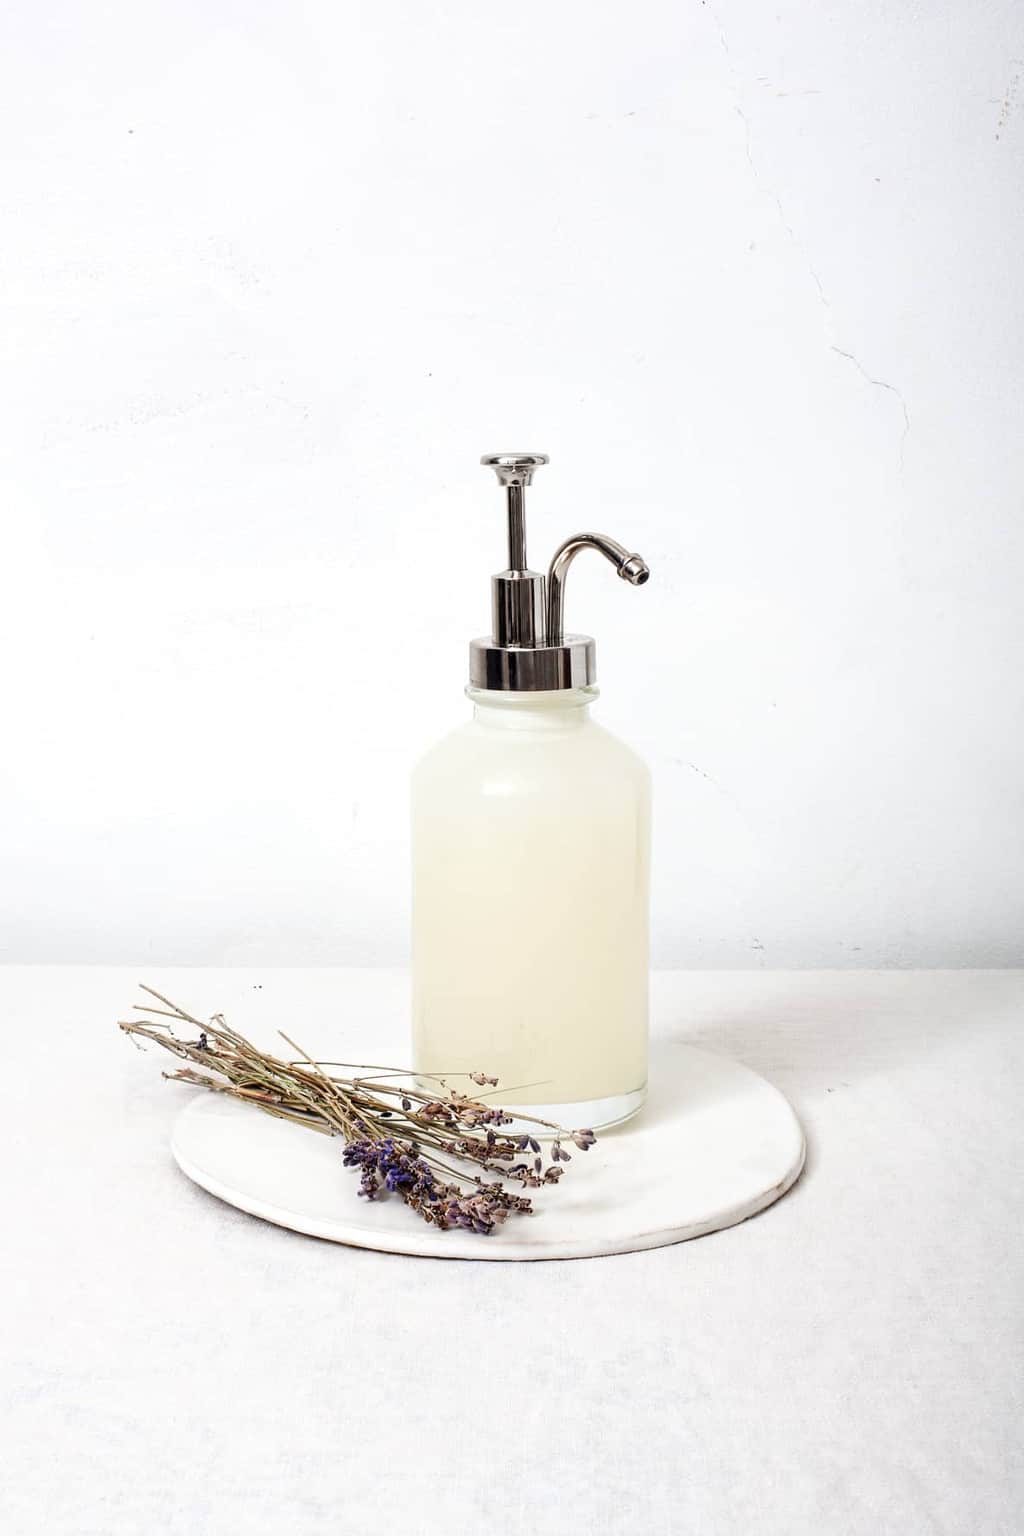
DIY Lavender Infused Hand Soap
helloglow.co
Your folders
 27 views
Simple Flower Soap RecipeSimple Her...
lovelygreens.com
Your folders
 219 views
DIY Liquid Hand Soap with Castile S...
boxwoodavenue.com
Your folders
 137 views
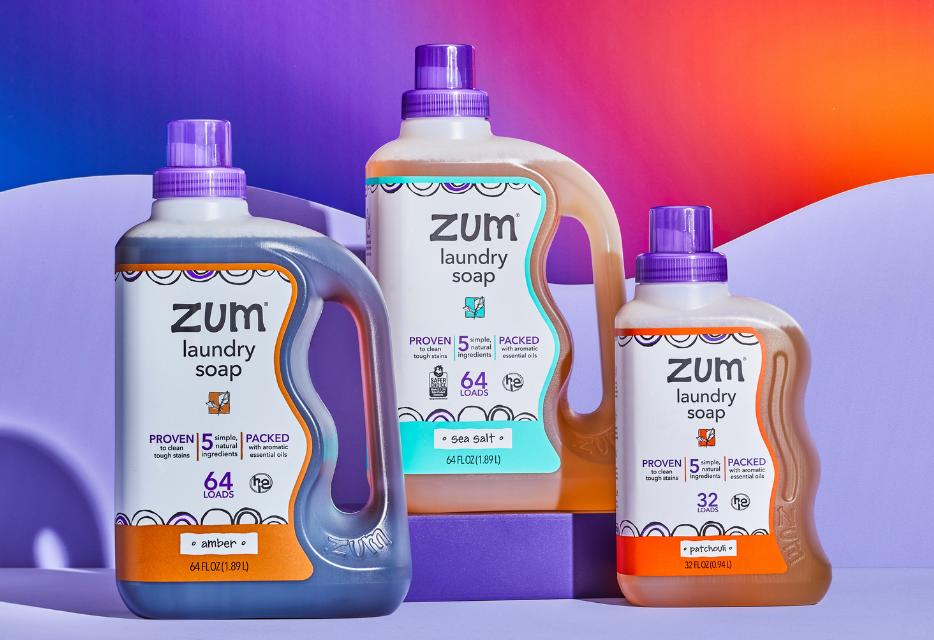
Zum Laundry Soap | Natural Scented ...
indigowild.com
Your folders
 144 views
Homemade Dish Soap Recipe
lovelygreens.com
4.9
(22)
30 minutes
Your folders
 282 views
Natural Laundry Soap Recipe
wellnessmama.com
Your folders
 198 views
Cherry Blossom Soap Recipe
countryhillcottage.com
5.0
(1)
Your folders
 78 views
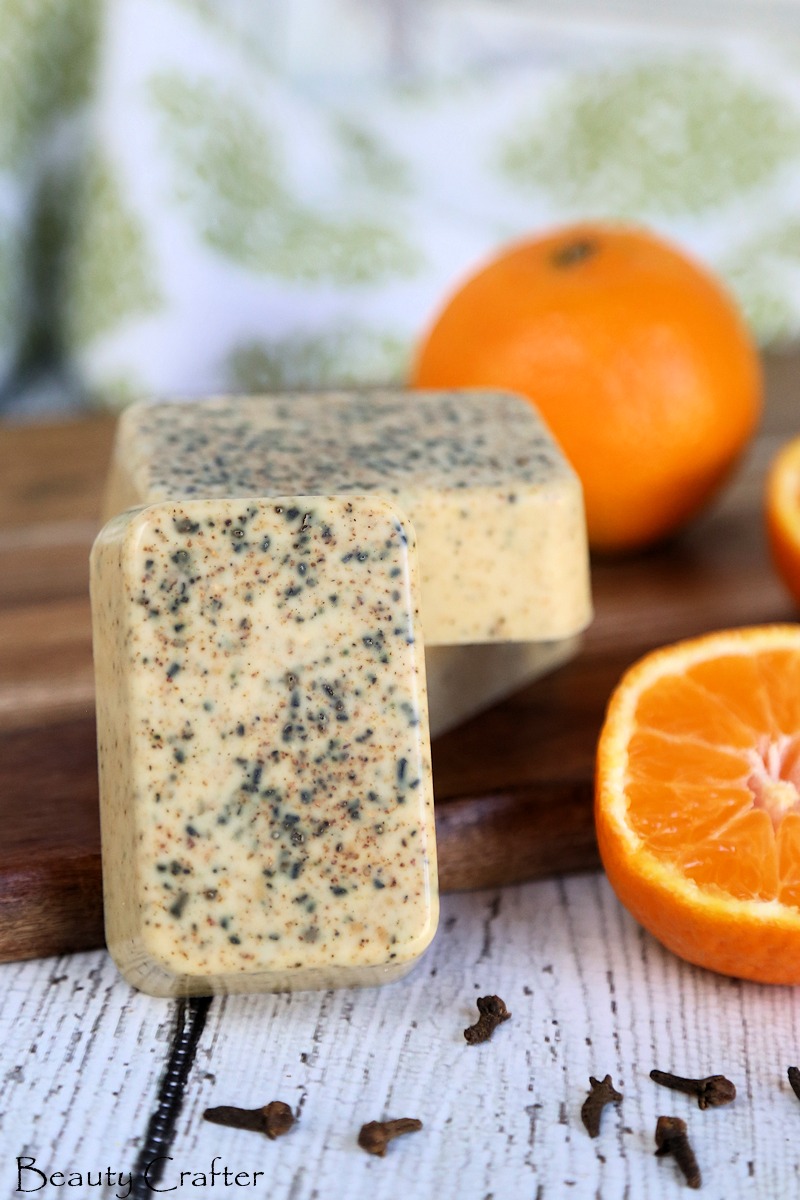
Orange Clove Soap Recipe
beautycrafter.com
4.7
(7)
Your folders
 73 views
Gentle Baby Soap Bar RecipeGentle B...
ouroilyhouse.com
Your folders
 287 views
Soap: Castile & Cocoa
chagrinvalleysoapandsalve.com
4.8
(74)
Your folders
 184 views
Apple Cider Soap
heartscontentfarmhouse.com
5.0
(1)
Your folders
 300 views
Wild Violet Soap
growforagecookferment.com
Your folders
 279 views
Soap: Sweet Basil
chagrinvalleysoapandsalve.com
5.0
(29)
Your folders
 280 views
Soap: Bamboo Charcoal
chagrinvalleysoapandsalve.com
4.7
(79)
Your folders
 209 views
Foaming Hand Soap Refill Recipe
livingonadime.com
Your folders
 415 views
Homemade Foaming Hand Soap
naturesnurtureblog.com
Your folders
 123 views
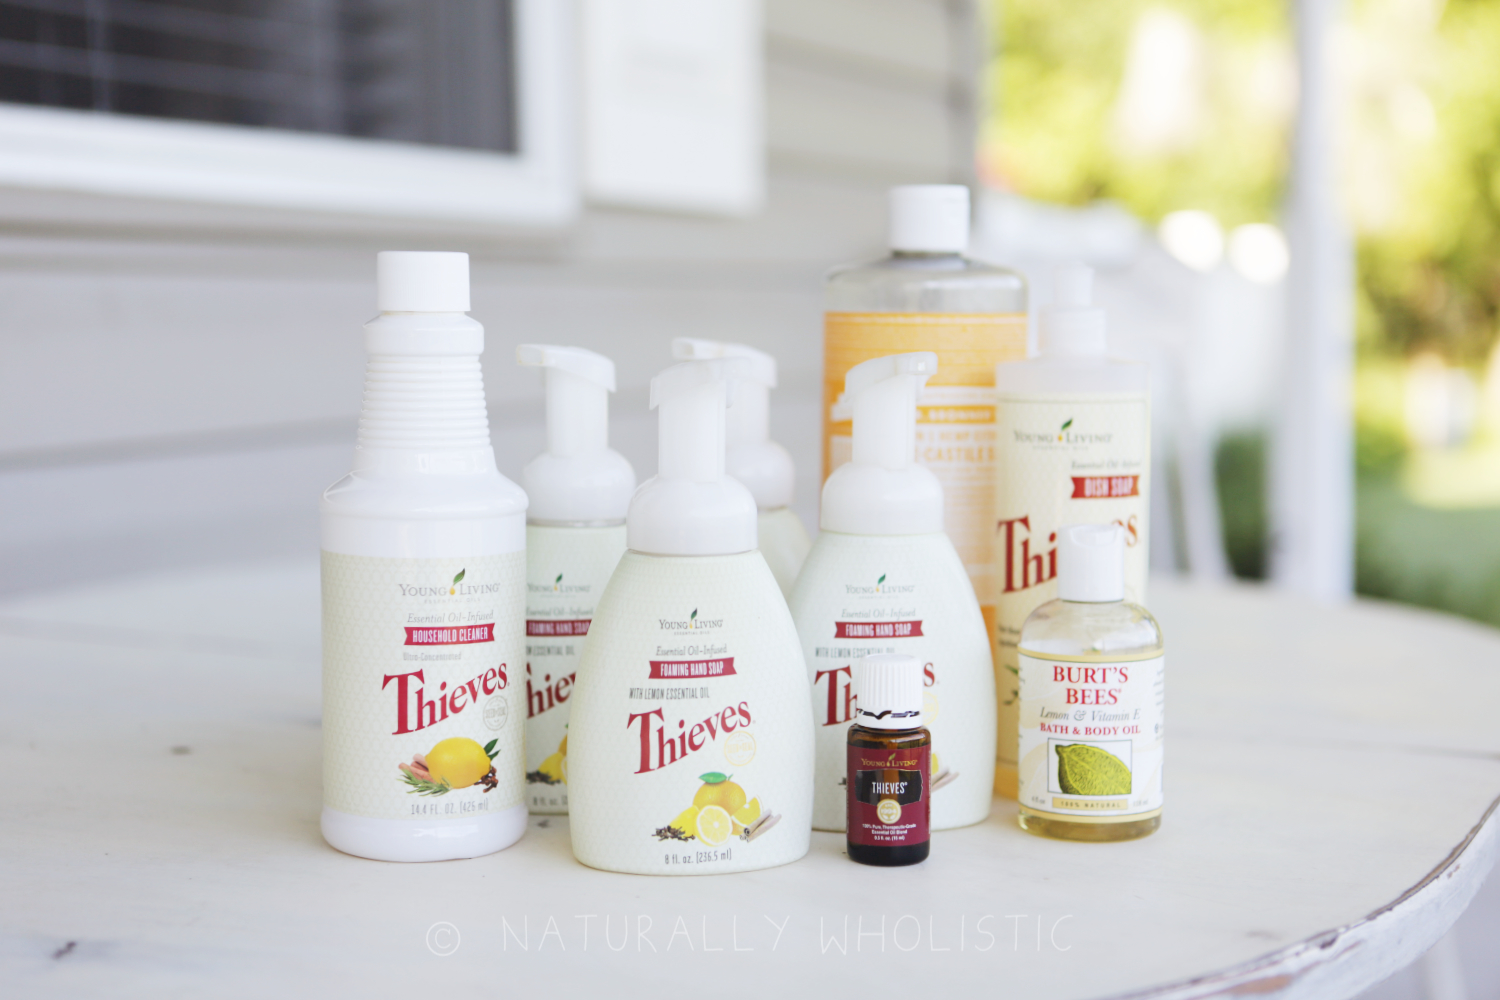
DIY Thieves Hand Soap
naturallywholistic.com