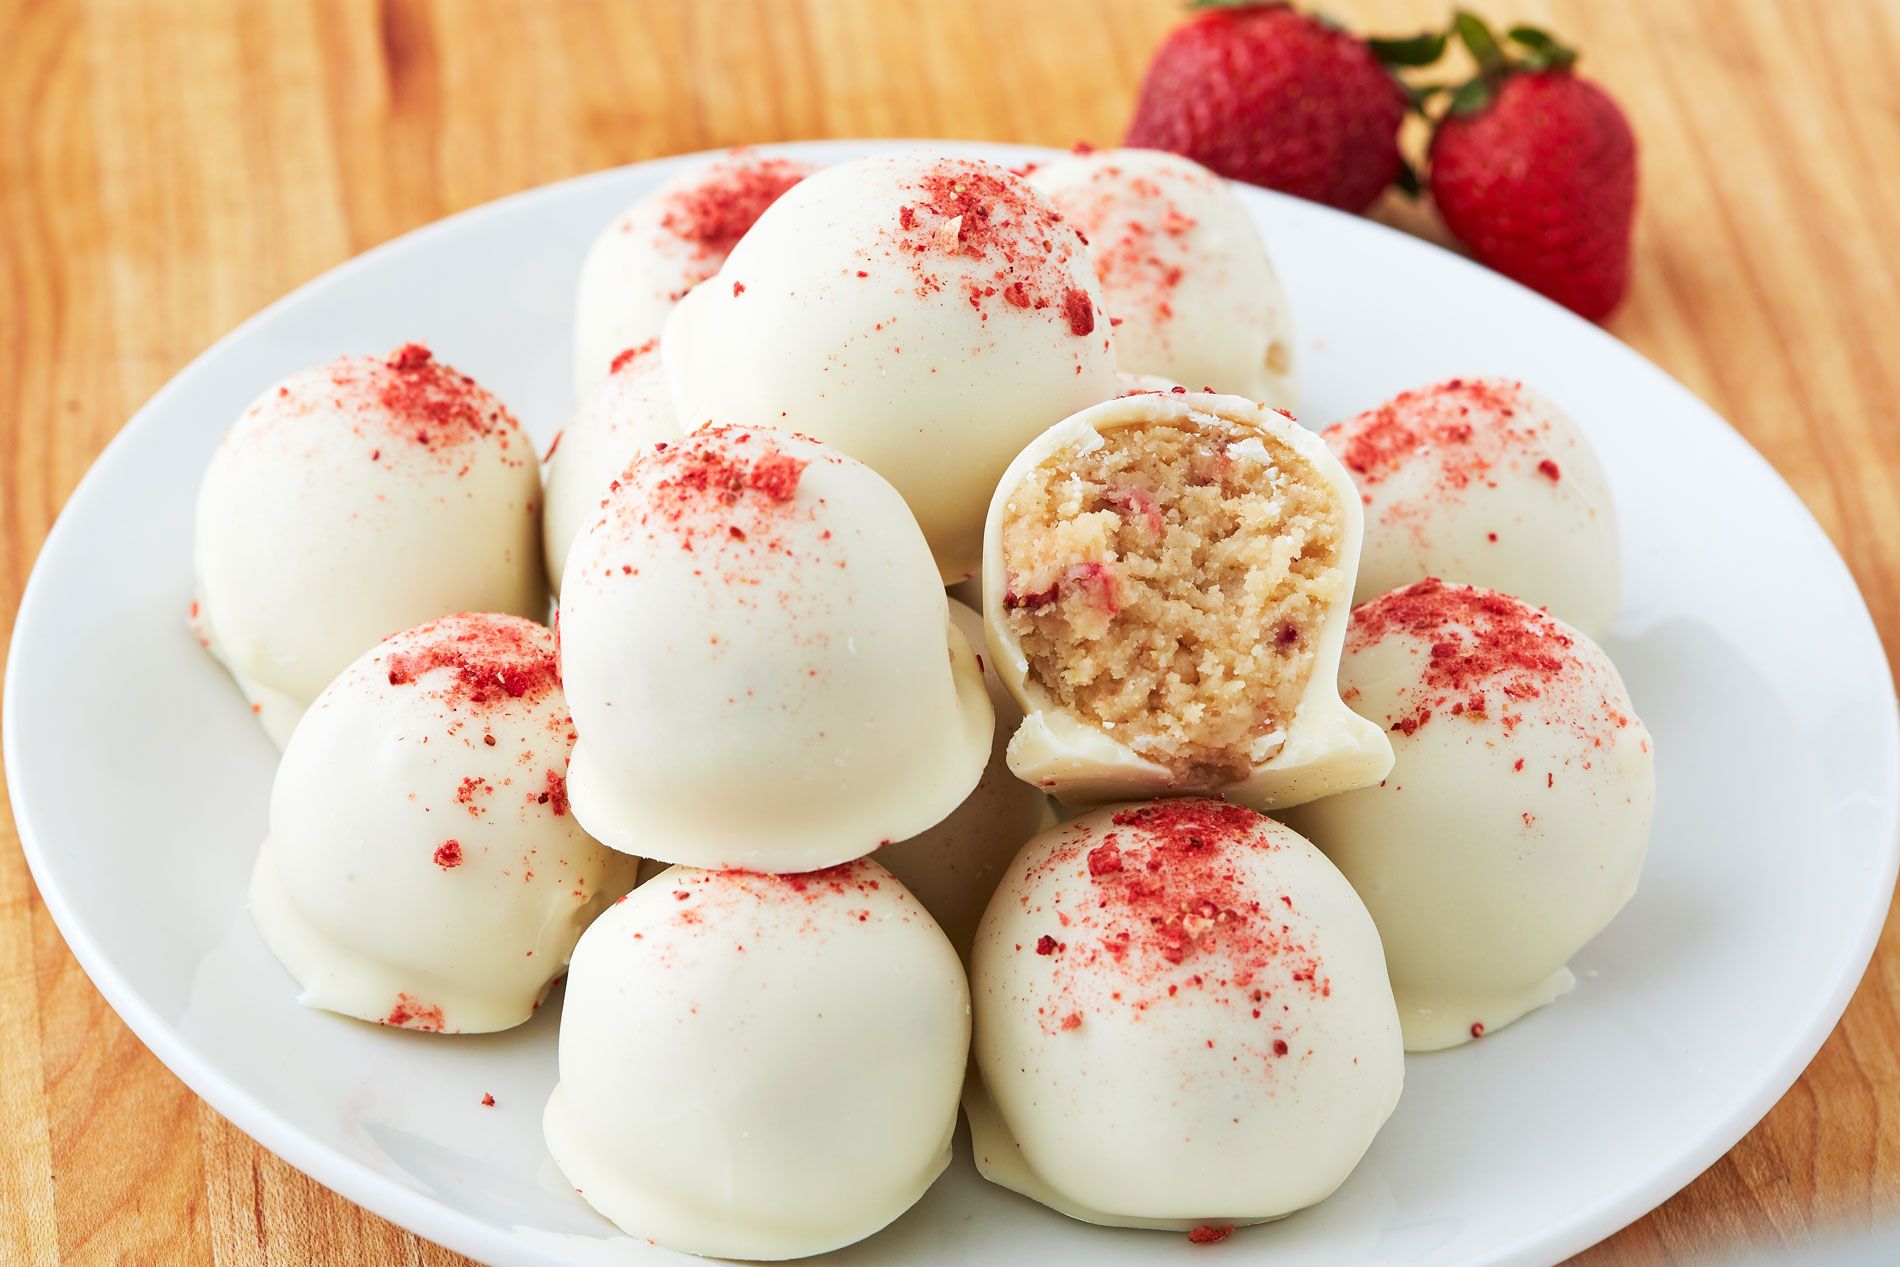
Milk Bar Strawberry Shortcake Truffles
Your folders
Your folders
Author : Milkbar

Ingredients
Export 15 ingredients for grocery delivery
Instructions
Step 1
Combine the cake scraps and 2 tablespoons strawberry milk in a medium sized bowl and toss with your hands until moist enough to knead into a ball. If it is not moist enough to do so, slowly add more strawberry milk and knead in. You want the filling to be quite moist and soft, not chewy. Knead in optional strawberry pieces if you want a little more flair.
Step 2
Using a tablespoon, scoop even balls, each half the size of a ping-pong ball. Roll each one between the palms of your hands to shape and smooth it into a round sphere.
Step 3
Put the cookie/cracker crumb in a medium bowl and set aside.
Step 4
With latex gloves on, put 2 tablespoons of the white chocolate coating in the palm of your hand and roll each ball between your palms, coating it in a thin layer of melted chocolate; add more chocolate to your palm as needed.
Step 5
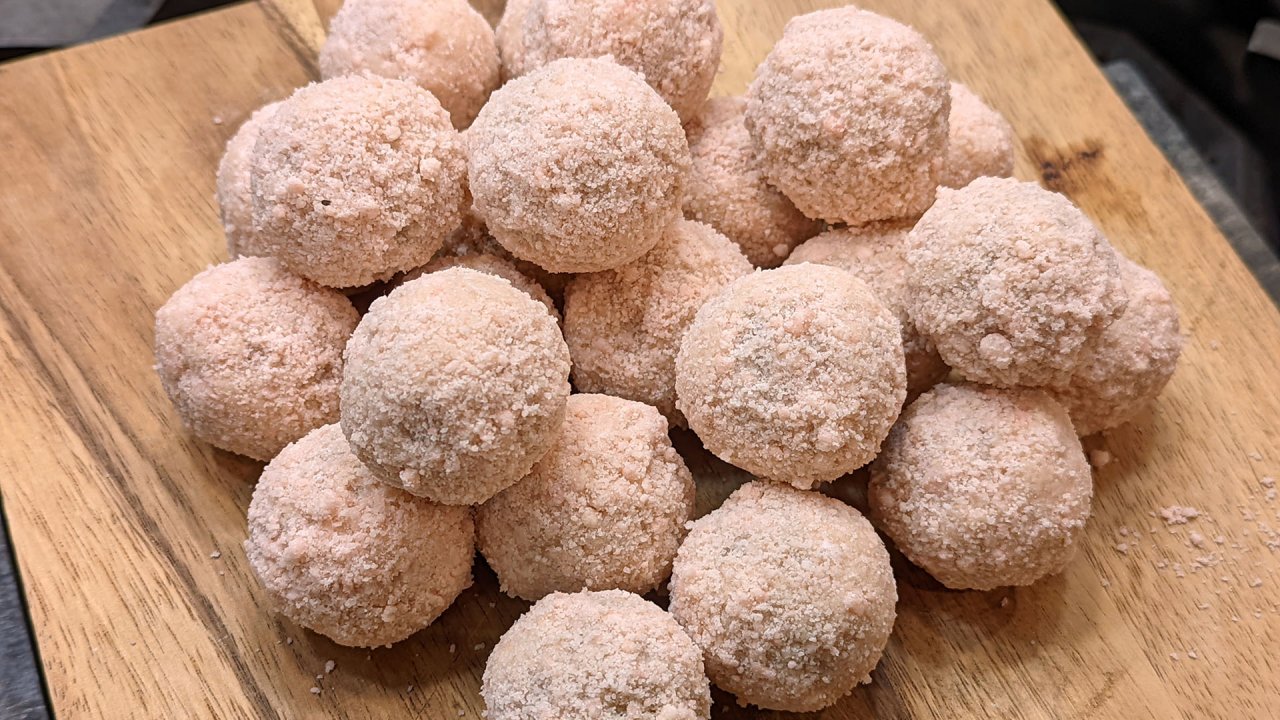
Put 3 or 4 chocolate-covered balls at a time into the bowl of cookie/cracker crumb. Immediately toss them with the sand to coat, before the chocolate shell sets and no longer acts as a glue (if this happens, just coat the ball in another thin layer of melted chocolate).
Step 6
Refrigerate for at least 5 minutes to fully set the chocolate shells before eating or storing. In an airtight container, the truffles will keep for up to 1 week in the fridge.
Step 7
Heat the oven to 350°F.
Step 8
Combine the butter and sugars in the bowl of a stand mixer fitted with the paddle attachment and cream together on medium-high for 2 to 3 minutes. Scrape down the sides of the bowl, add the eggs, and mix on medium-high again for 2 to 3 minutes. Scrape down the sides of the bowl once more.
Step 9
On low speed, stream in the buttermilk, oil, and vanilla. Increase the mixer speed to medium-high and paddle for 4 to 6 minutes, until the mixture is practically white, twice the size of your original fluffy butter-and-sugar mixture, and completely homogenous. Don’t rush the process — you’re basically forcing too much liquid into an already fatty mixture that doesn’t want to make room for the liquid. Stop the mixer and scrape down the sides of the bowl.
Step 10
On very low speed, add the cake flour, baking powder, and salt. Mix for 45 to 60 seconds, just until your batter comes together and any remnants of dry ingredients have been incorporated. Scrape down the sides of the bowl. If you see any lumps of cake flour in there while you’re scraping, mix for another 45 seconds.
Step 11
Pam-spray a quarter sheet pan and line it with parchment, or just line the pan with a Silpat. Using a spatula, spread the cake batter in an even layer in the pan. Give the bottom of your sheet pan a tap on the countertop to even out the layer.
Step 12
Bake the cake for 30 to 35 minutes. The cake will rise and puff, doubling in size, but will remain slightly buttery and dense. At 30 minutes, gently poke the edge of the cake with your finger: the cake should bounce back slightly and the center should no longer be jiggly. Leave the cake in the oven for an extra 3 to 5 minutes if it doesn’t pass these tests.
Step 13
Take the cake out of the oven and cool on a wire rack or, in a pinch, in the fridge or freezer (don’t worry, it’s not cheating). The cooled cake can be stored in the fridge, wrapped in plastic wrap, for up to 5 days.
Step 14
In a medium bowl, gently melt white chocolate and oil together in the microwave in 30 second spurts until totally melted and uniform, about 2 minutes (but every microwave has different strengths). Keep warm or remelt if necessary before using.
Top similar recipes
Curated for youYour folders
 554 views
Strawberry Shortcake Truffles
delish.com
5.0
(2)
Your folders
 84 views
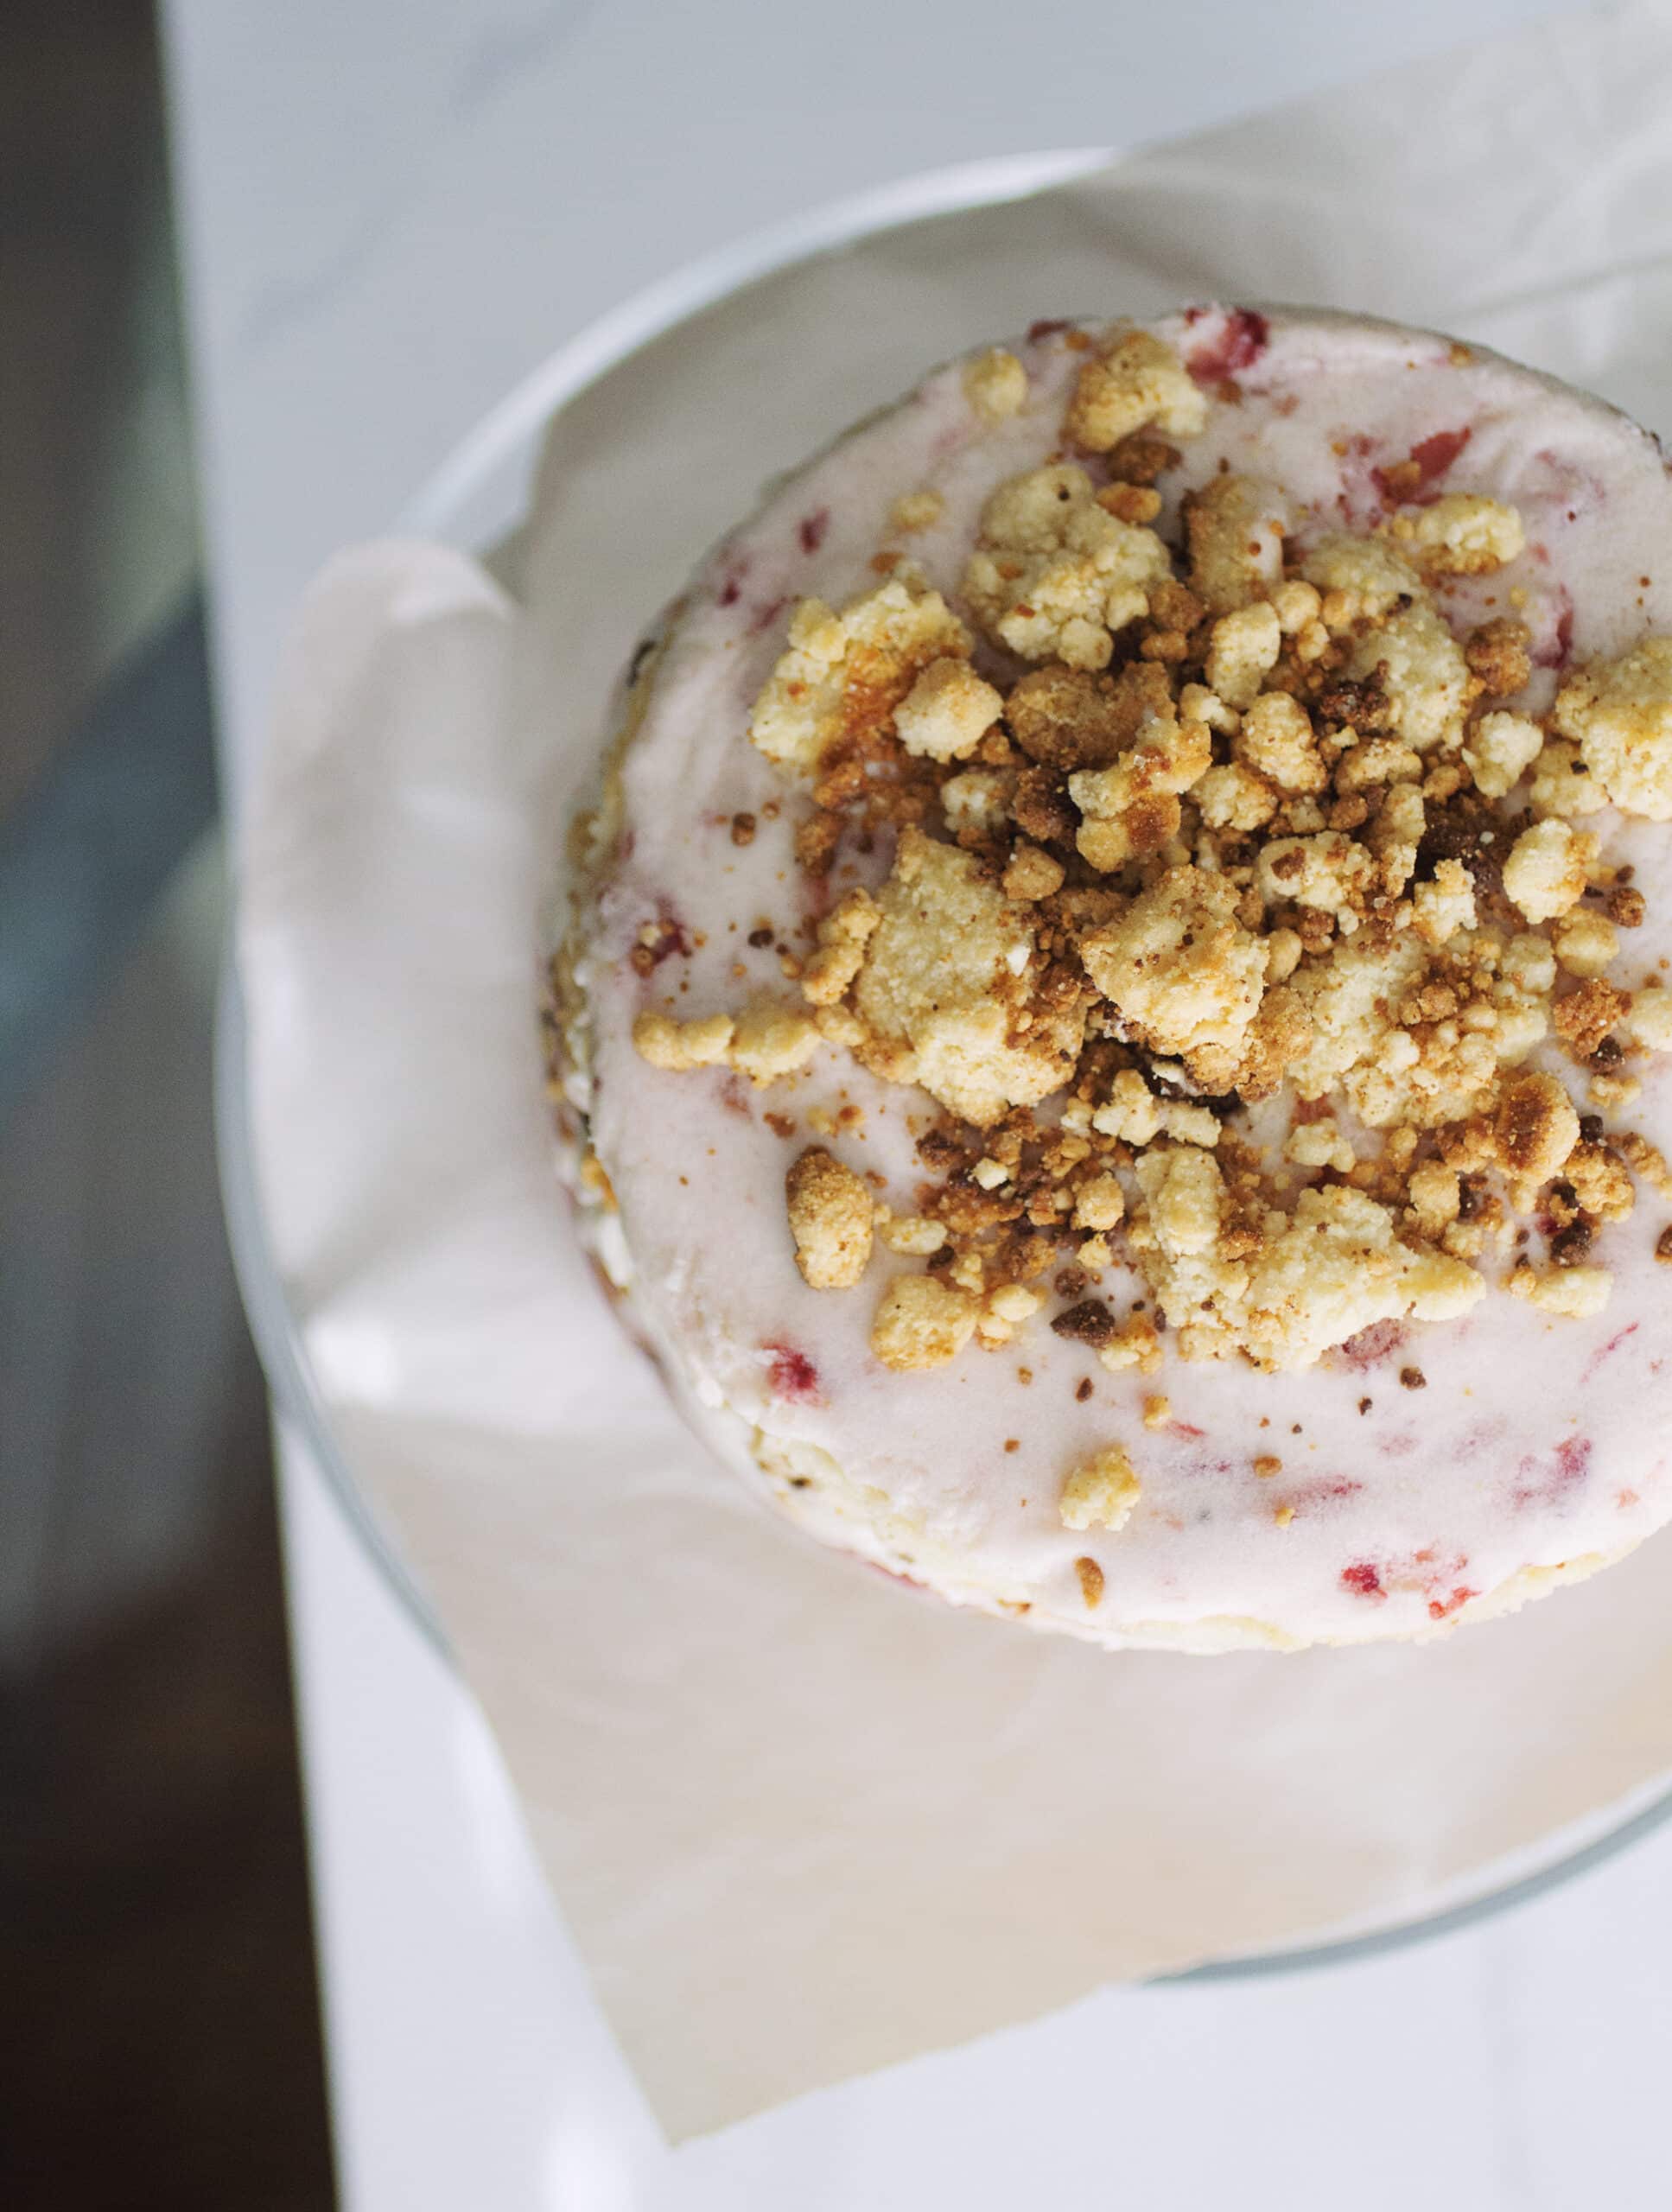
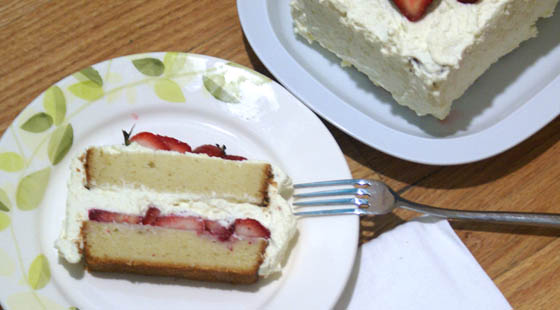
Strawberry Milk Bar Cake
thepancakeprincess.com
3.0
(2)
50 minutes
Your folders
 233 views
Get the Secret Recipe for Milk Bar'...
rachaelrayshow.com
Your folders
 278 views
Strawberry Shortcake Cake (Good Hum...
savingyoudinero.com
4.0
(6)
Your folders
 271 views
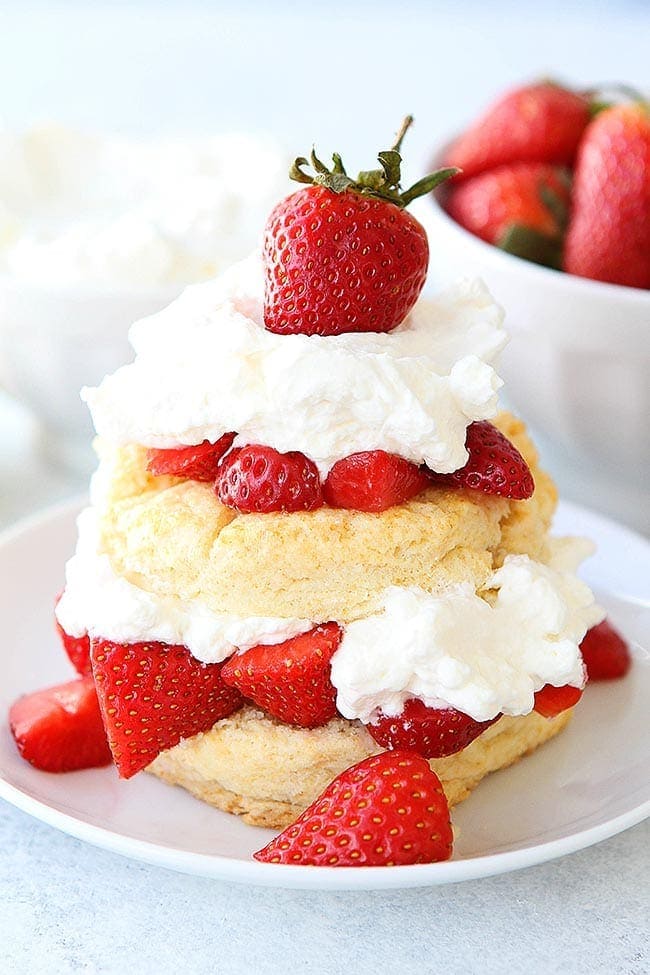
Strawberry Shortcake
twopeasandtheirpod.com
4.5
(37)
20 minutes
Your folders
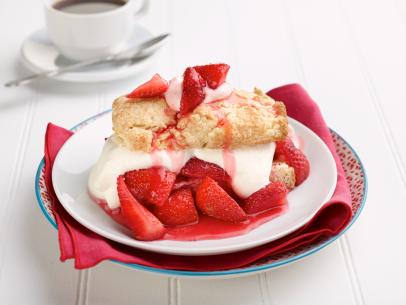
251 viewsStrawberry Shortcake
foodnetwork.com
4.9
(11)
20 minutes
Your folders
 359 views
Strawberry Shortcake
tasteofhome.com
4.6
(69)
20 minutes
Your folders
 281 views
Strawberry Shortcake
onceuponachef.com
5.0
(84)
15 minutes
Your folders
 249 views
Strawberry Shortcake
justinesnacks.com
5.0
(1)
30 minutes
Your folders
367 viewsStrawberry Shortcake
stage.tasteofhome.com
20 minutes
Your folders
 615 views
Strawberry Shortcake
sugarspunrun.com
5.0
(9)
15 minutes
Your folders
 351 views
Strawberry Shortcake
foodandwine.com
2.0
(1.1k)
Your folders
 518 views
Strawberry Shortcake
cooking.nytimes.com
5.0
(2.8k)
Your folders
 421 views
Strawberry Shortcake
foodnetwork.com
4.4
(216)
20 minutes
Your folders
 447 views
Strawberry Shortcake
onlytastematters.com
Your folders
 383 views
Strawberry Shortcake
misstamchiak.com
Your folders
 309 views
Strawberry Shortcake
preppykitchen.com
5.0
(73)
15 minutes
Your folders
 501 views
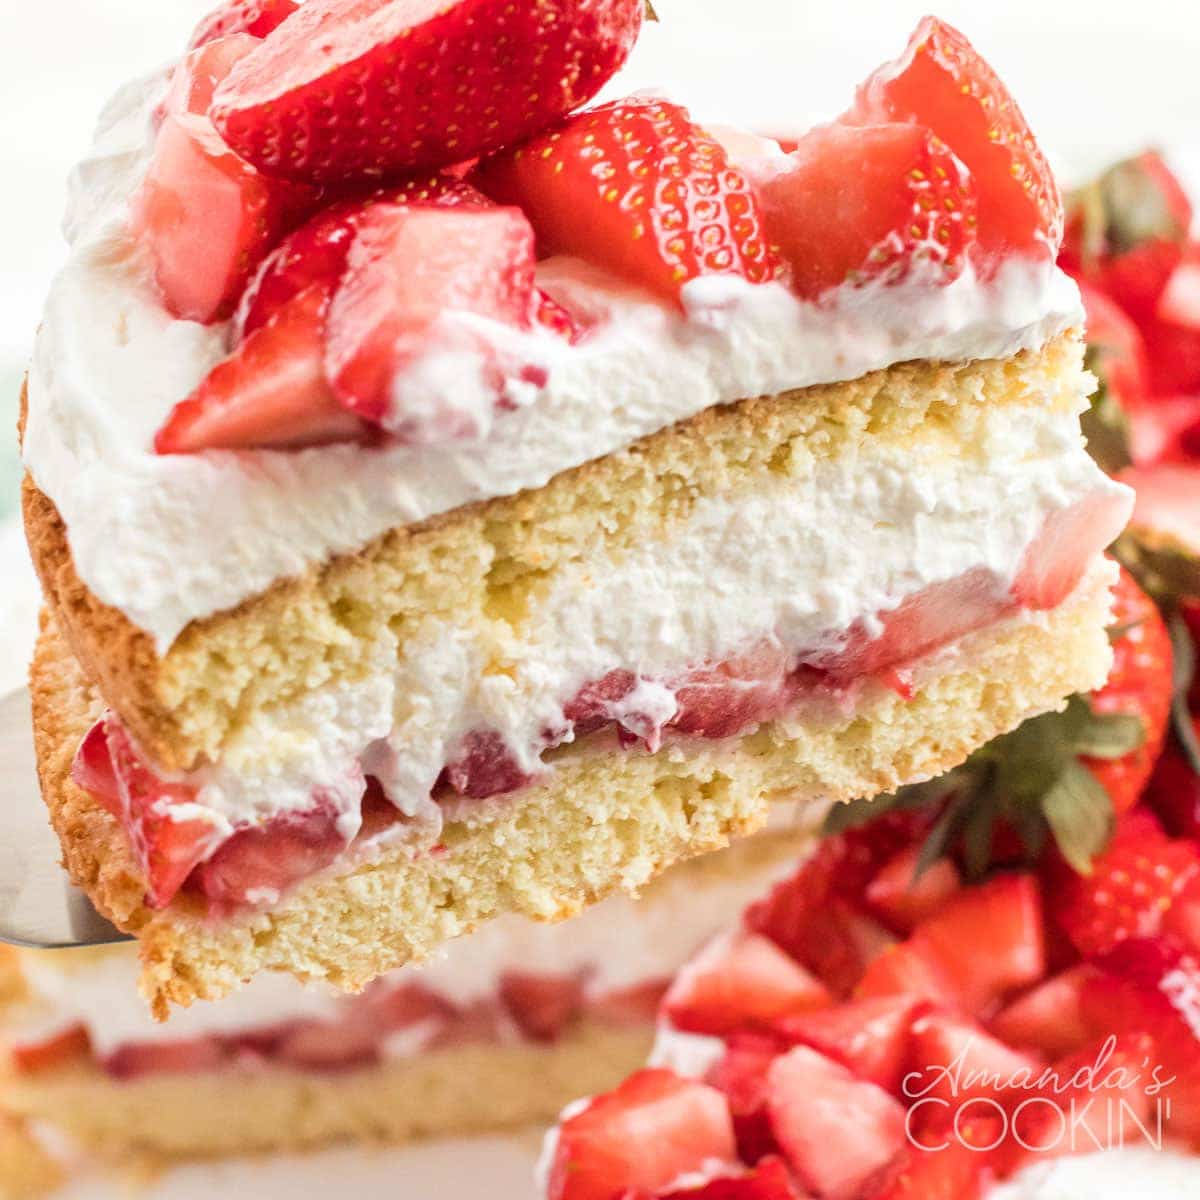
Strawberry Shortcake
amandascookin.com
4.8
(157)
15 minutes
Your folders
 98 views
Strawberry Shortcake
amandascookin.com