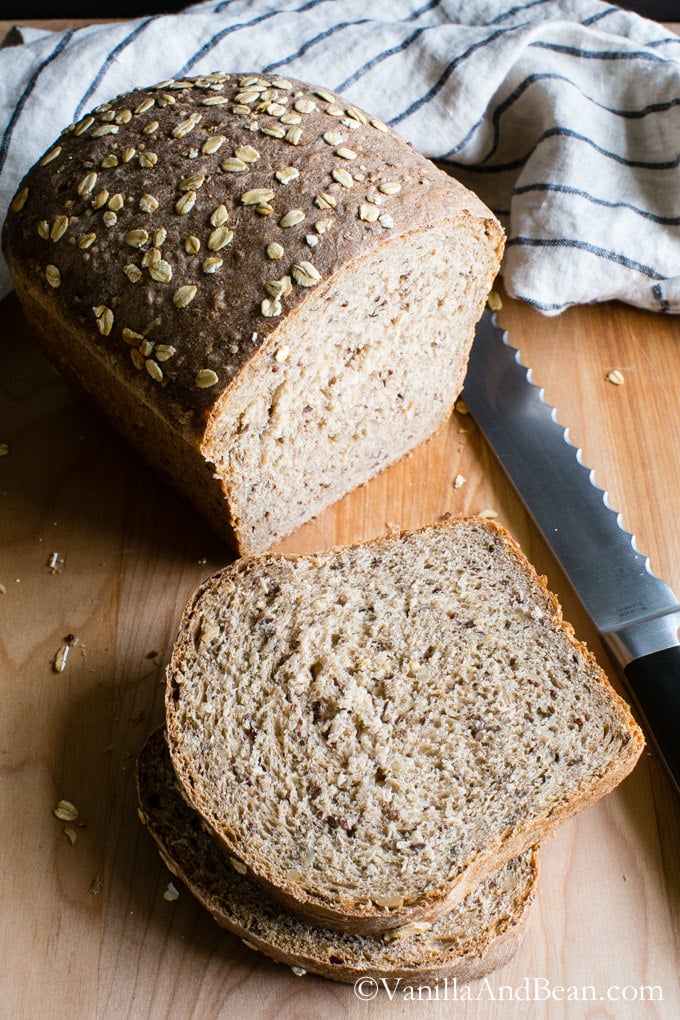
Multigrain Bread
4.9
(31)
Your folders
Your folders
Prep Time: 20 minutes
Cook Time: 60 minutes
Total: 80 minutes
Servings: 1
Cost: $62.53 /serving
Author : Traci York | Vanilla And Bean

Ingredients
Export 14 ingredients for grocery delivery
Instructions
Step 1
The day before making the bread, prepare the soaker by placing the cereal, rolled oats, quinoa, flax, sunflower seeds and water into a small bowl. Leave out at room temperature overnight.
Step 2
Coat the inside of a large bowl and a 9x5" loaf pan with coconut oil. Set aside.
Step 3
Mix the almond milk and apple cider vinegar together. Whisk vigorously. Set aside.
Step 4
In the bowl of a stand mixer with the paddle attachment, add both flours, sugar, salt, and yeast. Mix for 10 seconds. With the mixer off, add the soaker, brown rice, syrup, almond milk mixture, and water. Mix on speed 4 just until the dough comes together, and is hydrated. A chunky ball should form (if not, add a Tbs of water and mix just until a dough forms). Switch to the dough hook. Mix on speed 4 for 9-10 minutes, stopping occasionally to push the dough back down into the bowl. If the dough feels a bit too dry, add 1 Tbs of water, if too wet, a few pinches of flour (don't worry, this dough is very forgiving. I've made this bread many times and the hydration fluctuates and is dependent on many variables). The dough is ready to remove from the mixer when it is more tacky, than sticky and registers 77F-81F (25C-27C) on a thermometer (very important temperature to abide by!). Finish the dough by kneading it on a lightly floured work surface for 1-2 minutes. Sprinkle with a bit of flour if needed. *If kneading by hand, knead for about 12 minutes on a lightly floured work surface.
Step 5
Tuck the dough into a ball making sure the surface is taught. Transfer the dough to the oiled bowl, rolling it around to coat it with oil. *Coconut oil sometimes solidifies in the bowl (unless you use coconut pan spray), depending on the temperature of the bowl. If that's the case for you, just melt a bit of coconut oil and lightly coat the top of the dough. Cover the bowl with plastic wrap or moist doubled up tea towels.Set a timer for 90 minutes to allow the dough to ferment. It should double in size. If the dough is rising too fast, pop it in the fridge to cool it down for 10-15 minutes or set it in a cooler area of the house. It may take longer to rise, but we don't want it to rise too fast, as this is where flavor development occurs. The goal is not for it to rise in 90 minutes. The goal is for the dough to double in size. 90 minutes is only a guide.
Step 6
To shape the dough, remove the dough from the bowl and place it on a lightly floured work surface. Use the illustrations above as a guide to shape the dough. Press the dough into a rough rectangle about 3/4" thick, 6" wide and 8-10" long. Fold the dough lengthwise 2/3 over onto itself and crease it firmly using the pinky side of your hand. Fold the 1/3 piece left towards the crease and pinch the seam closed. Fold in the ends, coming in about an 1" and pinch the seam closed. Turn the bread over and rock it back and fourth a bit and gently fluff the ends in a bit. Gently place the loaf, seam side down into the prepared loaf pan. Lightly spray or brush with water and sprinkle 1 Tbs of Rolled oats over the top. Cover with plastic wrap or moistened doubled up tea towels. Set the timer for 90 minutes and proof until the dough nearly doubles in size. I've had this dough take longer and much shorter to rise than 90 minutes (It's also risen right on time before too!). The amount of time will vary depending on the temperature of its surroundings. Just keep an eye on it and look for it to almost double in size or rise about 1.1/4" above the lip of the pan at the center.
Step 7
Preheat the oven to 350F (176C) with the oven rack in the center. Bake for 20 minutes, rotate the pan and continue baking for another 30-40 minutes or until the bread reaches an internal temperature of 185F-190F (85C-87C), and is golden brown.
Step 8
Remove the bread from the loaf pan immediately and allow to cool on a cooling rack for a least 2 hours. If the bread is cut before it's cool it will be gummy inside (a practice in patience for sure!).
Step 9
Store cut side down on a cutting board, for a few hours of storage. For longer storage, store in a plastic bag for up to 5 days. It freezes beautifully too, if you want to save 1/2 for next week.